In any pattern you choose, you will in all probability find a note at the very beginning that indicates the gauge measurements. This is called a gauge swatch. The small sample provides an indicator how your own knitting style will match the indications of the pattern creator. Making a gauge sounds like a nuisance and the time needed to produce one seems like a waste. But this small gauge swatch will prove vital to the outcome of your work and may save frustration and dozens of hours when you realize you have produced a garment in the wrong size.
So how do I create a gauge and measure my work?
Every knitter has his/her/their unique style. Your own knitting style does not necessarily have to match that of the designer, and you may have a tighter or a looser stitch. We are humans and no knitting machines. Hence, creators of any knitting or crocheting pattern provide us with precise information on how their own work turned out.

If you obtain a different result with the same number of stitches, do not fall into despair. An experienced designer will tell you to use the number of stitches you may need to obtain the correct gauge for the indicated size. So, if due to a brand change in the choice of your wool or a switch to a different needle strength your gauge swatch turns out bigger or smaller, you may need to recalculate the rest of the pattern as well to achieve a satisfactory and, above all, fitting result.
Sounds complicated? No problem, we will walk you through the whole process of gauging. Use the indicated gauge first. If this is six stitches per inch, cast on thirty stitches to obtain a reliable result. Any number divisible by six is fine. Knit the first inch in a garter stitch. It will prevent your swatch from rolling or warping at the bottom. Then change to stockinette stitch for at least five more inches and cast off. As a rule of thumb, - the bigger your gauge swatch the more reliable will the measures of your final outcome be.
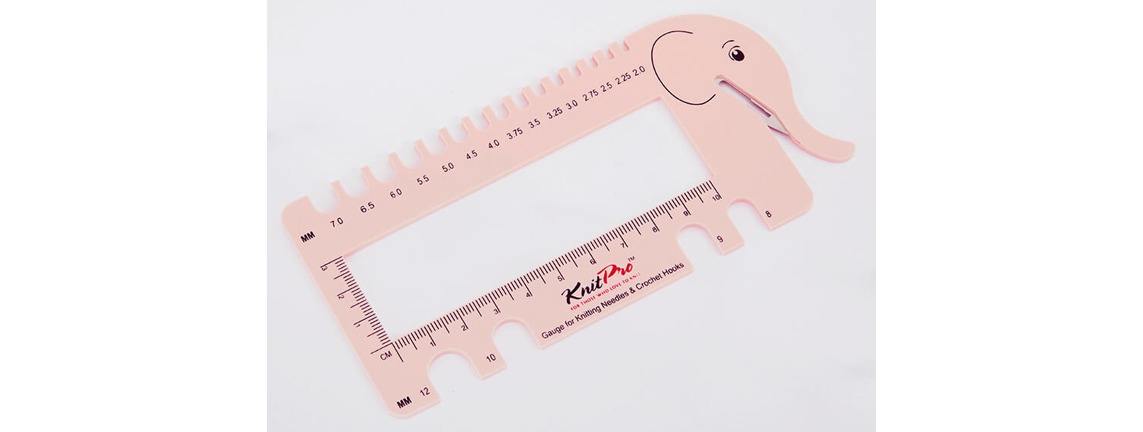
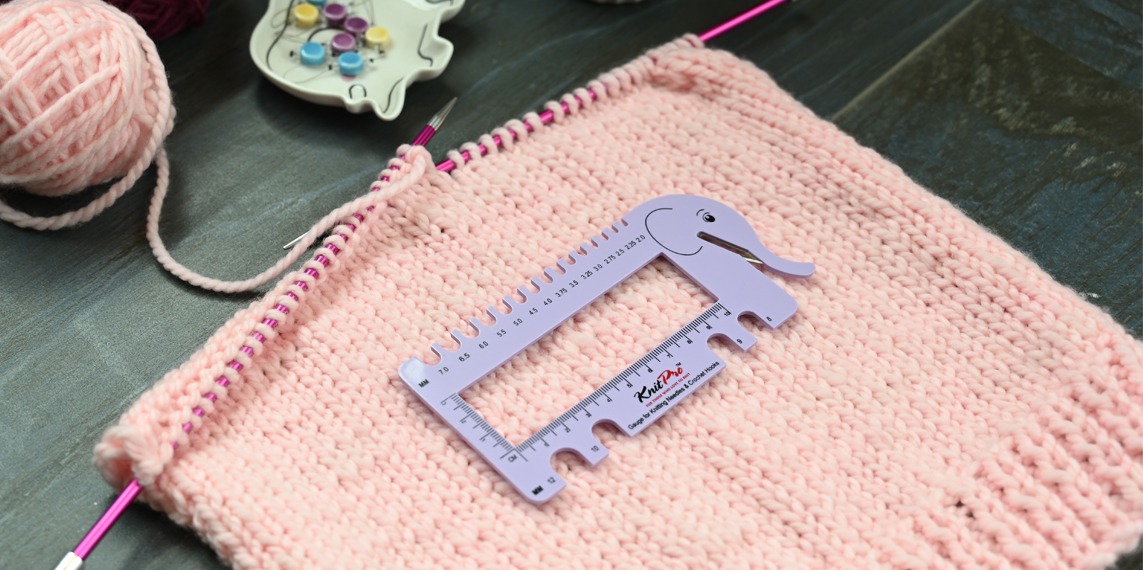
Once you have obtained a sufficiently large gauge swatch, place it flat on a table or book. Measure your gauge swatch, ideally by using a gauge ruler or a tension gauge. They are extremely useful to quickly obtain precise results. A tension gauge has a window to measure and count your exact number of stitches at a glance. Sometimes, it also comes with holes to check if the size of your knitting needles matches the indicated size in the pattern. Use the gauge ruler frequently when working through the project as well, especially as a beginner. Any unevenness in your work may affect the finished garment.
And what if my gauge swatch has fewer or more stitches than indicated in the pattern?
If your swatch differs from what the pattern calls for, it is easy to rectify the situation without distress. Remember? You have not even started your work in progress, yet. So, if you now finish the process by calculating the number of stitches needed on your own project, you have done the first step on becoming a successful creator of fashion yourself.
Therefore, if you choose to continue working with the same needle size you have used before, when creating your gauge, now you either have to increase or decrease the number of cast on stitches.

You can also rectify the gauge measures by opting for a different (i.e. bigger or smaller) pair of needles. In this case, create another gauge to make sure that you really achieve the required measure this time.
An additional benefit from using a gauge is that it may help you to knit to specifications, even when using a different type of wool. And once you have the measures right for your individual size and requirements, you are on your way, and nothing can stop you!


