
Are you ready to embrace summer crafting? Explore punch needle art for something fun that adds a handmade touch to your everyday essentials, choose a punch needle tote bag. In this blog, we’ll guide you through what you need, the steps to create a punch needle tote bag.
This season, besides your knitting needles and crochet hooks, pick up a punch needle and give embroidery a try.
Why Punch Needle Perfect for Tote Bags
Punch needle creates a textured surface that's ideal for items that see regular use. Unlike delicate embroidery that might snag, punch needle creates a robust textile surface. The creative art is all over the fashion world and for good reason! It's accessible for all craft skill levels, therapeutic, and yields stunning results relatively quickly and easily. And, why a tote bag? Well, it’s stylish, practical and offers endless possibilities. Punch needle brings artistic flair to everyday tote bags. Plus, the technique is easier than knitting, crocheting or sewing as it involves pushing yarn or thread through fabric with a specialized needle, creating small yarn loops on the opposite side. The textured fabric applied to a tote bag makes the result beautiful and structurally sound, perfect for summer crafting! If you are want to explore more, refer to our blog on DIY Punch Needle Bags for Fashionistas.
Getting Started: Materials You'll Need
Before starting with a punch needle tote project, gather these essentials:
- A plain canvas tote bag - Choose a natural or light color.
- Foundation Fabric - Monk's cloth, Duck fabric or other appropriate foundation fabric. Monk’s Cloth (100% cotton, specially woven with a double strand of cotton) and has a white line every five centimetres to help you position your pattern. It is ideal for 3mm & 4mm needle diameters. Duck Fabric (100% cotton, it is a tight weave fabric in a neutral color which has a slight fleck to it like small seeds). It is ideal for 2 mm needle diameter.
- Hoop or Frame - An embroidery hoop large enough for your design. Or, you can choose pre-stretched frames.
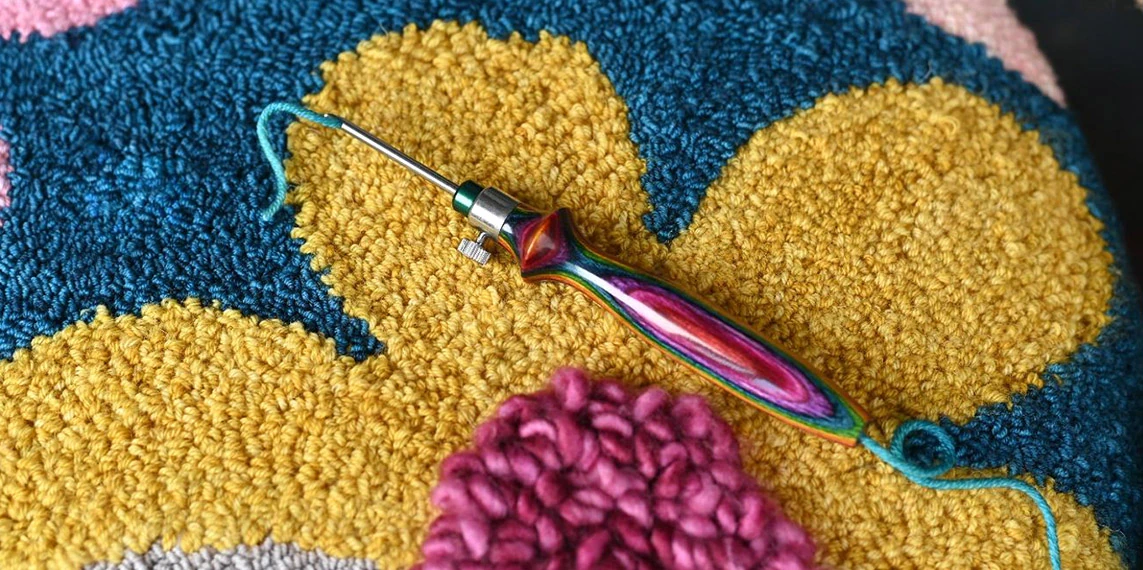
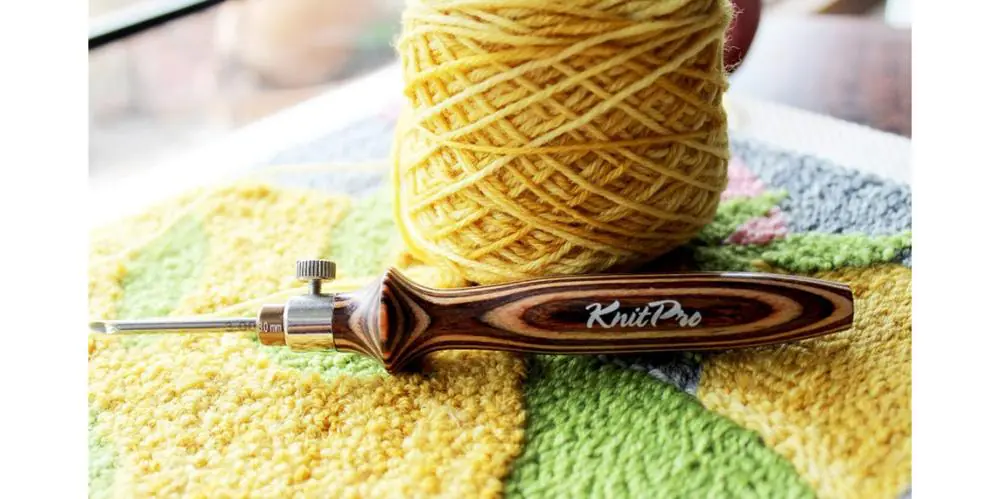
- Punch needle tool (sizes vary depending on your yarn choice). The diameter of the needle determines the thickness of the yarn or thread you can use, with thicker yarns creating more textured designs and finer threads resulting in delicate and intricate patterns. Choose the Earthy or Vibrant Set. The specially designed punch needle has an adjustable length feature that allows control of the length of the loops. Both sets include 4 different needle diameters which can be used with a common wooden handle along with attachments. The wooden handle is ergonomically comfortable to hold and is convenient to use for long hours.
- Yarn in your chosen colors (wool works particularly well). If you are a knitter or crocheter, you can go stash-busting, choosing leftover yarn from previous projects.
- Scissors
- Transfer pen or pencil
Designing Your Punch Needle Pattern
The beauty of punch needle craft lies in its versatility. For your tote bags, explore options from bold geometric patterns, floral designs, or abstract compositions, the technique accommodates all styles. For beginners, simpler designs such as larger color blocks rather than intricate details are a good choice. However, if you are proficient with punch needle art you can work on abstract patterns. A helpful recommendation is that plan the punch needle pattern according to the use of the tote bag. A market bag will look attractive with fruits and vegetables, while a beach bag will look great with waves and shells, a bold abstract design for the art lover, or a monogrammed bag for someone who appreciates personalization.
How to Make Punch Needle Tote Bag
Step 1- Prepare your foundation
Choose the foundation fabric (monk's cloth or duck fabric) slightly larger than your intended design area. Secure it in your embroidery hoop, ensuring it's drum-tight. Pre-stretched frames are also great. You can cut it out once the project is finished.
Step 2 - Transfer your design
Use your transfer pen to draw or trace your pattern onto the foundation fabric.
Step 3- Begin punching
Thread your punch needle tool according to the manufacturer's instructions. Check out our guide on how to thread the punch needle. Working from the back of the fabric, push the needle through until the tip touches the hoop beneath, then pull back up, leaving a small loop on the front side. Continue following your design lines, maintaining consistent loop heights.
Step 4 - Fill in your design
Work in sections, completing one color area before moving to the next. Remember that the punch needle works best when you punch in the same direction throughout your project. With a little practice with the punch needle, you can also include texture variations. Mix loop heights within the same project for added dimension
Step 5 - Secure your work
Once complete, remove from the hoop and trim the foundation fabric, leaving about an inch around your design. Apply a stabilizer to the back to prevent loops from pulling out.
Step 6 - Attach to your tote
Hand-stitch or machine-sew your completed punch needle piece to the front of your tote bag. You can also add complementary fabric trim or leather handles to elevate your tote.
A handcrafted punch needle tote is a great addition to your wardrobe and also makes a thoughtful, personalized gift. Start with a simple design, embrace the learning process, and before long, you'll be carrying your own unique, handcrafted tote – a testament to your creativity and craftsmanship that's sure to spark joy and conversation wherever you go.


