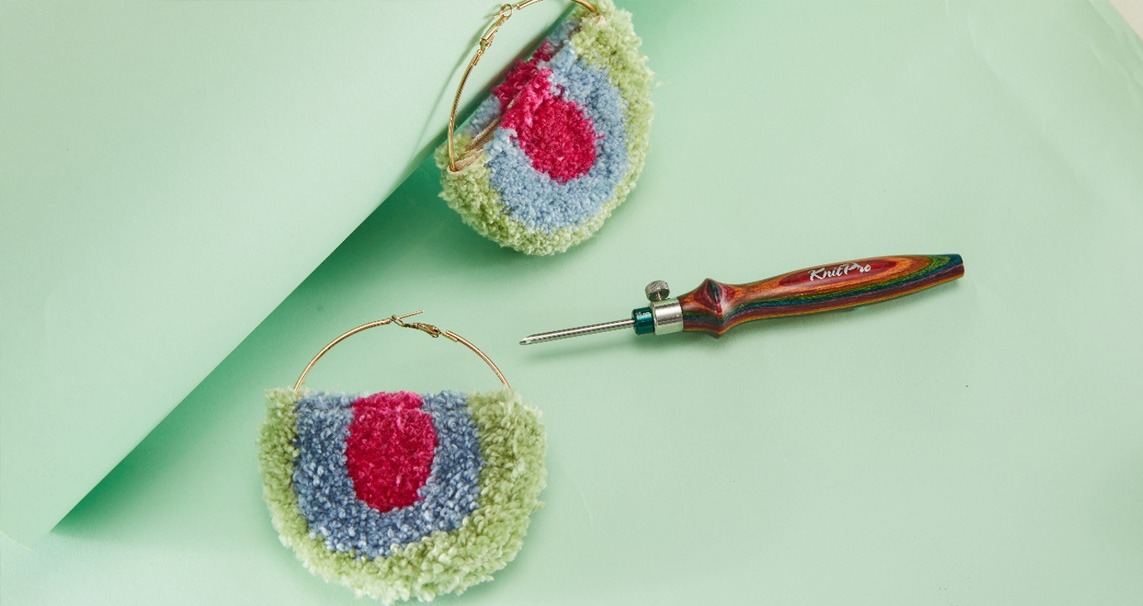
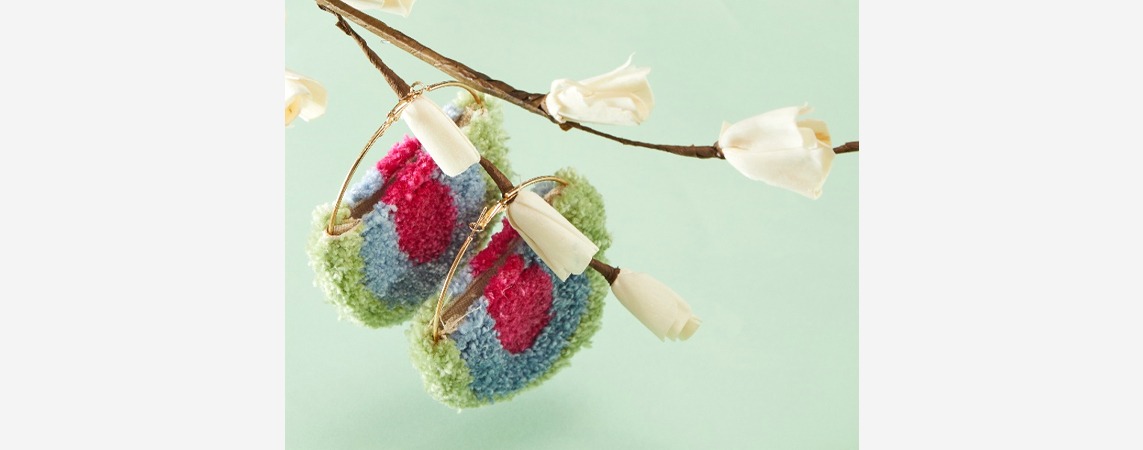
Do you know what magic punch needles contain? They have the power to craft anything you wish. You can create anything you want just by using your imagination and guiding the punch needle with your hands. It's like bringing your vision to life. From beautiful home decor to stylish accessories, you can do so much with it. So, hold tight as today, Knitpro will help you craft your own remarkably unique accessory: Earring Hoops.
What do we need to craft earring hoops?
This beautiful masterpiece is crafted with our Vibrant punch needle set. This set is a real gem, featuring four different needle sizes with vibrant rainbow-colored wooden handles. It also comes with three handy attachments – 2mm, 3mm, and 4mm – giving you versatility in crafting projects. And, to make your crafting experience even smoother, we've included two threaders to help you easily insert the thread into the punch needle. No more struggling with threading!
Oh, and let's not forget about the complete instructional booklet in the package. Everything you need to get started on your creative journey is neatly housed in these beautiful embroidery blue denim cases.
- Get a Punch Needle Kit
- Two earning hoops
- A canvas or monk cloth
- An embroidery frame
- Yarn in your color choices: we have used Viva's Pistachio (SS1037), Sage (SS1029), and Terra's Pink Mauve (SS2010).
- A marker or pen
- A pair of scissors
- Hot Glue Gun/ Strong Adhesive
Follow the Steps!
Getting Organized
Although making a punch needle accessory is a fun and interesting process, crafting will be even more pleasurable if you keep things organized. Arrange all of your supplies in a neat workplace, ensuring everything is accessible.
Ready, Set, Create!
Let's get crafting and make something truly extraordinary together!
Step 1: Preparing the Fabric
Preparing the fabric that will act as the foundation for your accessory design is the first step. To guarantee a fruitful and aesthetically pleasing outcome, adhere to these basic yet essential steps:
- For easy crafting, use a durable fabric that is both flexible and able to hold the yarn.
- Make sure the fabric is big enough to fit within the embroidery hoop by cutting it into an oval shape.
- Tightly and uniformly stretching the fabric across the embroidery hoop will give you a stable surface on which to punch the yarn.
- To secure the Monk cloth, tighten the hoop and make sure it is wrinkle-free and taut.
Step 2: Marking the Design
Now comes the fun part - marking the design on your fabric! Using a marker or pen, carefully draw an O shape that will serve as the foundation for your punch needle art. Consider the size of the O shape in relation to your earring hoops and ensure it is centered and symmetrical on the fabric. This step sets the stage for the intricate and eye-catching design you'll be creating.
Step 3: Punching the Yarn
Now, it's time to start punching the yarn. Grab your punch needle tool and thread it with the color of yarn you've chosen. Start by following the outline you've drawn with the yarn.
As you punch the yarn into the fabric, pay attention to the placement and density of the loops.
Step 4: Layering and Building Up
As you continue to punch the yarn, consider layering it to add depth and visual interest to your design. You can also mix and match the yarn to create a stunning contrast or blend of colors.
Building up the yarn in layers can result in multidimensional and dynamic punch needle embroidery.
Step 5: Finishing the Design
Now that you've completed punching the yarn and creating your O-shaped design, it's time to add the finishing touches to your punch needle accessory.
- Carefully remove the fabric from the embroidery hoop, making sure not to damage the punched yarn.
- Next, gently trim any excess yarn loops with your fabric scissors to achieve a clean and defined shape. This step is crucial in giving your accessory a polished and professional look.
- Cut out the design and apply fabric glue on the back side of the design. This will help keep everything in place and prevent the yarn from unraveling.
Step 6: Folding and Attaching to Earring Hoops
- After the glue completely dries, take the punched fabric and gently place it on the earring hoop.
- Fold the fabric in half to form a beautiful semicircle. Use a hot glue gun to affix it to the earring hoops.
- Your accessory will come to life in this last step, turning it into a wearable work of art.
Voila! Your gorgeous earrings are now ready.
Review your work for loose threads or other flaws and make any required alterations or repairs. Once everything is in place, your accessory is ready to wear. Show it off with pride now!


