The Kitchener Stitch is a very important technique for knitters. The stitch pattern basically allows grafting live knitting stitches together in the least visible way without knitting needles. It is essentially a set of steps of sewing with yarn and a darning needle. The stitch is often used to close up the toes of socks, tops of hats, thumbs of mittens, and shoulder seams, but can also be used to seamlessly graft any live knitting stitches.
The Kitchener stitch is most commonly used to graft two pieces of stockinette stitch (a pattern created by alternating rows of knit and purl stitches) but it is possible on patterns that include other stitches.
If you have not yet tried the Kitchener stitch, you are at the right place. In this blog post, we will take you through the steps of knitting the Kitchener stitch.

Set up for the Kitchener Stitch
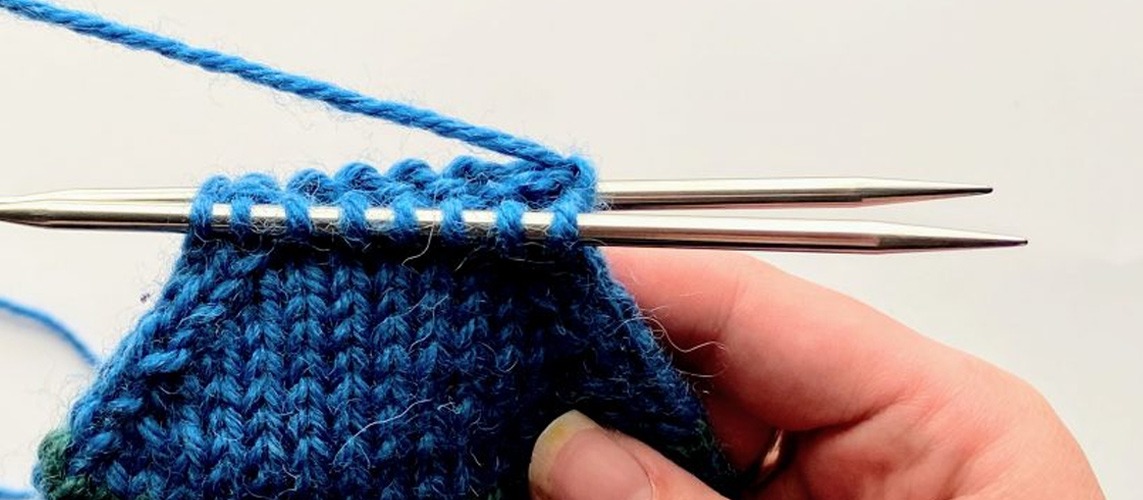
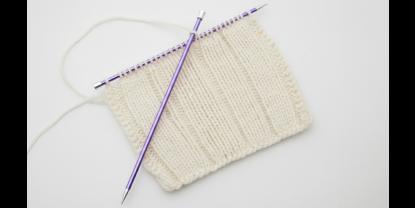
Before you start, make sure your stitches are arranged on two knitting needles with the same number of stitches on each. The wrong side of the stitches must be facing each other while the right sides must be facing outwards.
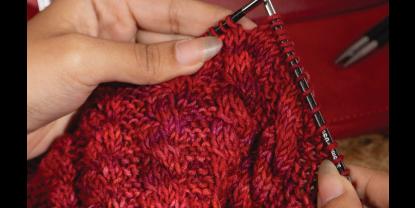
- Knitting Needles: The knitting needles can be your choice. As you are knitting in the round as this technique is for closing live stitches, you have the option of either knitting with double-pointed needles or circular knitting needles. Even if you have knit with three or four double-pointed needles, you need to bring the stitches on two needles for using the Kitchener stitch. For circular needles, you just need to twist the cord for the needles to be placed along with each other.
- Yarn: Use a matching piece of yarn, the same as from the project or a similar shade of yarn. If you are using the yarn from the same ball used for the project make sure the tail comes from the other end. Make sure that the length of this yarn should be about three times the length of the edge you want to graft. For example, if the toes of the socks are three inches long, then you need a nine-inch long yarn.
- Darning Needle: Make sure to have a darning needle with a rounded tip, a size smaller than the knitting needles you have used for the project.
Step-by-step instructions
Step 1: Thread the yarn tail into a darning needle. Pull your darning needle and yarn through the first stitch on the knitting needle in front as if to purl (from back to front). Don’t pull off the stitch.
Step 2: Take the darning needle through the first stitch as if to knit (from front to back) on the knitting needle in the back. Again, don’t pull the stitch off the needle. As you’re working across the stitches on the different knitting needles, make sure your yarn is always under and not wrapped around.
Step 3: Go through the first stitch as if to knit on the needle in the front. Pull the stitch off the needle.
Step 4: On the front needle, go through the stitch as if to purl. Don’t pull the stitch off the needle.
Step 5: On the back needle, go through the first stitch as if to purl. Pull the stitch off the needle.
Step 6: On the back needle, go through the stitch as if to knit. Don’t pull the stitch off the needle.
Step 7: Repeat steps 3-6 until you only have two stitches left on the knitting needles.
Step 8: When you only have one stitch left on each needle, do step 1, then jump to step 3. Adjust the tension of the row. by starting on the right side of the row and pulling up the right side of the stitch, then the left.
You have successfully grafted the live stitches and closed the project with minimally visible stitches.
Pro tips for Kitchener Stitch
The instructions for Kitchener Stitch may seem challenging but it is simple. All you have to do is keep track of where you are in the steps.
- Say each step out loud as you do it. Chant “knit, purl, purl, knit” or “knit off, purl on, purl off, knit on” as you go.
- You can also write down the steps on a cue card.
- Once the yarn is threaded with the darning needle through all of the stitches, you should use a little blunt tip knitting needle to gently and carefully tighten up the stitches one at a time so it matches the tension and gauge of the project.
- Remember when to drop the stitch with the mantra- on the front needle, you only drop the stitch when you insert the needle into it knit-wise and on the back needle, you only drop the stitch when you insert the needle into it purl-wise.
Hopefully, you have enjoyed our tutorial. With time and practice, you will soon master the stitch. Till then, happy mindful knitting!


