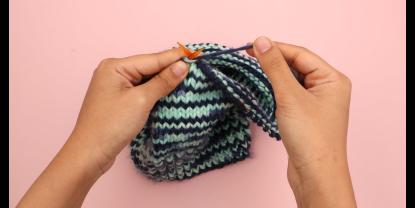
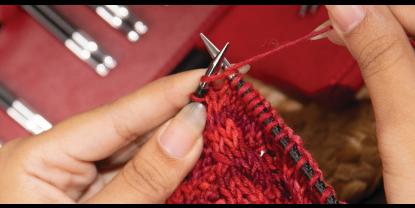
Short rows are knit to add length or width to just one part of the knitting pattern. It is used to shape angles, create darts or gussets in garments and turn a heel in socks. The Wrap and Turn Technique is one of the common knitting methods to work short rows. You can do this method with your regular knitting needles that you would be using for the project or pattern. Short rows are an easy-to-learn hack that helps you ensure a perfect fit when knitting any garment. As the name suggests, they are not knitted throughout the whole row or round but knit a part of it, and then turn your item.
In this blog, we'll walk you through working wrap and turn short rows on both the knit and purl sides of the fabric. Sock heels and many projects that require short rows are usually in stocking stitch (stockinette) so you need to know how to handle both situations (or stitches). The overall concept is always the same—work to the stitch to be wrapped, wrap the stitch and go back the other way. Getting the wrap around the stitch is different as is working the wrap and the stitch together on a subsequent row.
Why Do I need a special knitting technique to work short rows?
It is necessary to apply a special technique when knitting short rows to prevent holes or gaps where the work is turned. There are lots of ways to turn your work part way through a row, but the Wrap + Turn (wrp-t) is preferred by many knitters because of its versatile use in preventing holes along the Short Rows and works well with many different stitch patterns.
What is Wrap and Turn Technique?
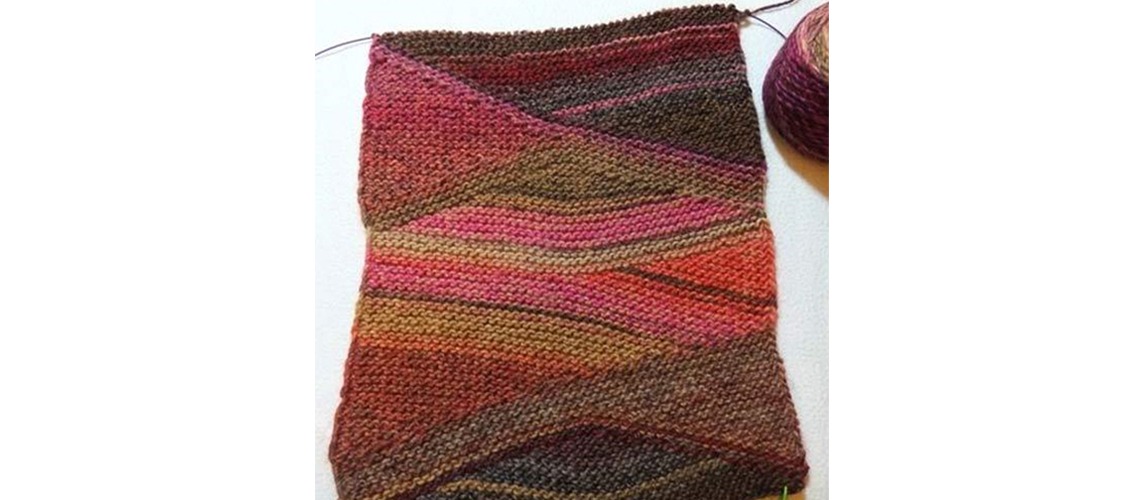
The wrap-and-turn technique in knitting involves wrapping stitches with the working yarn, turning the work, and returning to the wrapped stitches later. Abbreviated as W&T the technique is a handy trick to smoothly work on short rows. The wrap-and-turn works for anything from sock heels, crown of the hats to shaping accessories like triangle shawls or a collar of a sweater or knit ear flaps and design bust darts and more.
If you are a beginner, start with a small swatch. This swatch can also serve as a tension square to help you successfully complete knitting projects. Cast on 20 stitches on any knitting needle (single-pointed, double-pointed or circulars).
Knit 4 rows of stocking stitches (alternate rows of knit and purl stitches) to get your swatch started. We recommend the basic stocking stitch patterns as they are a combination of both knit and purls. If you are a beginner, our guide on knit stitches will help you get started.
Wrapping Knit Stitches
To wrap stitches on the knits side follow these instructions:
1st Step: On the right side (the side of the project facing you) row, knit until there are 2 stitches left (in this case, k18 stitches).
2nd Step: Now you’re ready to wrap and turn. Keep your working yarn to the front of your work between the tips of your needles, as if you were switching from knit to purl. Insert your knitting needle into the stitch (next-to-last stitch of the row) you are going to wrap and slip the stitch from the left needle to the right needle.
3rd Step: Pull the yarn back around to the front of the WIP.
4th Step: Slip the stitch back onto the left knitting needle again.
5th Step: Wrap and turn on the knit side.
Turn your work to the wrong side (side of the WIP facing away from you), preparing to work the purl row as you normally do in back-and-forth (flat) knitting. Mark the wrapped stitches with a stitch marker. Locking markers work best to attach and remove them from the pattern when needed. Make sure you have an even tension (not too tight or loose), or you’ll have a difficult time picking up the wraps later.
Wrapping Purl Stitches
To wrap a purl stitch, here’s what you need to do.
1st Step: Purl till there are 2 stitches left on your left knitting needle.
2nd Step: Keep the working yarn in front and insert the needle purlwise into the stitch. Slip the stitch over to the right needle. You have wrapped the stitch.
3rd Step: Pull the yarn to the back of the work and again slip the stitch from the right to the left needle as if you are going to make a purl stitch. Make sure that you choke the stitch with yarn.
4th Step: Turn your project to work another row. If you’re using a stitch marker, mark the wrapped stitch. Once again, make sure to have even tension for the stitch (not too tight, not too loose). The yarn should be coming from the stitches and dangling from the project.
Repeat these steps across the rows. Keep knitting or purling stitches till you get to one stitch before the last wrapped stitch. Take a look at WIP and you’ll see soft angles forming. With each row, the project will take shape with every row of wrap and turn.
W&T is a two-step technique. After wrapping stitches you need to pick them up too.
Picking up Wrapped Knit Stitches
Insert the knitting needle from front to back into the wrap and then into the stitch on the needle as if to knit. Knit the wrap and stitch on the needle together.
Repeat this step across the row, picking up all the wrapped stitches.
Picking up Wrapped Purl Stitches
With the yarn in front, insert the needle from bottom to top into the wrap and then into the stitch on the needle as if to purl. Purl the wrap together with the stitch on the knitting needle together.
Repeat this across the rest of the row picking up the wraps.
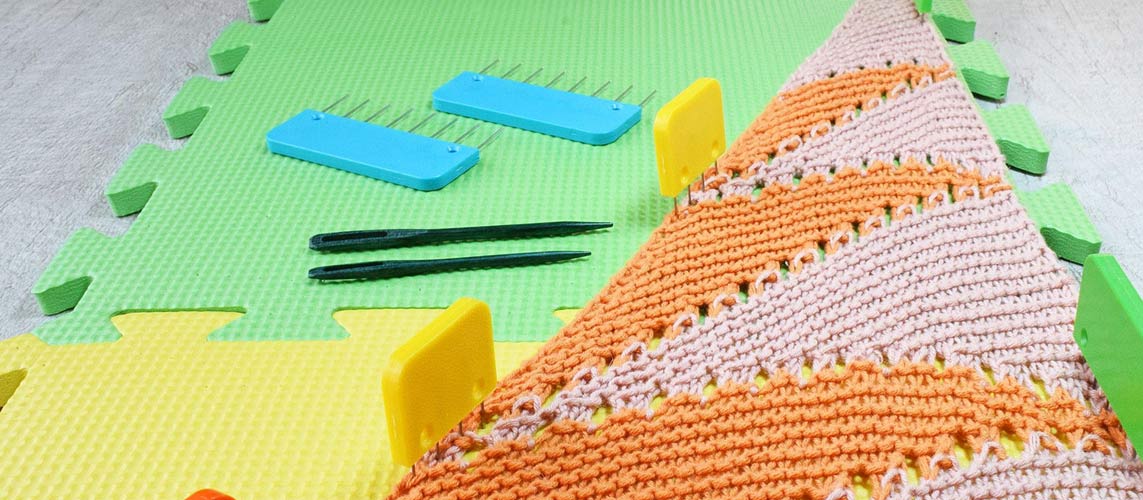
With this, you'll be successful in wrapping and turning stitches. The trick to impressive short rows is to block your knitting project. Now you can use the technique for some beautiful creations. Maybe a triangle shawl or shapely sock-heels or a beautiful hat.
For more information on knitting and crochet, tips, tricks, techniques, etc, we invite you to follow our blog.


