The cast on is the first step of the knitting project if you do not count the slip knot. You simply make stitches on your knitting needles with the yarn. These stitches do not count as a row or round as almost every pattern counts stitches from the row or round above. When you start knitting, chances are that you have been taught to cast on stitches by your mentor, and you adopt their method. Over time you need to try out the other methods. Like every knitter is unique, every project would require a way to cast stitches that suits the pattern. If it needs to be stretchy or constricted or be kept live (like provisional cast-on). In this blog, we’ll walk you through the steps of the long tail cast-on.
Just get the knitting needle (the same size) you’ll be using for your project. The method is often used by knitters for many projects and patterns for its stretchiness.
The Long-tail Cast-on
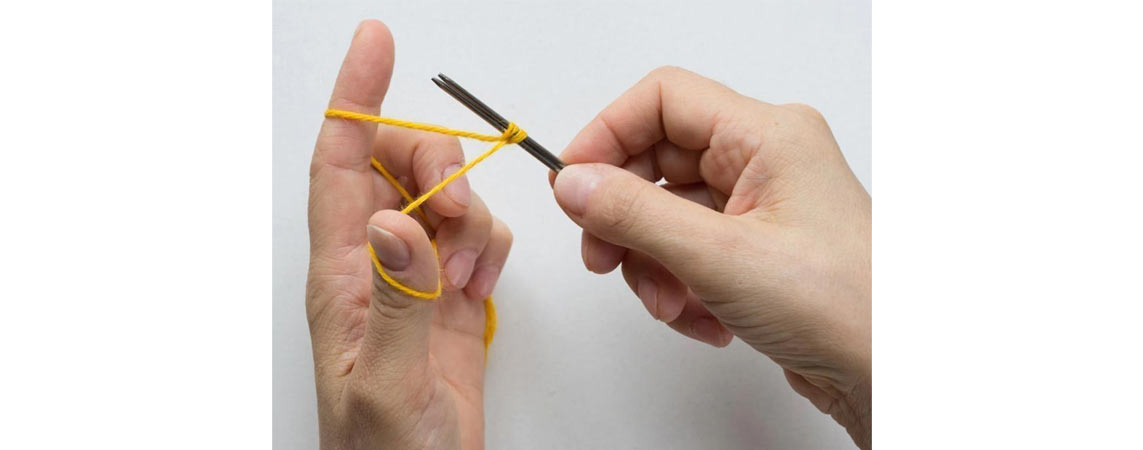
Many knitters learn this as their first cast-on. It is fast and sturdy but you will have to be able to calculate the length of the yarn you require to accommodate all stitches in advance. Miscalculations will result in having to start all over again if you need more stitches but have no yarn left. There are many ways to make sure that you do not run out of yarn. You can calculate by the general rule, four times the project width and an extra 10 per cent. The most preferred method is to cast on with two ends of the same yarn ball, there is no risk of running out of yarn.
You can go ahead with one single-pointed or circular knitting needle tip. If you need to knit with double-pointed needles, use only one needle of the set of five. Divide the stitches equally between the other two or three needles.
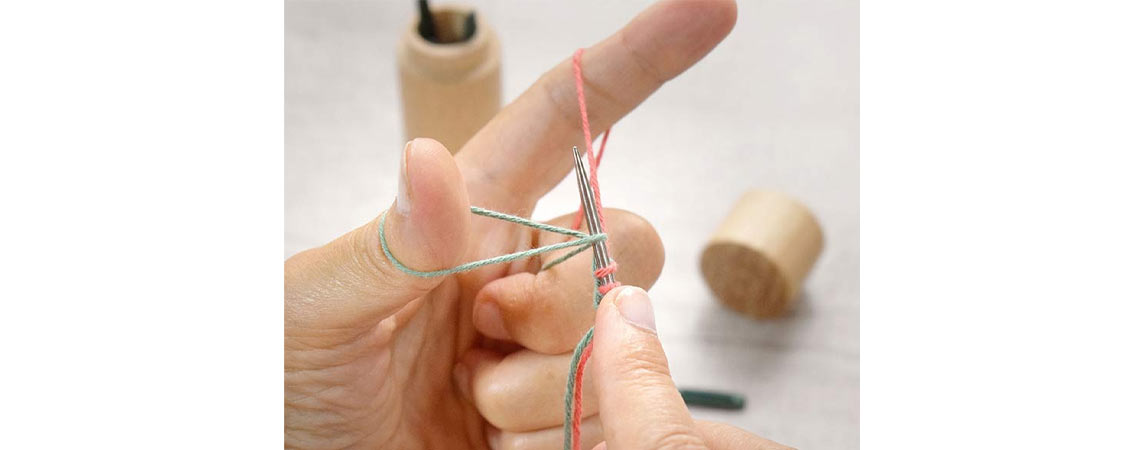
Here is how you do the long-tail cast on:
1: Make a slip knot on one knitting needle. You can also forego making a knot on the needle by holding the yarn and making a cast-on stitch. As we’ve discussed above the tail end of the yarn must be long enough to cast stitches, so use you will have two strands of yarn - one from the tail end Hold the needle in your right hand (or dominant hand) and place it on top of the yarn between your thumb and index finger.
2: Bring the needle tip with the yarn up from underneath the thumb loop and grab the yarn thread between the thumb and middle finger again.
3: Bring that second yarn over again through the loop formed around your thumb, but this time from above.
4: Bend your thumb and the loop around it under the needle and pull the thread until forming two stitches.
When making the first stitch, you actually always create two stitches, this way. If you continue with this technique, the next stitches will always come out as single loops.
While this was how the basic long-tail cast-on method works, there are many variations to this.
Long-tail Cast-on with Two Yarn Balls
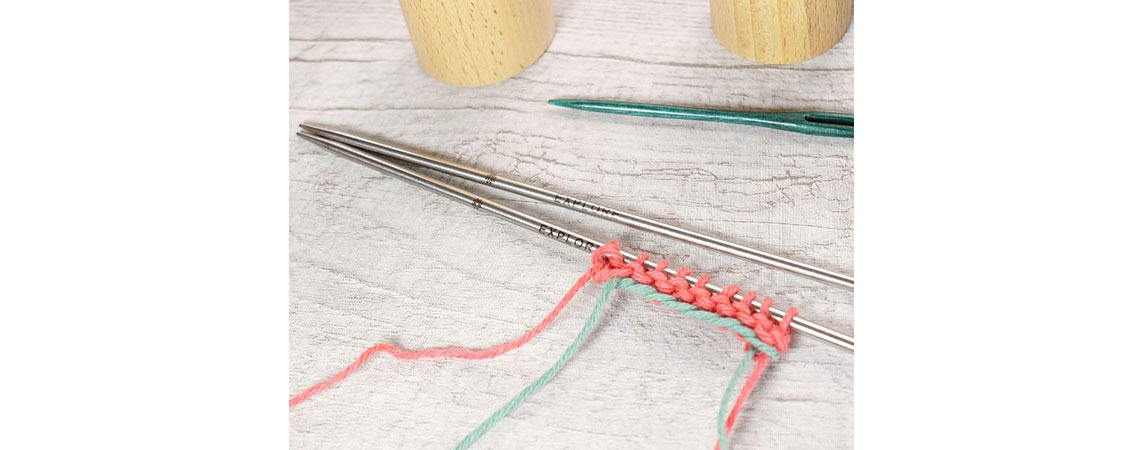
Here you cast on stitches like the basic version but you use two yarn strands from two different balls or skeins. This is the same as casting on stitches with the tail end and the working end of the same yarn. This is particularly helpful when you have almost hundreds of stitches to cast, for a blanket or a sweater. Take both strands of yarn and slipknot them together. Cast-on, as you would normally do.
One strand of yarn (pink as in the picture above) makes the stitches that go over the needle while the other (blue shade) forms the bottom edge. Once you have the required number of stitches, just cut off the bottom one (leave a tail you can weave in). Don't count the first slipknot as a stitch instead, drop it off the needle and pull it to unravel it. Your cast on stitches will not unravel.
German Cast on
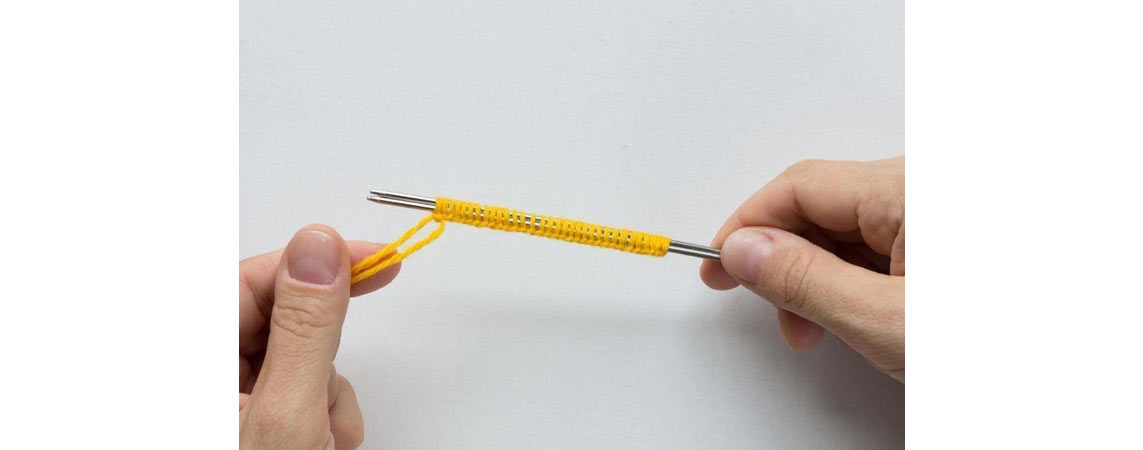
The twisted German Cast on a.k.a the Old Norwegian works similarly with a little twist. In fact, it is the more elastic version of the basic method. It blends beautifully in patterns worked in garter stitch for hats, cuffs, etc.
Italian Tubular Cast on
The steps of casting the stitches are the same but the difference is that you hold the yarn differently. The slingshot is held in the left hand to make the knit stitches and for purl bumps you hold the yarn in the other hand and make the stitches in opposite direction. This is the perfect invisible edge to a k1, p1 ribbing pattern. This too is a stretchier version of the basic long tail.
Alternating Long-tail Cast-on
Similar to the Italian tubular cast on, this works the same. You alternate the cast on stitches. Ribbing patterns work fantastically and work for all variations of rib stitches.
The Thumb Method
For this long-tail version you do not need to hold the yarn in a slingshot. You will hold the tail end in your left-hand thumb and the working yarn on the index finger in your right hand like you do when you knit. One cast-on loop comes from the thumb while the other comes from the finger. This is the most used method for English-style knitters.
To begin your project’s first row or round, make sure to turn the project. The cast-on stitches must be in your left hand (or not the dominant hand in case you are a left-handed knitter).
Similar to the long tail cast-on, the other most popular way to cast stitches isThe Knitted Cast on. For beginners or for projects where you have to cast a lot of stitches, this method works best. You need to work with the knitting needles that you’ll be using in the project and make stitches. The provisional cast-on is a special need when you require to cast stitches that you would knit later. Follow our guide on provisional cast on techniques with knitting needles.
With this guide, you can start with the long tail cast on method for any project. Maybe you have just found a new favorite way to cast on your knitting stitches or master each of them. You never know how this skill will help you.
The Mindful Collection is designed to provide you with a smooth knitting experience. The stainless steel knitting needles come with a unique word imprinted on their needle tip. The range is designed for knitting while enjoying the practice of mindfulness. Follow our blog for more knitting tips, techniques and ideas.


