Knitting socks is a beloved project for many knitters. And why not? Socks are small projects, portable for knitting on the go and offer endless opportunities to explore different techniques and patterns. They are ideal handmade gifts no matter the occasion. As Albus Dumbledore said, "One can never have enough socks". You can find many knitters busy making socks on their double-pointed needles. The magic loop technique of knitting socks with circular knitting needles is also favored by many knitters. Now, though the project is small it is packed with stitches, techniques and skills. Many crafters struggle with Second Sock Syndrome, where completing the second sock feels like a chore then knitting two socks at once might be the perfect solution for you!
This innovative method allows you to knit both socks simultaneously, ensuring they match perfectly and saving time. Here's everything you need to know about knitting socks two at a time, from tools and techniques to tips for success.
Knitting Socks Two-at-a-Time?
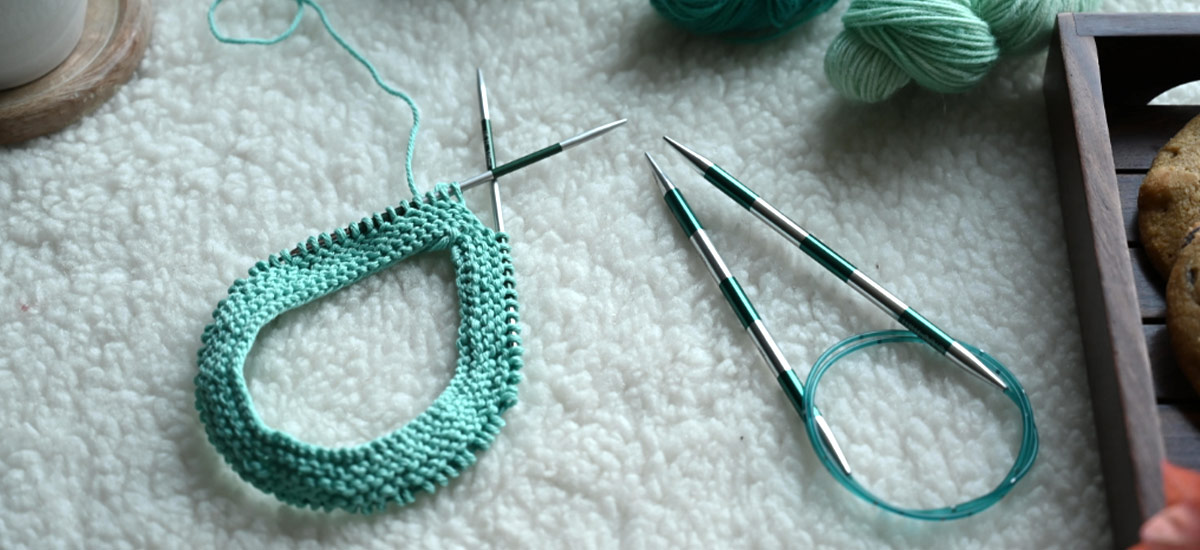
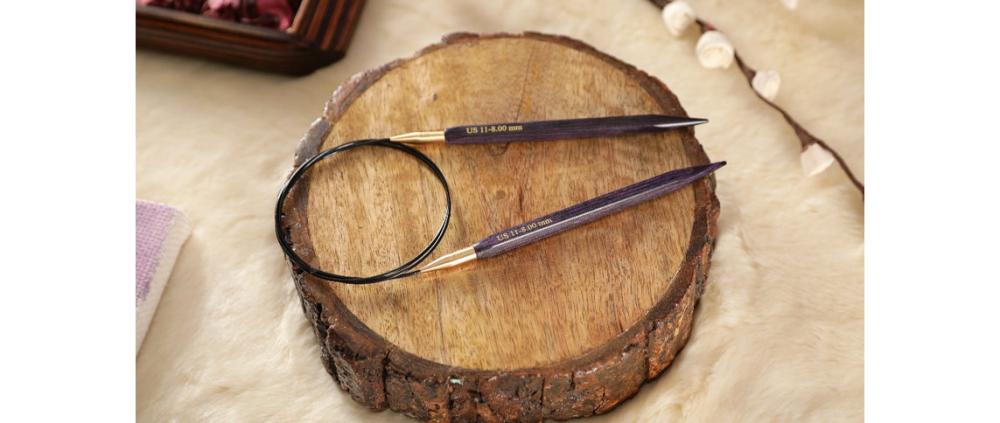
Knitting two items at once may seem challenging, but it is worth mastering. The first requirement is knowledge of how to knit the magic loop technique. Choose a long circular knitting needle with a flexible cord, ideally at least 32 – 40 inches in length. The fixed circular knitting needle is a good choice as are interchangeable ones. You can work with any sock yarn.
The Magic Loop method is a game-changer for knitting socks, especially two at a time. With one circular knitting needle working on rounds, you can knit two socks at the same time with no need to switch to double-pointed needles (DPNs) even if you have only a few stitches. The magic loop knitting technique for two socks at a time reduces the risk of dropped stitches and ladders ensure perfect length, fit, and shape symmetry between both socks.
If you’re unsure, here’s why you must give knitting socks two at a time:
- Prevent Second Sock Syndrome - Knitting both socks at once ensures you're done with the pair when you bind off. No more procrastinating on the second sock!
- Perfectly Matching Stitches, Yarn Tension and Design - Working both socks together helps maintain consistent tension, ensuring they’re identical in size and shape.
- Time Efficientt - While it might seem slower initially, the two-at-a-time method eliminates the need to repeat steps for a second sock, making the overall process faster.
Knitting Socks Two-at-a-Time Technique
Step 1 – Preparation
Start by dividing your yarn into two equal balls or skeins. Wind each one separately, ensuring they're ready to feed smoothly while knitting. Keep your circular knitting needles ready. Keep wood needles, stitch markers and scissors handy. If you’ve got a sock blocker then put it to use for blocking the socks.
Step 2 - Cast On
Use a figure-eight or long-tail cast-on method. Cast on the total number of stitches you need for both socks onto the same circular needle, keeping each sock’s stitches separate. If you need to cast on 30 stitches per sock, first cast on 30 stitches with one yarn ball. Drop the yarn. Now, with another yarn ball cast on 30 stitches. Make sure the stitches are evenly distributed across the cord.
Ensure you have stitch markers to indicate the start and end of each sock.
Step 3 – Knitting The Magic Loop Method
The magic loop method is key to knitting two at a time. Find the midpoint of your stitches and pull the cable out so that half of the stitches are on one side and half are on the other.
Place a stitch marker to mark the beginning of your round if desired.
Slide one sock’s stitches onto the cable, then work on the other sock. Rotate your needle, and continue this process alternately for both socks.
Step 4 - Knitting the Cuff and Leg
Work each sock’s cuff and leg simultaneously. Ribbing is commonly used for cuffs, while the leg can feature plain stockinette or intricate patterns.
Step 5 - Turning the Heel
One of the most challenging parts of sock knitting is turning the heel. With two-at-a-time socks, follow your pattern’s instructions carefully, completing one heel at a time.
Step 6 - Knitting the Foot
After the heel, knit the foot of each sock, maintaining your established pattern. Use measurements or a sock ruler to ensure the right length before the toe decreases.
Step 7 - Shaping the Toe
Decrease stitches for the toe sections as directed by your pattern. Once completed, use the Kitchener stitch to graft the toes seamlessly.
With this, you’ve knit two projects at a time. Both socks are finished. To enjoy knitting, the first trick is to work with comfortable knitting needles and accessories. You can explore more about the best knitting needles for socks. From stainless steel needles from the Mindful Collection to square needles from Nova Cubics, warm wood from Ginger, SYmfonie and Dreamz collection to precision tips of Karbonz and vibrant Zings, there’s a lot to explore.
Whether you're a seasoned sock knitter or trying this method for the first time, grab your circular needles, choose your favorite yarn, and give two-at-a-time sock knitting a try. You’ll not only save time but also enjoy the satisfaction of completing a perfectly matched pair. Happy knitting!


