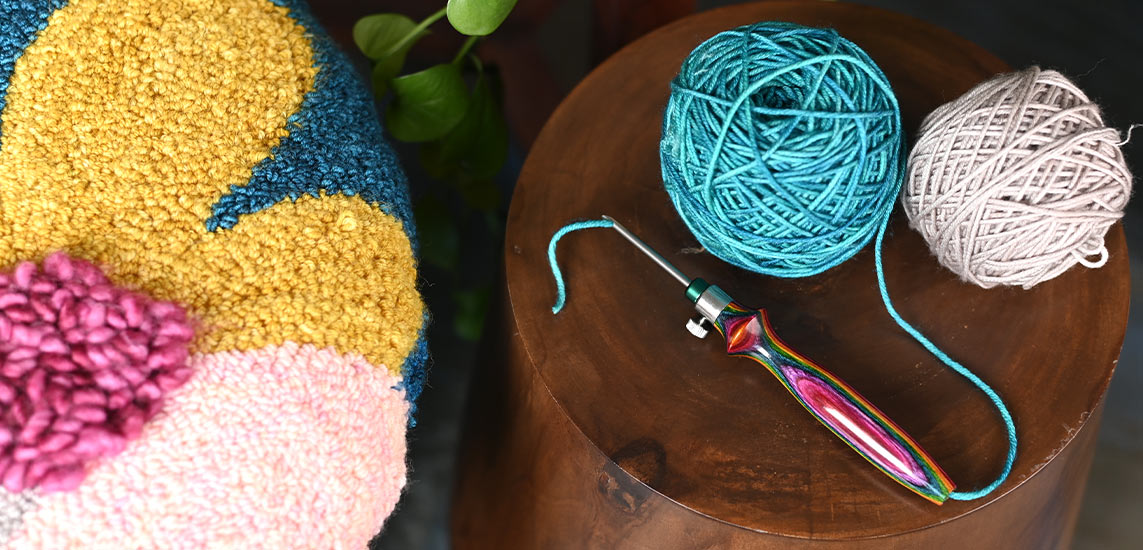
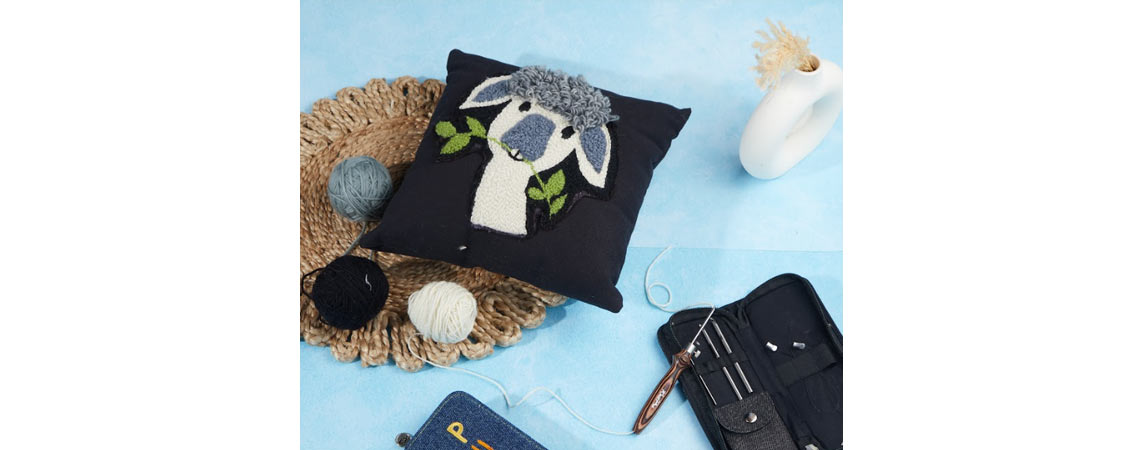
Punch needle embroidery is a rising star in the craft galaxy, adding depth and texture to DIY home decor and accessories. At its core, this technique involves using a unique tool known as a punch needle to loop yarn, thread, or fabric through a woven base, creating intricate patterns and tactile designs. The outcome is eye-catching artistry with a unique, plush feel.
One of the biggest draws of punch needling is its accessibility for beginners. If you're picturing complex patterns and intricate methods, think again. Punch needling remains approachable even if you haven’t dabbled in other forms of textile arts. Once you've grasped the foundational techniques, it's like painting with a pen. Just envision a design that speaks to your heart and translate that onto your fabric canvas with the colors and patterns that resonate with you.
Tools and Materials to Start Punch-Needling
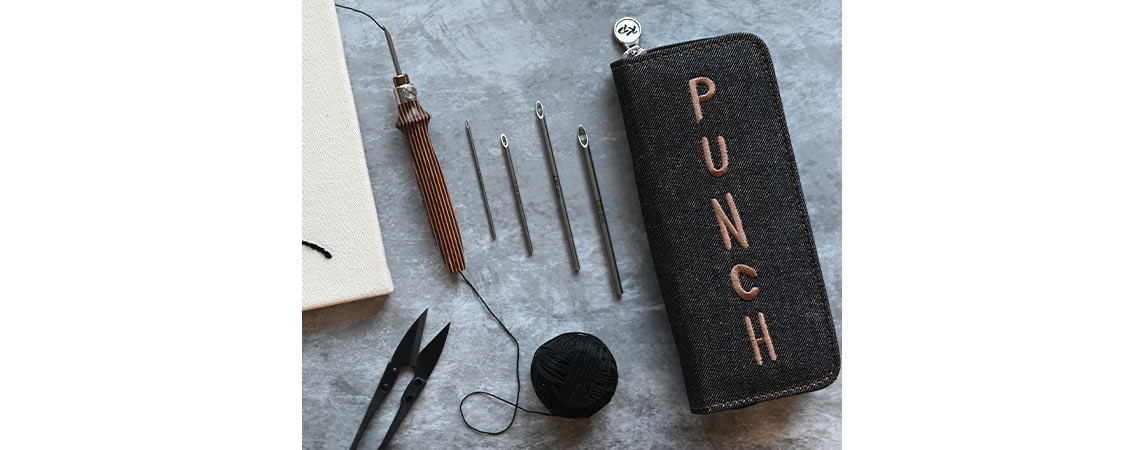
1. The Punch Needle Tool is the backbone of the craft. KnitPro’s Symfonie Starter kit provides users with a punch needle tool that's versatile and adaptive with four different needle sizes, accommodating a wide range of yarn weights. This ensures ease of penetration and proper loop formation, two crucial elements in punch needling.
2. Yarn or Embroidery Floss: New bie punch-needle artists often find success with Aran or worsted-weight cotton yarn. Its moderate thickness and stitch visibility provide a great introduction. Cotton's also a good choice, as its smooth texture lets it effortlessly glide through the fabric, plus it's durable and washable. However, if you're on a budget, acrylic yarn is a good pick, offering a wide range of colors and easy care.
A fundamental principle for beginners is to select a yarn that smoothly navigates through your needle, though. Whether it's leftover yarn, acrylic, or cotton, as long as it works effortlessly with your needle, you're on the right track!
3. The Canvas: Monk’s Cloth is a popular choice because of its uniformly loose weave. It ensures the needle glides effortlessly, minimizing the risk of fabric damage. Its durability is a testament to its quality, withstanding the repetitive nature of punch needling. A distinctive feature is its visible grid, which guides pattern precision and stitch uniformity. Weaver’s Cloth is a harmonious blend of polyester and cotton. Its texture and composition suit it for more detailed, finer punch-needle projects.
4. The Embroidery hoop or stretcher frame: This useful tool ensures you maintain a tight, consistent tension on the fabric. Proper tension is crucial for punch needling to ensure that the loops formed on the backside of the fabric are even and don't get pulled out easily.
Ideal Punch-Needle Beginner Projects
It's wise to first hone your skills on scrap fabric, familiarizing yourself with the tool and technique. Beginning with simple designs will foster confidence, give you some ideas about what types of yarn suit you best and practice the right yarn tension.
Punch-Needle Colour-Block Pillow
This quintessential starter project offers a fantastic opportunity to combine simplicity with style. Colour blocking, at its core, is about using large, solid blocks of colour in a design.
The larger, straightforward design provides ample space to practice and understand the tension required in punch needling. This project provides a balanced challenge, helping beginners hone their skills without feeling overwhelmed.
Sketch out a simple design on paper, dividing the pillow face into different blocks or sections for each colour. Consider using geometric shapes like squares, rectangles, or even diagonal lines. Prep your fabric by stretching it onto the embroidery hoop or frame, ensuring it’s taut. This provides a stable surface to work on. Lightly transfer your design onto the fabric with a pencil or fabric marker.
Thread your punch-needle tool and fill your pre-designed blocks with yarn loops. Then, fold the fabric in half, with the punch-needled side facing inwards. Stitch three sides together. Turn the pillowcase right side out, then stuff it with pillow stuffing or insert your pre-made pillow and stitch the open end closed.
Punch-Needle Wall Hanging
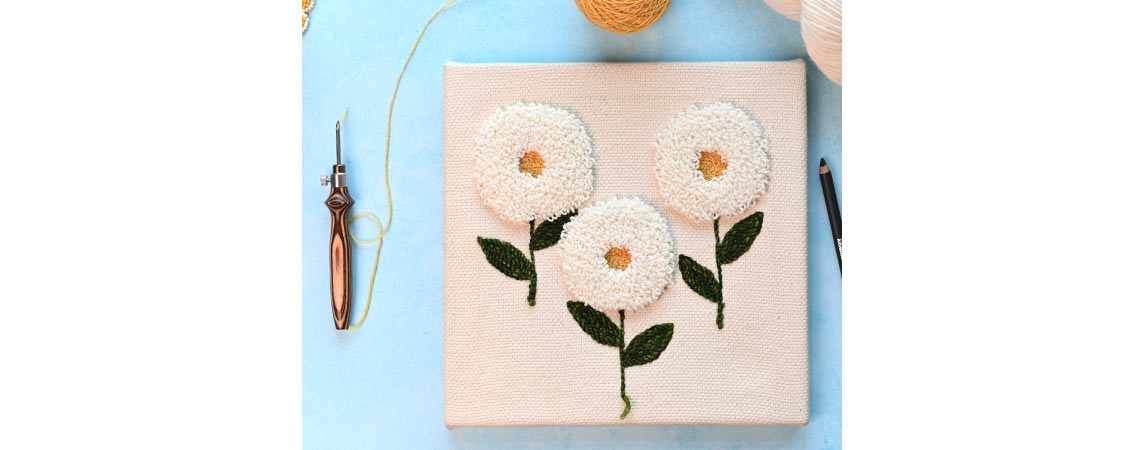
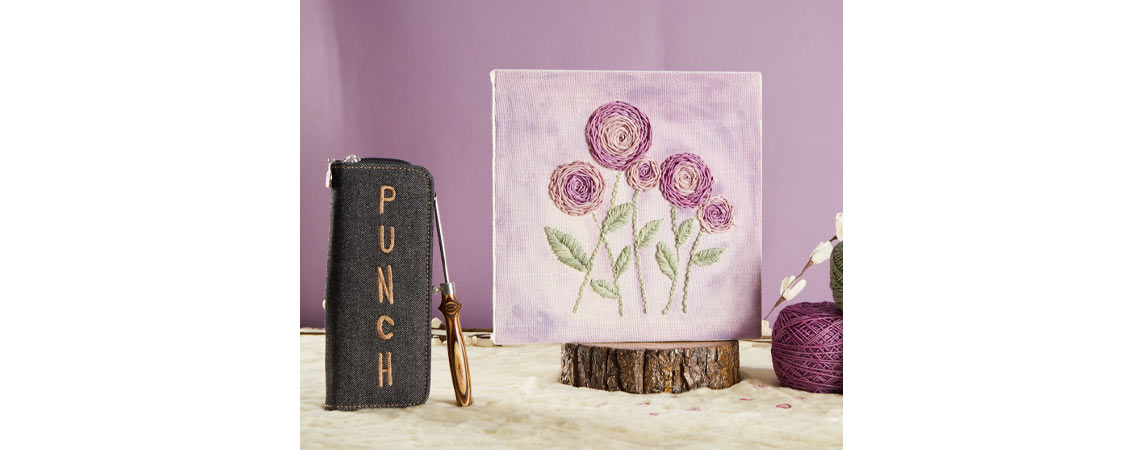
Creating a punch-needle wall hanging using KnitPro's pre-stretched frames simplifies the crafting process and ensures a professional finish, even for beginners. Begin by deciding on a central theme or motif for your wall hanging. Simple shapes like circles, triangles, or abstract patterns work well for beginners. Lightly sketch your design onto the pre-stretched fabric or transfer it from a paper printout using a fabric marker or pencil. Consider adding a border or fringes at the bottom for added aesthetic appeal.
To make your wall hanging pop, consider using yarns of different textures or incorporating varied punch-needle techniques like loop heights for added depth.
Punch-Needle Polka-dot Scarf
Creating a punch-needle polka-dot scarf in various colours is a great project to go through your yarn stash, but it requires the right materials and a clear design concept. A suitable fabric for punch needling a scarf that still has some drape is weaver’s cloth or monk’s cloth.
Decide on the size of the dots and the distance between them and draw them with the help of a glass or a little vase with a round opening onto your fabric. Secure the fabric into the embroidery hoop or gripper frame, ensuring it's taut and wrinkle-free. Starting with the polka dots, punch the needle down into the fabric, making sure the needle goes all the way down. Then, pull it back up, move a small distance forward, and punch down again. The loops on the fabric's backside become the "right side" for a punch-needle design.
If you wish to add a backing to your scarf to hide the back of your punch-needle work or add thickness, you can sew a piece of fabric, like felt or another soft material, onto the back. This can be done using a simple whipstitch along the edges.
Remember, the beauty of handmade items is that they can be tailored to your exact specifications, so feel free to experiment with different designs, colors, and materials to make it uniquely yours. Using the perfect KnitPro Punch-Needle Starter Kits and a touch of enthusiasm, this craft is fantastic for family bonding. Dive into this textile journey and craft your unique stories!


