The whip stitch also called overcast stitch, is a useful stitch to have in your knitting repertoire. This stitch does not need to be knitted by knitting needles but with a darning needle. This stitch is not only used to seam two knitted pieces together but it can also be used to add a decorative edge to a knitted piece. You do not need any special skills or previous seaming experience since the whip stitch is a very basic seam. You do not need the project to be on the knitting needles, it can be cast off with yarn ends weaved in.
In this blog, let’s add to your knitting knowledge and look at the basics of the whip stitch and how it is made.
Things You'll Need
- 2 knitted pieces: The whip stitch is used to seam knitted projects as well as sewing and crochet patterns. The pieces you have can be knitted any way you want. The knitting needles used for the project can be your choice as the whip stitch works on all kinds of knitted pieces. Even if you have knit with three or four double-pointed needles or circular needles, you can seam two pieces.
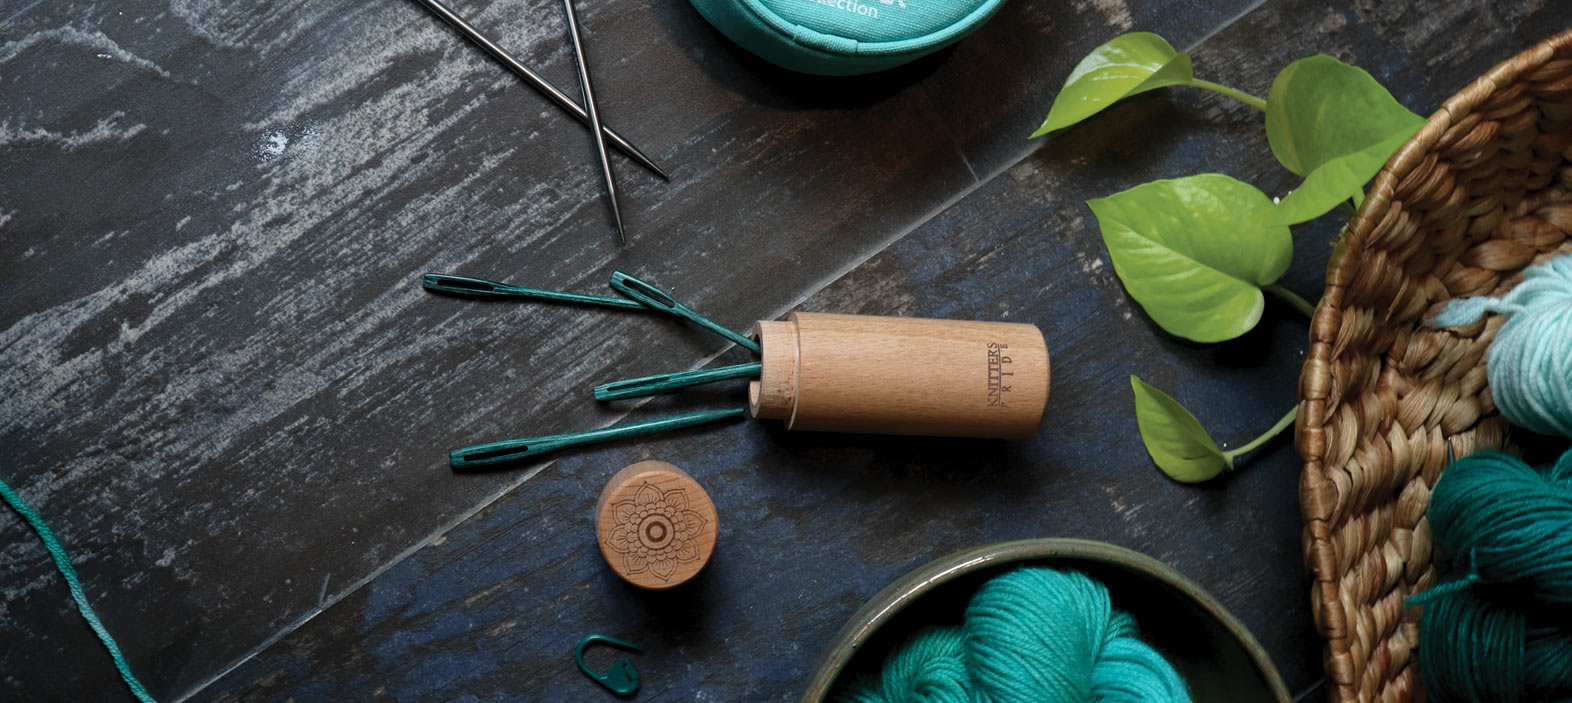
- Darning needle: Make sure to have a darning needle with a rounded tip, approximately the same size (or a little smaller) as the size of the knitting needle you used for the project.
- Yarn for seaming: Use a matching piece of yarn in a similar shade or the same yarn used on the project or a similar weight of yarn. Cut a length of yarn about three times the length of the edge you want to close. For example, if the toes of the socks are three inches long, then you need a nine-inch long piece of yarn.
- Scissors: Sharp, folding scissors are a knitting accessory every knitter must have. For the Whip Stitch, it is recommended that you have one.

How to work Whip Stitch Join
You need to decide which side you want to work from since it will determine your finished look. You can choose to work with either right or wrong side facing you, do you want to see the stitch loops on top of your work, or do you want as little visibility as possible? The choice is yours.
When sewing, be sure to not pull the yarn too tightly as this will create an unattractive puckered seam.
Step 1 - Place the two pieces of knitted fabric side by side with the right sides together. If your pieces are knit in stockinette stitch, then the bumpy purl stitch sides will be facing out while the ‘V’ knit stitches will be facing inside. Align the edges so that the two pieces are even.
Step 2 - Take a length of yarn that's about three times longer than the length of the seam. Thread the wool needle with the yarn. Make sure the darning needle is small enough to go through the stitches. Choose the size of the wool needle to be smaller than the knitting needle sizes you’ve used for the project.
Step 3 - Work one stitch in from the edge, insert the needle from back to front along the edge of the right side of both pieces, leaving a 4” tail at the beginning.
Step 4 - Pull the yarn through, allowing the yarn to wrap over the top edge.
Don't pull the yarn too tightly when seaming, otherwise, you will create a pucker or distort the knitted fabric.
Step 5 - Repeat steps 3 and 4 across from right to left until the entire edge has been seamed.
Step 6 - Once you've seamed the entire edge, cut the yarn, leaving a 4-inch tail. Weave in this tail, plus the tail you left at the beginning of the seam.
When to Use the Whip Stitch
-
To Line Knitting
If you're adding a lining to a hand-knit bag, for example, you can use a whip stitch to attach the fabric to the top of the bag.
-
To Create a Visible, Decorative Seam
The whip stitch is a visible seam, so use it when you don't mind showing off your seaming. To make the seam even more decorative, place the two pieces of knitted fabric with the wrong sides facing and whip stitch on the outside of the work. Some people highlight this by using a contrasting color of yarn.
-
To Join Squares
If you're knitting several squares and seaming them together to create a blanket or other knitted fabric, whip stitch is a quick easy way to join the squares together.
Hopefully, you have enjoyed this tutorial. With time and practice, you will soon master the stitch. There are also multiple videos, online, which demonstrate this seaming technique and others. Finishing a project well is gratifying. It makes your project look its best. After all, you have invested mindful time and effort into the work. Take your time completing it!
Similar to the Whip Stitch, the Kitchener Stitch is a useful stitch technique. This is used to close off the ends of socks toes, shoulders, etc. To seam your knitted projects, there are many other stitches and techniques.


