Stitch markers are visual and tangible reminders that something is about to happen in your crochet project. Beside the crochet hook and your yarn, they are your best friends to help you finish your work accurately and nicely. However, not all stitch markers on the market are valid for crocheting. Before you go and order just any stitch marker, because they just look so cute, have a look at our guide.
When crocheting, stitch markers are used to highlight the beginning of the crocheted part. When crocheting round, oval or other shapes you don't know exactly where the starting stitch is when increasing your stitches round by round.
What types of stitch markers are there?
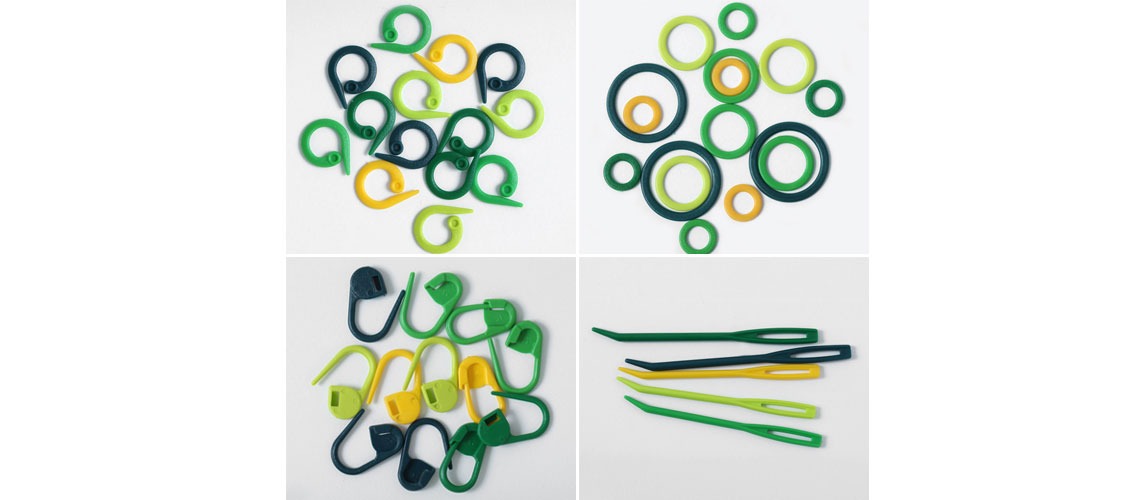
Stitch markers come in different shapes. In addition to plastic models that can be opened and closed, there are artfully designed versions with pearls that can be hung with a small metal hook. These are suitable for both crocheting and knitting. Then, there are safety-pin like markers and closed markers, such as rings. The latter ones can only be used for knitting, as you can take them off your needle when reaching the marked spot. As cute as they are, you do not want to use these ring markers for crocheting, as they will get stuck in your work forever (unless you wish to achieve this particular effect, that is).
When choosing stitch markers for your crochet WIP, the half open hooks will surely work, but the lockable ones are your best friend as a crocheter. Our MIO Stitch Markers are available as half open, split ring markers and as lockable pins. But unlike safety pins, lockable markers will be open when you buy them, and you should store them open, too. This way, the latch and its lock will not bend and last for a long time.
Here are only four of the many uses you can give these colorful, little helpers.
One of the most frequent problems which occur when crocheting rounds for a stuffed Amigurumi animal, a hat or a bag, is forgetting the spot where the round starts and ends. And what is worse, oftentimes, you won’t even realize you have an incorrect stitch count until much later, and suddenly, your unicorn has a crooked leg.
Our tip: Use a stitch marker from the end of your third round onwards, insert it into the last loop of your previous round, lock it, and move it up every two or three rounds.
The fun of crocheting is trying a new pattern, a lace stitch or perhaps a pentagon-shaped granny square. Marking the beginning and the end of your repeat pattern will not only help you concentrate on your beautiful new creation, you can additionally use another color to mark other, important spots. Your increases and decreases for example. And when you crochet an item over a longer period of time, crochet markers are your perfect companion to help you remember where you are.
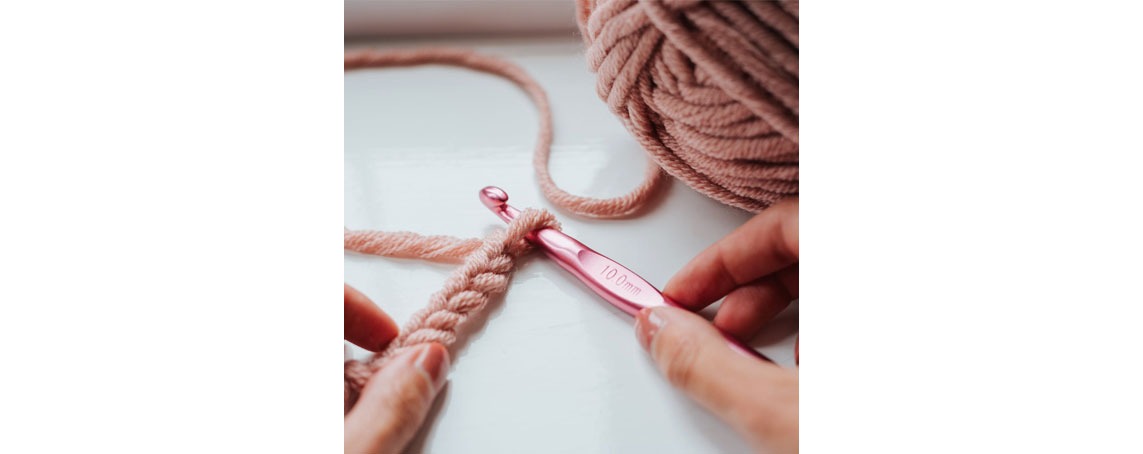
Yes, you have read correctly. Mark your mistakes. We all make them, even the most experienced crocheter frogs about a new pattern every once in a while. So, do not panic, or get frustrated. Just keep calm, mark your bug and move on. One of the advantages of crocheting is that you do not have to unravel all your work every time a mistake occurs, a missing stitch at the end of a row, and your square suddenly starts looking like a pyramid. For now, you can just highlight the bug in order to fix it later. In addition, your stitch marker can also help you catch a lost stitch or tuck in a pulled stitch. Of course, not all errors can be fixed, later on. Sometimes you just may have to undo everything, but we all have been there.
Do you work with a lot of stitches and are tired of having to count your stitches time and time again? Then use several stitch markers to divide the row into pieces. Hang a stitch marker on the first and then after every ten stitches. This way, you know at a short glance where you are and how many stitches you still have to finish in between markers. Use a different color marker to pinpoint the end of your row, as edges can be particularly tricky.
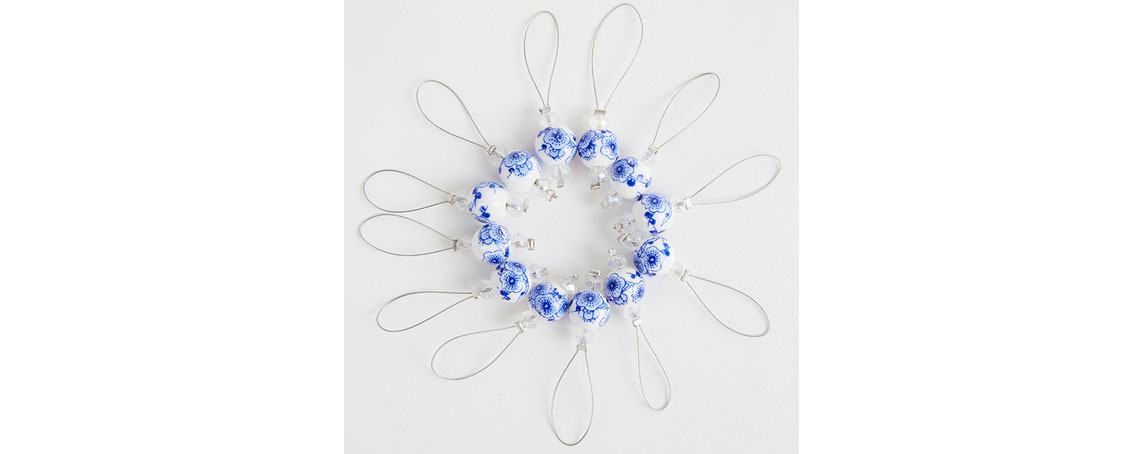
Use stitch markers when working with fluff or multicolored yarn. There are so many exciting yarn creations on the market. Fluffy yarn looks beautiful on a 3D animal or a cardigan, but its consistency will let your stitches almost disappear. If you are crocheting back and forth, insert a stitch marker into the first and last stitch. You can see right away where the two important stitches are and the edges will be nice and straight. If you are crocheting in the round, then place a stitch marker in the first stitch. So you know right away where the next round begins. Insert a different colored stitch marker after every three rows, and you can never lose count.
Beside many other advantages, crochet is very convenient when it comes to travel with your WIP or even work on several projects which require the same hook at a time. With the help of your lockable stitch marker you can comfortably secure the single loop that is left of your unfinished project and work on it again whenever it pleases you. Even if you pull the yarn your work is not going anywhere.


