In your knitting journey, you will come across this question on how to transfer stitches from one needle to another. Many times a pattern will instruct to transfer stitches from one needle to another. It can be confusing if you haven’t been told how to do this. Depending on your project and knitting needles, there are a lot of ways that you can get this done. You can either transfer stitches by knitting or without. In this blog post, we will cover the various scenarios where you will need to transfer your stitches from one needle to the other and help you with step-by-step instructions to do just that.
Transferring Stitches on the Same Size Needles
Sometimes while knitting you may need to change your needles. You have to transfer knitting to new needles of the same size. It may be because you might not feel comfortable with the needle material or your project might be running longer so you need to switch to circular needles with longer cables. You might be feeling the stitches slip or be too grabby, then you need to transfer the stitches on a knitting needle of the same size. This can be done with knitting or without knitting the stitches to another needle.
Method 1- With Knitting
This is absolutely required in the case that you are working with single pointed needles or using fixed circular needles. It is not compulsory to knit the stitches if you are working on interchangeable circular needles and just need to change the needles or the cables.
- Keep your current knitting project in your left hand.
- Hold the knitting needle (the one you are transferring the stitches) in your right hand.
- Knit the stitches one by one to the other needle.
- Be careful not to drop any stitches.
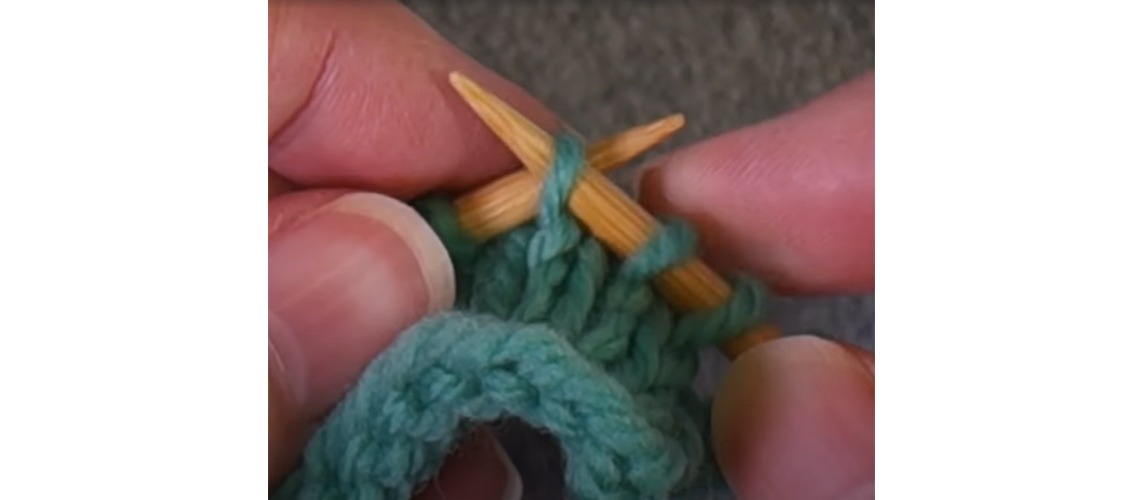
Method 2 - Without Knitting
There are many ways to transfer stitches without knitting.
Slip the stitches one by one to the other knitting needle. Make sure not to drop any stitch.
- If you are changing the cable length, adjust the stitches on the needle tips or use a stitch holder or a cord connector.
Transferring Stitches on Different Size needles
Oftentimes while knitting you might need to transfer stitches to a different size needle. Knitting to a bigger needle, the stitches will appear looser, on the other hand, when you are using a smaller needle, the gauge will appear tighter. When you are switching needle sizes, you cannot simply transfer the stitches from your needles to different-sized needles without knitting. The reason being the stitches will not fit properly with the needles.
- Hold the knitting project in your left hand and the needles in your right hand. Knit stitches following your pattern for the stitches to look neat and even.
- It’s better to choose a plain row, for example, all garter or stockinette stitch.
Transferring Stitches from Circular to Double-Pointed Needles
Many times while knitting in the round you may have to transfer stitches from circulars to double-pointed needles and even vice versa. This happens when you have stitches that can no longer cover the round! When you switch from circular needles to double-pointed needles, you usually go from one continuous loop to three or four double-pointed needles (DPNs). In this case, you will need to divide the stitches evenly between the DPNs to make it easy to knit in the round.
Method 1: Transfer and Divide Without Knitting
- Count all of the stitches you have on your circular needles and divide that number by 3 or 6. That will be the number of stitches that each DPN will hold. For example, if you have 36 stitches, three needles must have 12 stitches each and four needles must have 9 stitches.
- Put a stitch marker after the stitches.
- With a DPN on your right hand, transfer the stitches one by one without knitting.
- Continue this for each DPN till you have transferred all stitches.
- Do not worry about joining the needles at this point.
- After you have transferred all stitches from the circular needles, you can continue knitting your pattern with DPNs as you normally would.
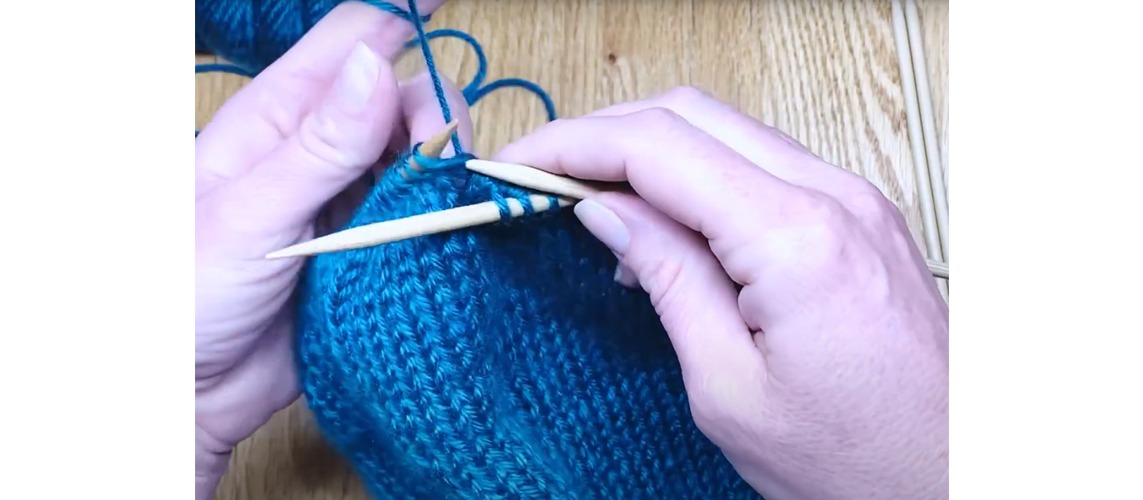
Method 2: Transfer and Divide While Knitting
- Count all of the stitches you have on your round needles and divide that number by 3 or 4. That will be the number of stitches that each DPN will hold.
- Count the stitches that each DPN will hold and place a stitch marker after each count; you should have two or three stitch markers dividing your stitches evenly on the needles.
- With a DPN on your right hand, knit the stitches following your pattern, stopping at the stitch marker. Remove the stitch marker.
- Continue till you have knitted all the stitches and there are none left on the circulars.
- After this step, you can follow your pattern with knitting in the round using DPNs.
Transferring Stitches from Double-Pointed Needles to Circular knitting needles
Once you have cast on stitches and knitted the small circumference on the double-pointed needles, you might need to switch to circular needles to give your knitting project more space.
This can be done with knitting or without knitting. Simply hold one needle tip of the circulars and one by one transfer the stitches from DPNs by knitting or without.
If you have never transferred stitches before, it is best that you knit and transfer stitches for an even gauge.
With the right knitting needles and accessories, you can absolutely enjoy knitting! If you want to know more about KnitPro’s range of knitting needles, refer to our previous blog.


