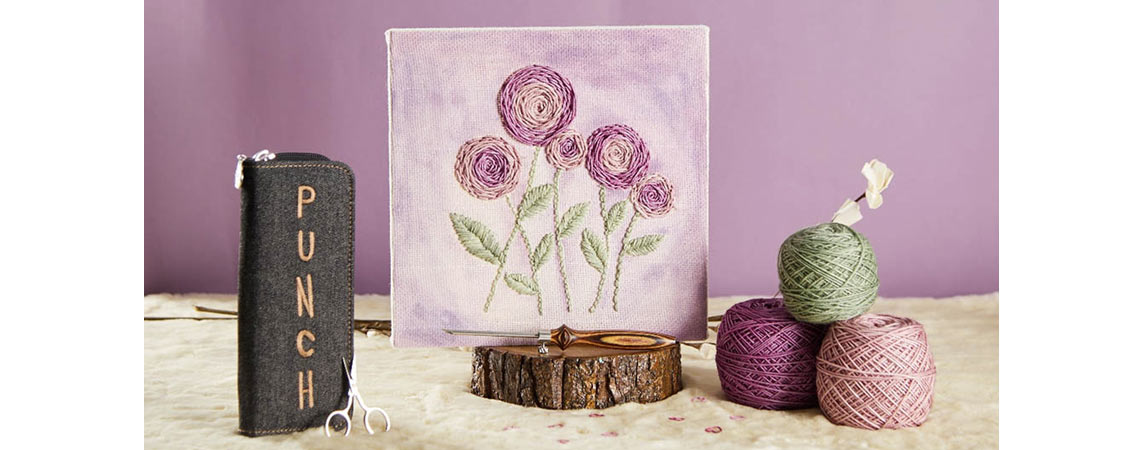
Punch needle embroidery is one of the easiest ways to make something entirely unique. It is so easy to use; anyone can do it, and the results can be absolutely stunning. You can make soft blankets and pillows, stylish scarves and accessories, or even beautiful wall art.
You're in the right place if you don't know how to begin. In this blog, we will show you precisely what you need to know to get started, from the materials you will need and the process of doing it to how you can put your new skill into practice.
Gathering Your Tools and Materials
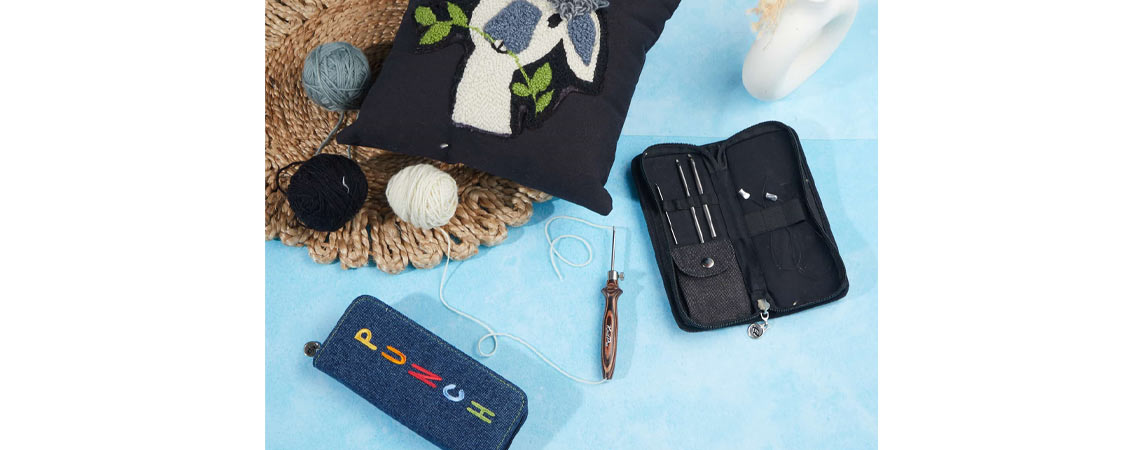
Punch needle: The punch needle itself is the heart of this craft. It resembles a pen, featuring a hollow shaft and a needle at one end. Choose from various sizes to accommodate different yarn thicknesses and textures.
Fabric: Select a suitable fabric for punch needle embroidery. Fabrics like monk's cloth or tightly woven linen work well due to their ability to withstand the tension created by the punch needle.
Hoop or Frame: An embroidery hoop or frame is essential to stretch and secure the fabric. This maintains tension, providing a stable surface for your embroidery work.
Yarn: Choose yarn designed explicitly for punch needlework. Thicker yarns are generally recommended, ensuring they effectively fill the space the needle creates.
Consider purchasing a punch needle set instead of individual items. These comprehensive punch needle kits typically contain various needle sizes, a needle threader, yarn, monk cloth, a hoop, and a punching machine, providing everything you need in one package.
Understanding the Anatomy of a Punch Needle
Before starting, familiarize yourself with the components of the punch needle:
Needle Tip
The sharp, pointed end of the punch needle pierces the fabric to create loops.
Punch Depth Adjuster
Punch needles have an adjustable depth setting, allowing you to control the length of the loops.
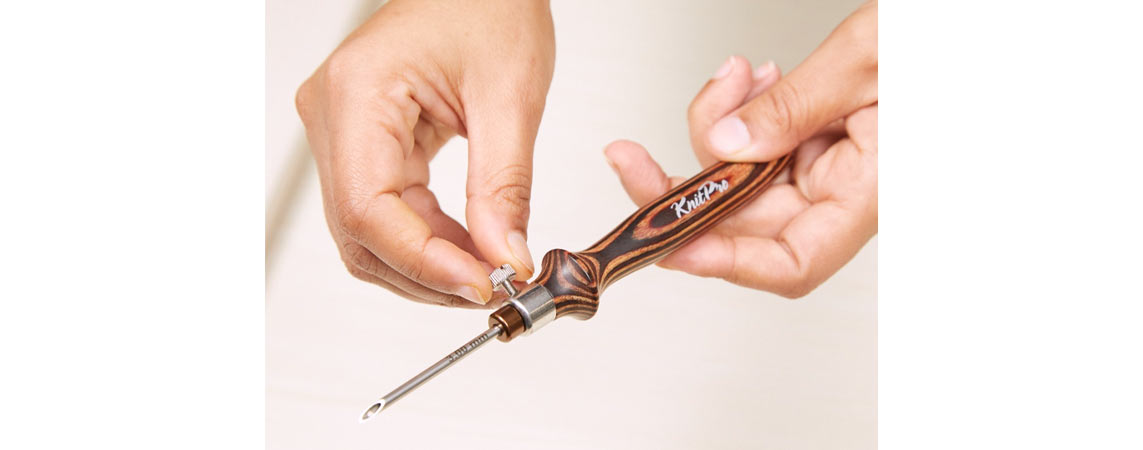
Eye or Shaft
The hollow part of the needle where the yarn passes through.
Grip or Handle
The area is designed for comfortable holding and maneuvering of the needle.
Setting Up Your Workspace
Prepare your workspace by securing the fabric in the embroidery hoop or frame. Ensure the fabric is taut but not overly stretched, which could distort your final design. Thread the punch needle with your chosen yarn, leaving a few inches of a tail at the back to secure later.
Here are the steps to thread a punch needle:
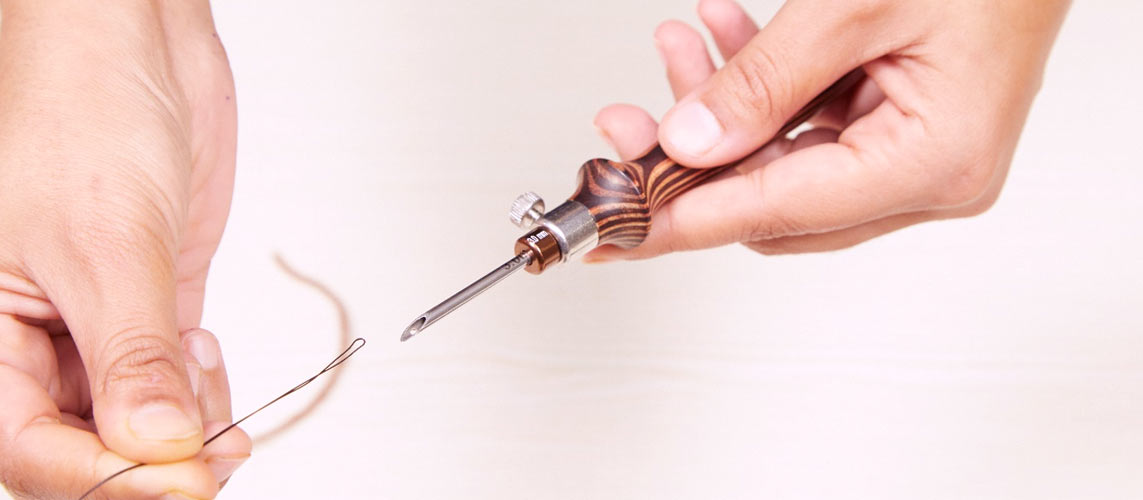
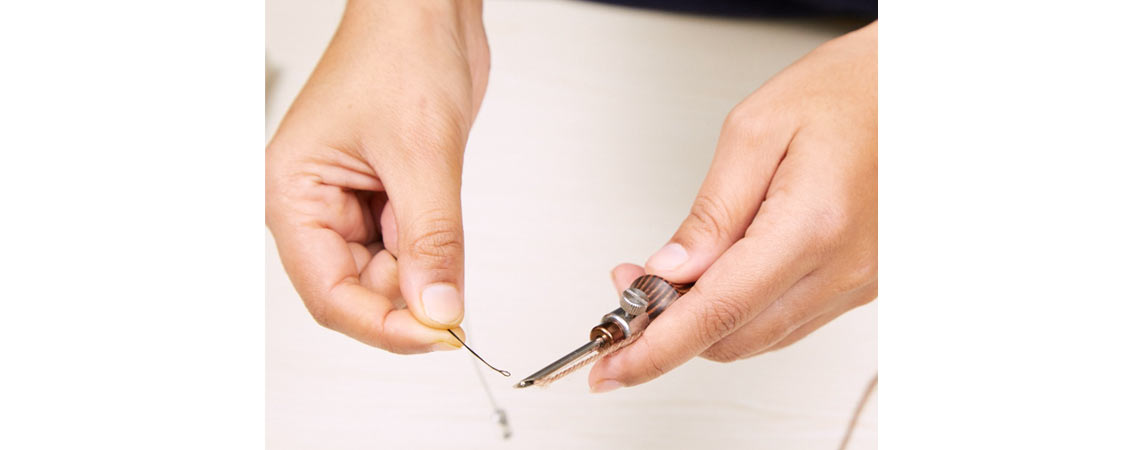
Using a needle threader can be really helpful, especially if the eye of your punch needle is small or if you're working with thicker yarn. Here's a step-by-step guide on how to insert yarn into a punch needle using a needle threader:
- Have your punch needle, yarn, and needle threader ready.
- Insert the needle threader's wire loop through the punch needle's eye.
When the wire starts to emerge coming out, grasp it firmly and proceed to thread it through.
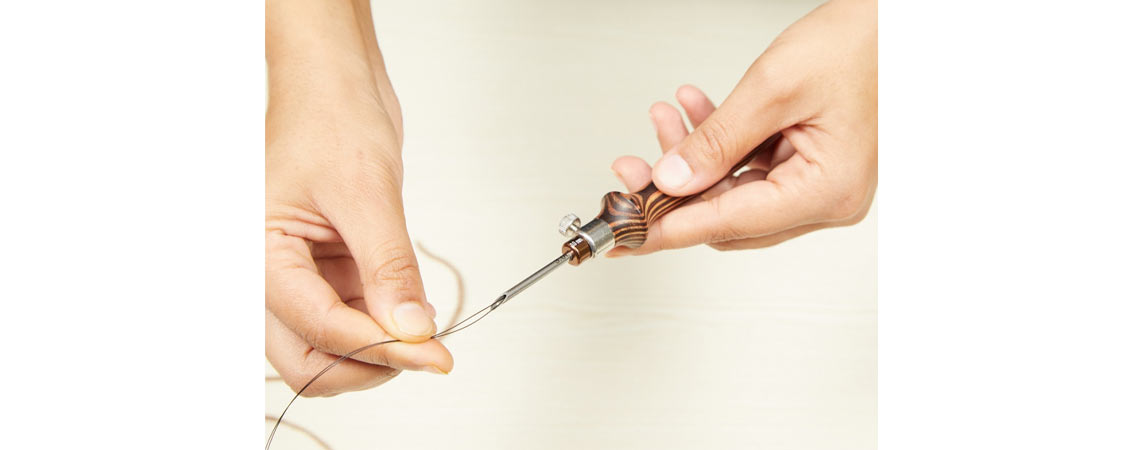
Ensure you leave a bit of yarn extending beyond the loop to prevent it from slipping out.
Gently pull the needle threader back through the eye of the punch needle. This action will guide the yarn through the needle's eye.
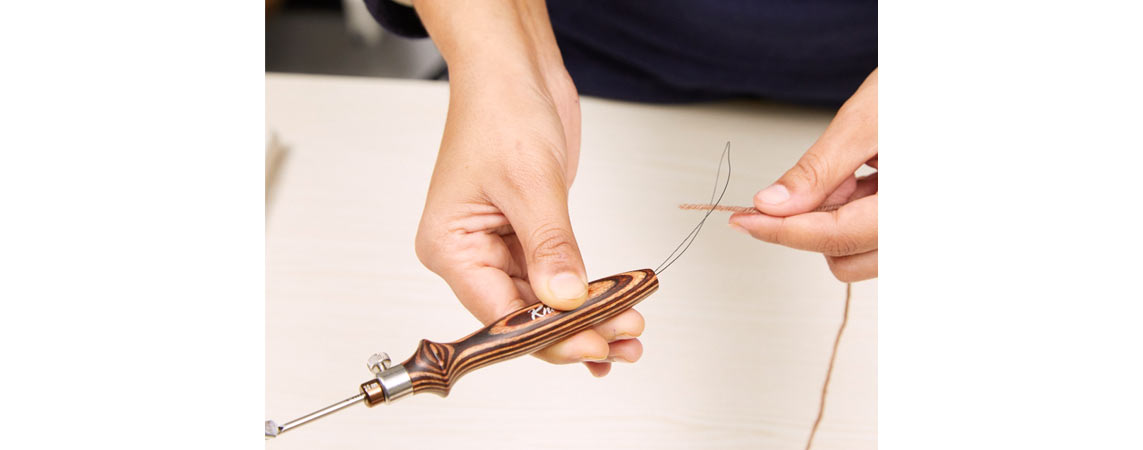
Once the yarn is through the needle's eye, carefully remove the needle threader from the yarn.
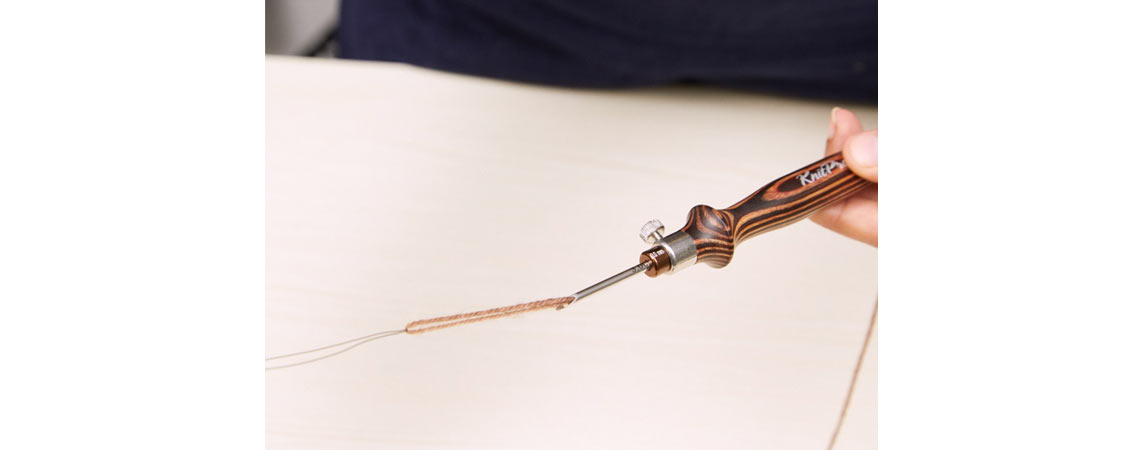
Leave a few inches of yarn as a tail, and if necessary, secure it using a knot to prevent it from slipping back through.
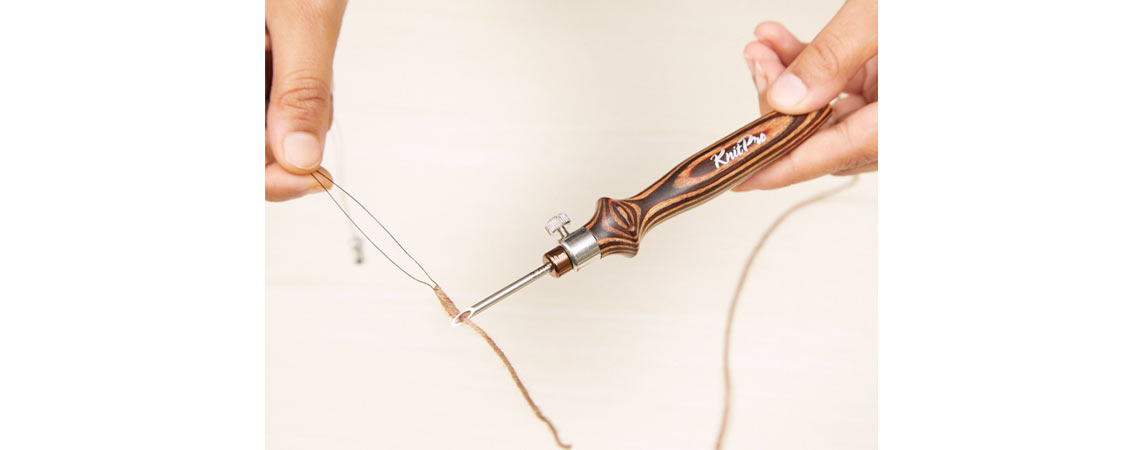
Hold the needle upright and push it through the fabric. The thread will come out from the needle's tip. Leave a tail underneath the fabric.
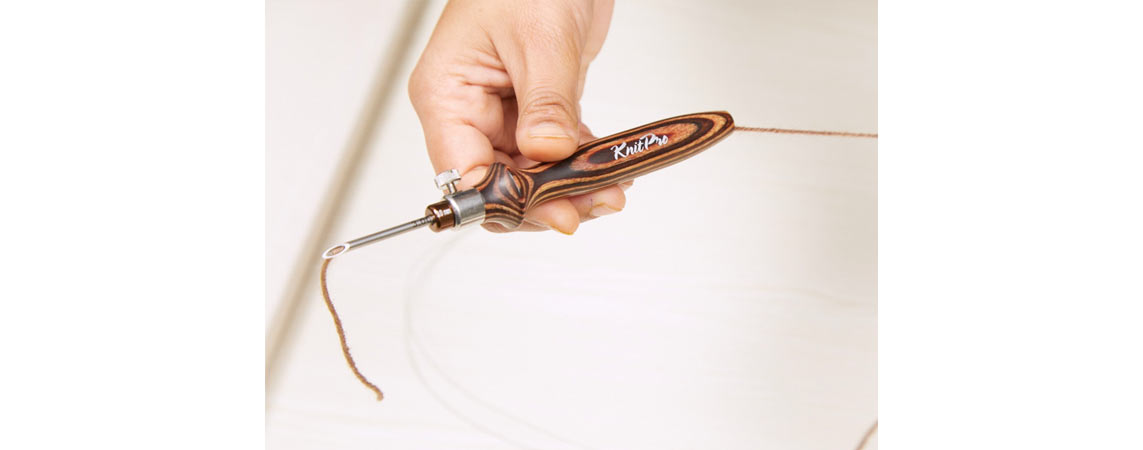
Initiating Your Punch Needle Journey
Step 1: Inserting the Needle
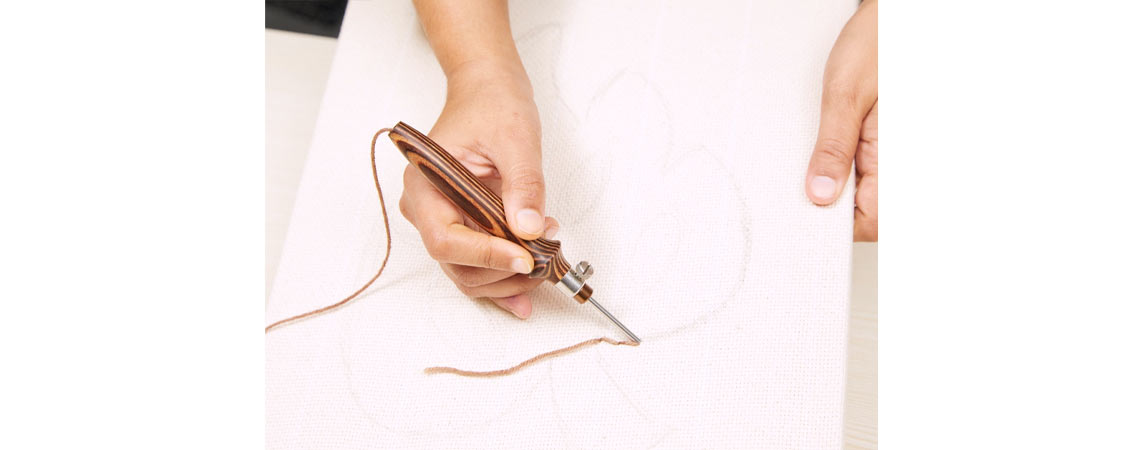
Hold the punch needle at a 45-degree angle to the fabric. Push the needle through the fabric until the depth adjuster touches the surface.
Step 2: Pulling the Needle Back
Once the needle is inserted, gently pull it back while maintaining a parallel position to the fabric. This action forms a loop of yarn on the underside.
Step 3: Continuing the Process
Repeat the punching process, ensuring each stitch is close to the previous one. This repetitive action creates a series of loops, forming your design.
Techniques and Tips for Success
- Keep the yarn taut but not excessively tight to prevent puckering the fabric.
- Try to maintain a consistent depth for even loop sizes throughout your design.
- Experiment with different needle orientations and movements to create various patterns and textures in your designs.
- Once your design is complete, secure the ends of the yarn at the back of the fabric. This can be done by knotting or weaving them to ensure your work stays intact.
- Begin with smaller practice pieces to familiarize yourself with the needle and tension.
- Start with easy patterns before moving on to more complex ones.
- Consider watching tutorials or taking a class to learn additional techniques and tricks from experienced crafters.
Your comprehensive guide to kickstart your punch needle art journey is complete. Simply follow these steps and keep practicing until you feel confident in this art form. And remember to have fun in all your punch-needle endeavors!
