
In a few knitting patterns, you may come across instructions across purl through the back loop. Even if you have never learned or encountered such instruction, you can easily work this out. The knitting technique is a simple variation of the basic purl stitch. However, it opens up new design possibilities. Though not-so-common, it is a great way to bring texture and definition with twist to purl stitch with your knitting needles. If you are aware of the purl stitch, this technique with a subtle twist will come naturally. In this blog, let’s learn everything about the Purl Through the Back Loop (PTBL) and add it to your knitting projects for better results.
What Is Purl Through the Back Loop (PTBL)?
Purl through the back loop, abbreviated as PTBL is a variation of the purl stitch. As the name suggests, the purl stitch is worked through the back loop. For a regular purl stitch, you insert your knitting needle tip into the front leg of the stitch however, for PTBL, you insert the needle tip into the back leg (loop) of the stitch. This different placement of the knitting creates a twist that alters the look of the purl stitch. There’s added texture that makes it stand out from standard purl stitches. Besides, the stitch technique lends strength, durability and subtle designs.
The best thing is that you can work with any knitting needles (single-pointed needles for back-and-forth knitting, double-pointed needles (DPNs) for small circumferences and circular needles for both back-and-forth and in-the-round knitting. You can take a look at our previous blog on how to knit through the back loop (KTBL) to understand the technique.

How to Purl Through the Back Loop (PTBL)
If you’re familiar with the basic purl stitch, PTBL will feel natural. Just mind the placement of the knitting needle tip and managing the yarn tension.
Make a slip knot and cast on stitches. For practice swatch, cast 15-20 stitches. Follow a stockinette pattern (alternating rows of knit and purl stitches) or even a garter pattern with all purl stitches. Now once you get to the stitch where you need to purl through the backloop, follow these instructions.
Step 1 – Hold the yarn in front of the knitting needles just as you would for a regular purl stitch.
Step 2 - Insert the knitting needle through the back loop.
Step 3 - As in a regular purl stitch, wrap the working yarn around the right-hand needle.
Step 4 -Pull the yarn through the back loop to complete the stitch.
Step 5 - Once you’ve drawn the yarn through, slide the old stitch off the left-hand needle.
That’s it! You’ve made a stitch with purl through the back loop. with this step-by-step guide keep working on the knitting technique.
Though it’s a basic purl stitch; by simply altering the placement of the knitting needle, the impact is substantial. Place a stitch marker for reference.

Uses of Purl Through the Back Loop (PTBL)?
In knitting, stitches made through the back loop are common, however, the technique to purl through the back loop is rarely used. Advanced knitters use it for a specific design purpose, however, there’s more to it.
You can purl through the back loop (PTBL) useful for:
1. For Added Texture and Definition
When you purl through the back loop, you bring a twist to the stitch which adds a textured look to your fabric. The texture gets the spotlight in otherwise stockinette or reverse stockinette stitch patterns.
2. To Prevent and Correct Loose Stitches
This knitting technique tightens the purl sticth up slightly, which can help control the tension in your knitting. This is especially useful if your purl stitches tend to be a bit loose or if you’re working with a particularly stretchy yarn.
3. To Strengthen the Stitch
The twisted effect of PTBL adds extra strength to your knitted fabric. So, for the heel of a sock or the cuff of a sweater, the technique strengthens the fabric, making it more durable without adding bulk.
4. Design Accents
PTBL can bring out the textures of purl stitches perfect for knitting cable stitch patterns. Using PTBL in the borders of scarves, blankets, or shawls adds a delicate yet distinct touch. The twisted stitches form a clean, defined edge that can elevate the overall appearance of your project.
5. Better Ribbing
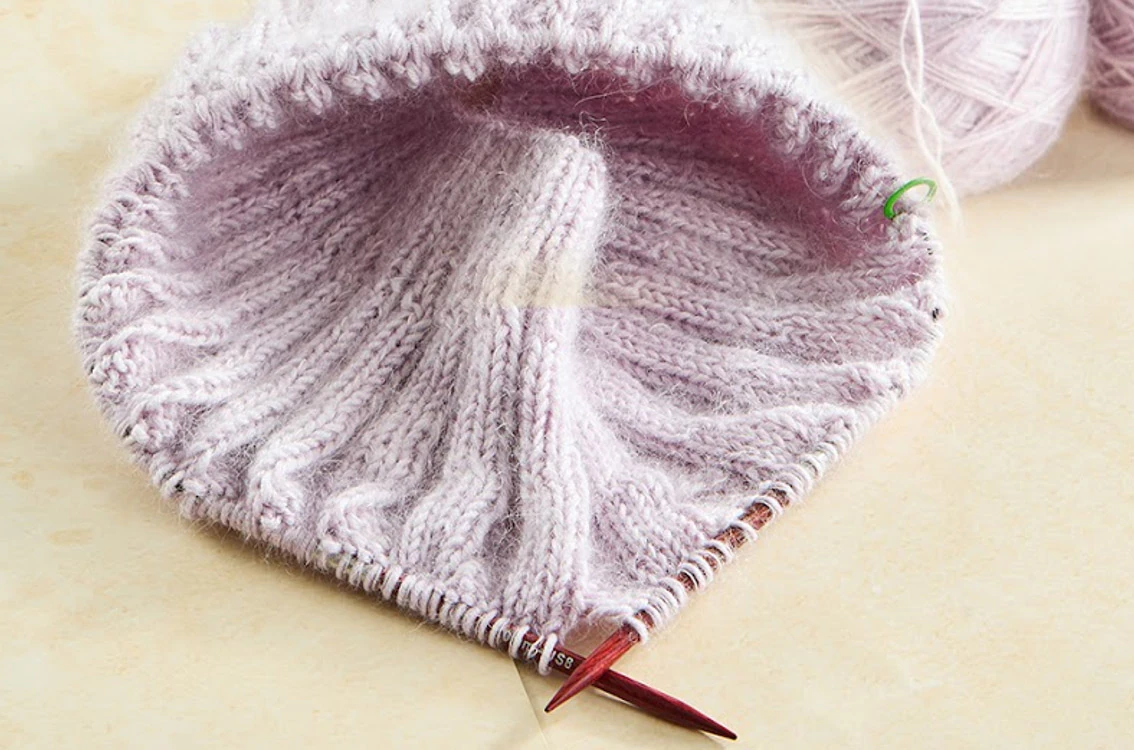
Rib stitches are worked with both knit and purl stitches and with PTBL the twisted purl stitch is better at creating a rib stitch pattern. The result is tighter and more elastic than traditional ribbing, making it ideal for cuffs, necklines, and hat brims where you want a snug fit. You can experiment with a Fisherman’s Rib Stitch Pattern to see it for yourself.
Purl through back loop is an underrated technique in the world of knitting. With a twist to the purl stitch,it brings out the design. From added strength to better texture, there’s so much happening with the modified purl stitch. As with all techniques, the best way to master it is through practice. Choose knitting needles and accessories that you will be comfortable with to enjoy the crafting process. Explore the KnitPro Collection for the widest range of knitting needles. Very soon you will be reaching out for the knitting technique for your projects.


