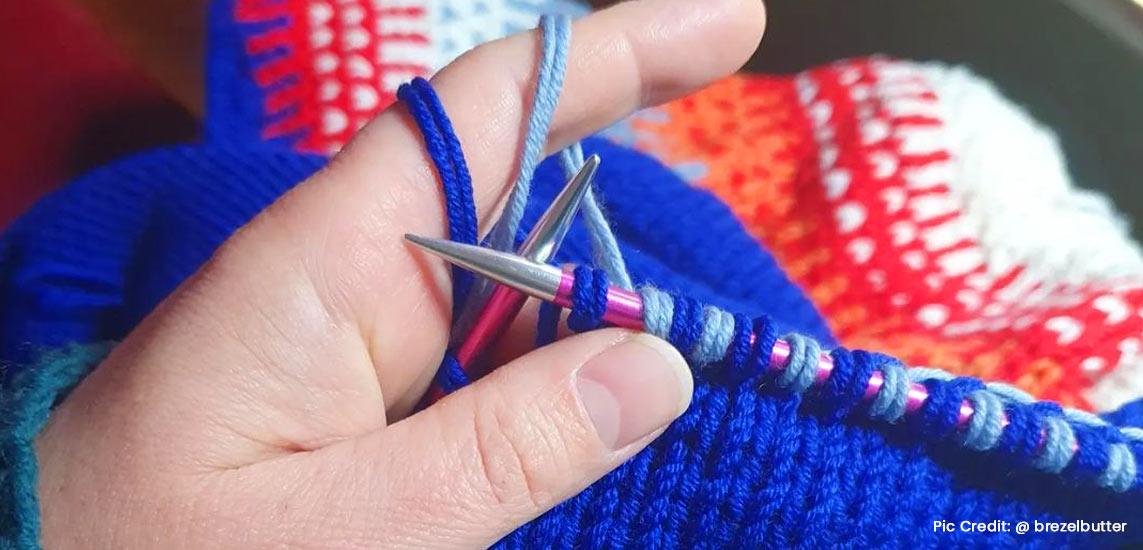
Picking up stitches is a technique that is often used in knitting projects that require adding new stitches to an existing piece of knitting. It is a fundamental knitting technique that opens up endless possibilities for your projects. It allows you to create seamless sleeves, collars, or button bands for cardigans, making your knitting projects long-lasting and professional-looking. It's a versatile technique to know, and you can pick up stitches in any project regardless of whether you have crafted it on straight, circular, or double-pointed knitting needles.
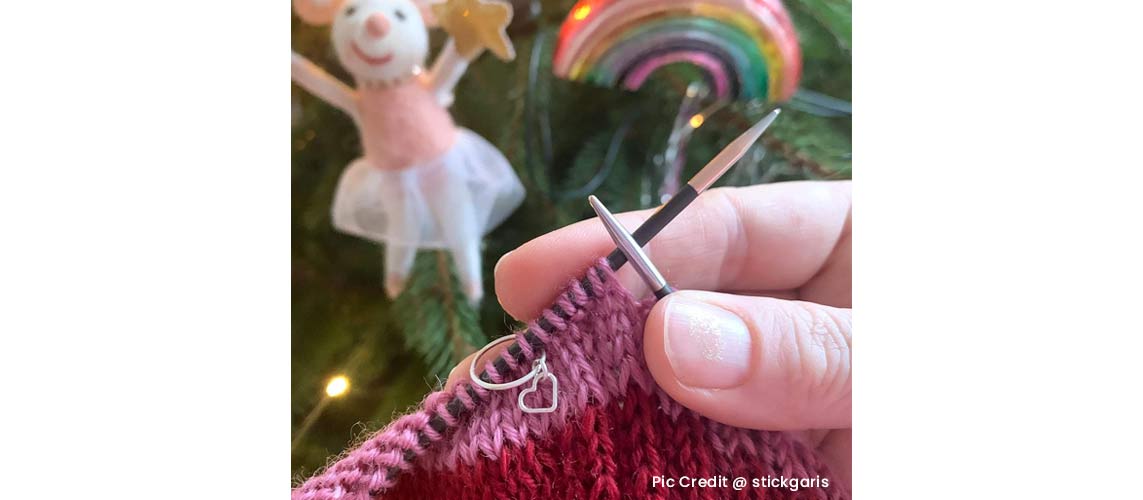
When is it beneficial to pick up stitches?
The short answer is every time you wish to avoid having to sew two edges together. That is the beauty of knitting - there is always a way to create a seamless project.
- Adding sleeves to a sweater: After knitting the body of a sweater, you can knit into the stitches along the armholes to knit the sleeves.
- Creating a collar or cuffs: Taking up stitches along the neckline or around the bottom of a sweater can add a collar or cuffs to a sweater.
- Knitting shawls, blankets, or scarves: Some shawl and scarf patterns require you to pick up stitches along the edge of the knitting to create a border or fringe.
- Knitting socks: There are many ways to knit the heels of a sock. But if you knit a traditional, rectangular Dutch heel, you will need to pick up stitches along the edges of the heel flap to create the heel turn.
- Creating button bands: By picking up loops along the borders of a V-shaped sweater or cardigan, you can create button bands to give your work a neat closure.
- Repairing knits: Picking up stitches can help fix mistakes or holes in a piece of knitting and re-knit the affected area.
- Crafting pockets. This is an elegant technique for inserting inner pockets into your cardigans or jumpers.
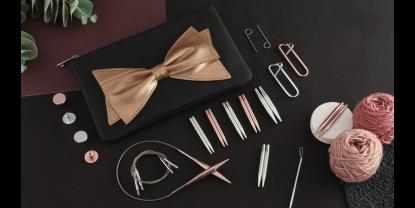
When working on a larger garment like a cardigan or sweater, it is helpful to have a set of interchangeable knitting needles. They allow you to easily switch between different needle sizes without purchasing multiple fixed circular needles. This can be useful if you raise the loops with a different needle size than the one you used for the central part of your project.
How to pick up stitches?
Using a knitting needle in a smaller size can help you to insert your needle in the sometimes tighter loops around the edges without splitting the yarn.
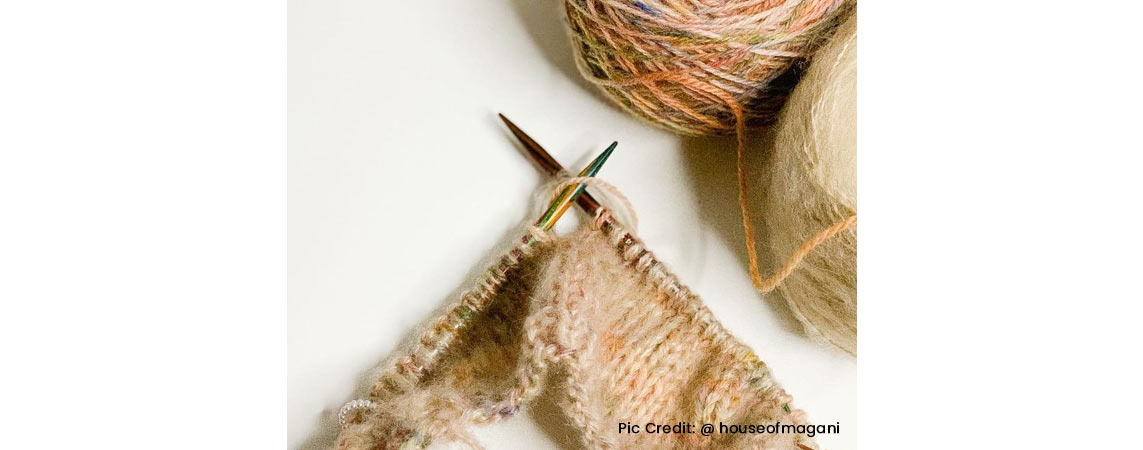
Step 1: Prepare your knitting project by identifying the edge where you need to lift the loops. Make sure the edge is smooth and even.
Step 2: Hold the area to work with in your left hand and the empty needle in your right hand. If you are left-handed, it works perfectly the other way around.
Step 3: Insert the tip of the right-hand needle from back to front into the first stitch on the edge of your knitting project.
Step 4: Bring the yarn over the right-hand needle from back to front.
Step 5: Draw the loop of yarn through the stitch on the edge of the knitting project, creating a new stitch on the right-hand needle.
Step 6: Repeat steps 3-5 along the entire edge of your knitting project, picking up one stitch in each stitch or space along the edge.
Step 7: Once you have all the required loops on your left-hand needle, you can knit or purl them as desired.
It's important to remember that the tension of your stitches when picking them up will affect the tension of the rest of your work, so make sure to pick up those stitches with the same tension as your knitting.
How to pick up stitches alongside a stockinette edge as opposed to a purl edge
This is the moment where we have to talk about the different directions of your stitches on the needles, as they will automatically impact how you pick up stitches alongside edges which will affect the seamless appearance of this particular part of your piece.
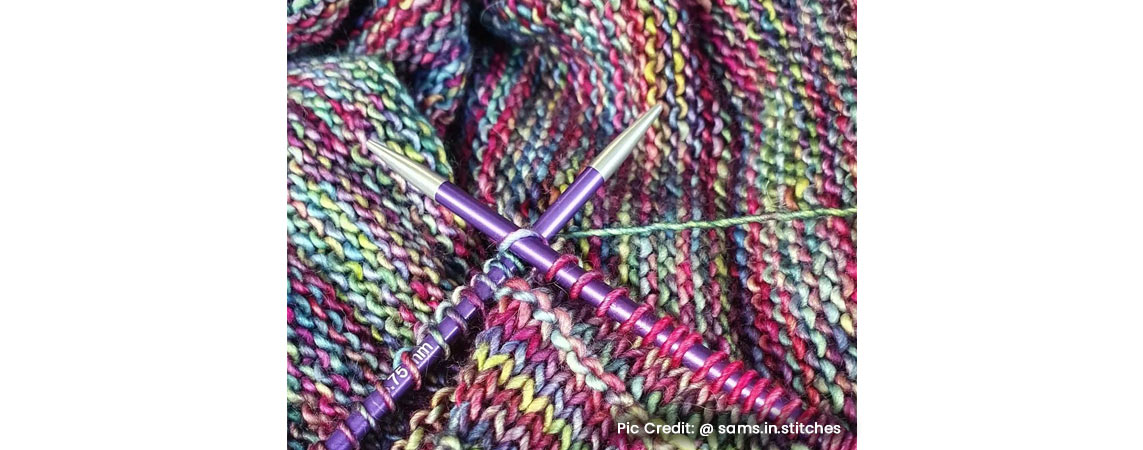
The main difference between picking up stitches along a knit edge and a purl edge is the direction in which the needle is inserted. When raising stitches along a knit edge, the needle is inserted from front to back, while when lifting them along a purl edge, the needle is inserted from back to front. This will result in a different appearance of the transition when you're done.
The tension of the stitches does also differ; when picking up loops along a knit edge, the stitches tend to be looser, and when picking them up along a purl edge, the stitches tend to be tighter, so when you're working on a pattern that calls for picking up stitches along a purl edge, you might need to adjust your tension accordingly.
When making new stitches along a knit edge, the right side of the knitting will face you, and you will insert the needle into the "V" shape created by the knit stitches. When picking up stitches along a purl edge, the wrong side of the knitting will be facing you, and you will insert the needle into the bump typical for purl stitches. This procedure will create a new purl stitch on your knitting needle.
Learning to pick up stitches isn’t just about functionality; it also adds a new level of creativity to your knitting. You can experiment with different stitch patterns, textures, and borders, giving your projects a unique and personalized touch. You can play with colors and patterns, creating stunning shawls, scarves, and blankets that will be the envy of all your friends and family.
Furthermore, picking up stitches is a technique that can be adapted to any skill level. It's a great way to challenge yourself, and improve your knitting skills, as you will learn how to work with different types of edges, such as garter, ribbed, and slipped-stitch edges.
So, give this exiting technique a try and unleash your creative potential!


