The slip knot is the start of most of your yarn-craft projects! Whether you are knitting or crocheting…the slip knot is the same but different in the ways. It is the first knot (a stitch) to attach your yarn to the knitting needle or crochet hooks and then begin the next steps.
Slip knots are counted as the first stitch in knitting (the cast on) while in crochet it depends on the pattern. If you are a beginner or an advanced knitter or crocheter, chances are that you have been making slip knots but it’s always great to know new techniques. And, for a beginner it is best to get it right and knowing the many ways of making a slip knot is certainly worth your time and effort. By the end of this tutorial, hopefully you’ll be slip-knotting like a pro! So, let’s get started.
Gather your knitting needles or crochet hook and of course yarn. This knot is same, whether you work on a pair of single-pointed or the circular knitting needles. Even for working on a pattern in the round of double pointed needles you need to make a slip knot on one of the five needles of the set. The same knot goes for the all techniques of crochet. Even Tunisian crochet begins with the knot. Remember for slip knot, you don't need to measure the yarn precisely, but keep enough extra yarn to work with.
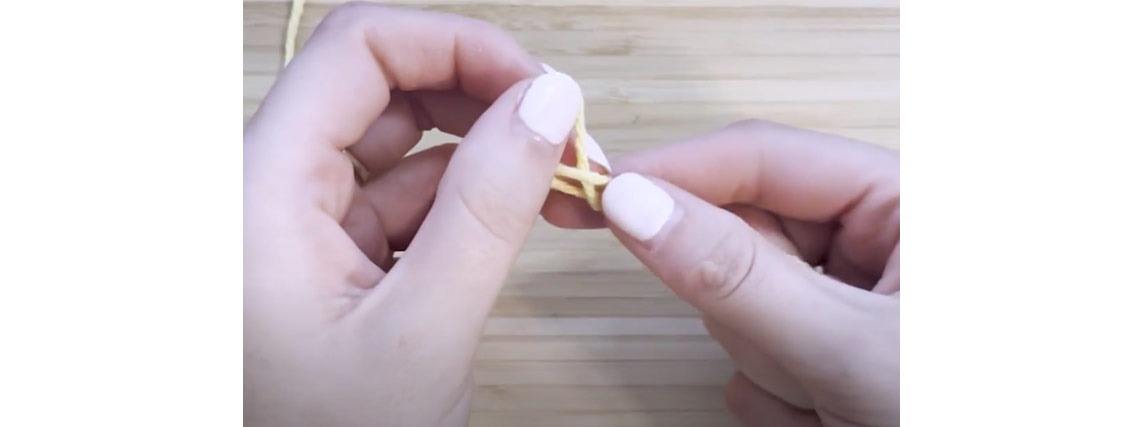
Method 1 - Looping, Pinching, and Pulling Up
Step 1 - Pick up the yarn roughly 10-12cm from the end and pinch it between your fingers, it should drop down into a U-shape also known as bight.
Step 2 - Twist your fingers clockwise to make the yarn cross over and form a loop.
Step 3 - Put two fingers inside the loop and expand it out, keeping the shape intact.
Step 4 - With fingers in the loop, grab the yarn (the one leading to your yarn ball or skein) and pull few inches of yarn partially through. The side leading to the end of yarn is shorter and is called the tail. With the yarn form another bight (U-shaped bend).
Step 5 - Tighten the knot by pulling the tail of the yarn. Make sure to knot to cinch the whole thing down yet however, make the knot closer together looking a bit like a noose, with a knot on the bottom of a yarn loop.
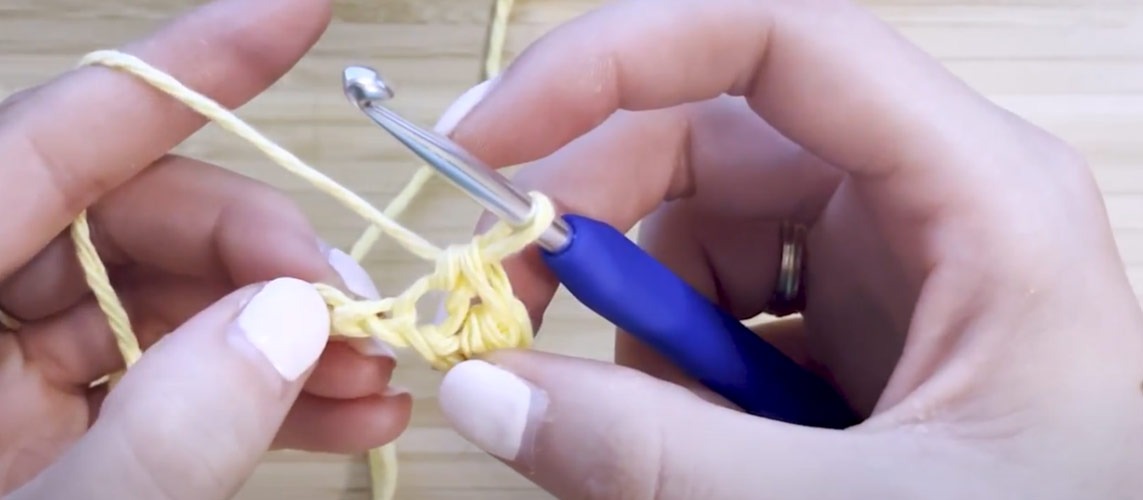
Step 6 - Now slide your knitting needle or crochet hook into the loop and pull both ends of yarn tight. Pull both the yarn ends simultaneously to tighten your slip knot.
A slip knot easily tightens and loosens around the needle or hook.
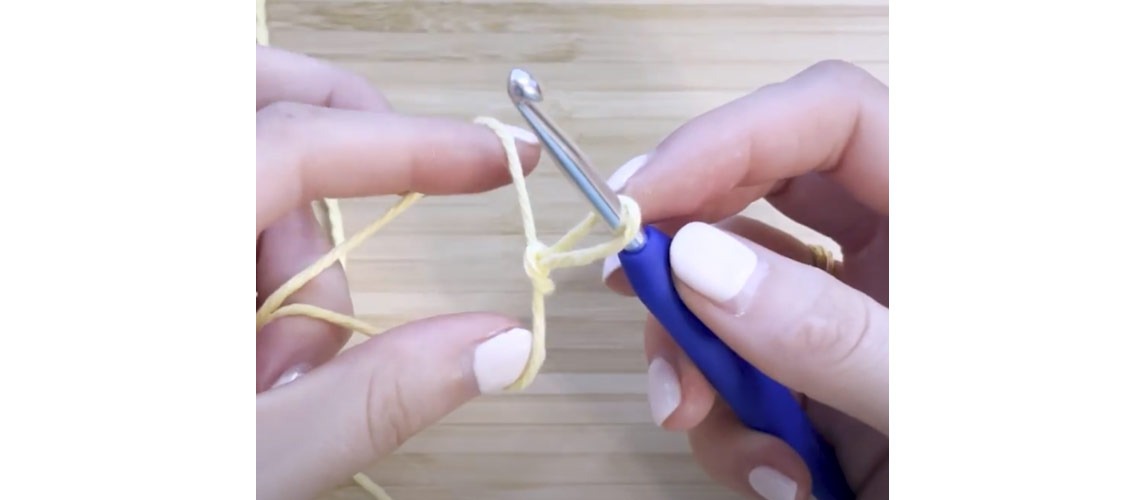
Method 2 - Feeding a Loop into a Loop
Step 1 - Pick up the yarn approximately 10-12 cm from the end making a U-shaped "bight" in the yarn.
Step 2 - Create a loop by taking the long end of the yarn (the one leading to the yarn ball or skein) and wind it over the top of the shorter end (tail).
Step 3 - Hold the point where the yarns cross tightly between your left thumb and forefinger. Now form another half-loop here, like you did in step one of this method.
Step 4 - Feed through the back of the loop creating a loop in a loop.
Step 5 - Pull the yarn tail of the knot to tighten the first loop around the second making the knot much cleaner and easier to manage.
Step 6 - Take your knitting needles or the crochet hook into the remaining loop and pull the long end of the yarn to close the loop over.
You have a slipknot.
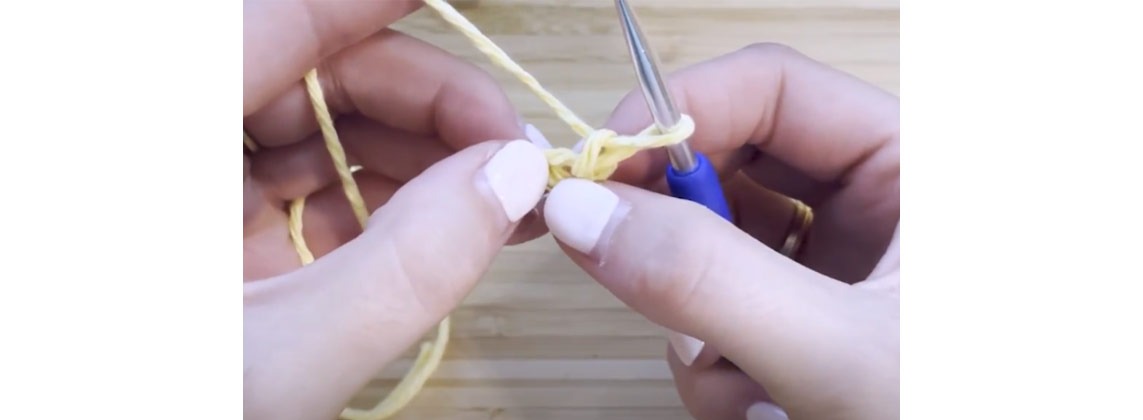
Method 3 - Looping and Pushing Through
Step 1 - Similar to the other methods, first pull out about 10-12cm of yarn from your yarn ball. This length can be lesser or more depending on your comfort.
Step 2 - Make a loop in the yarn by tucking the end of the yarn under the rest of the yarn. Double the yarn, then slide the end underneath the rest of the yarn to make a circle.
Step 3 - Flip the loop back down so it lays on top of the rest of the yarn. Make sure you flip it towards the side with the rest of the yarn, not the side with the end of the yarn.
Step 4 - Pick up the yarn inside the loop and pull it through. Simply pinch the straight line of yarn underneath your loop and pull it through naturally forming another loop.
Step 5 - Pull the end of the yarn to get the knot tight, keeping the loop at the top open. You only want to tighten it enough to close the first loop you made, leaving the other loop open on top. It looks a bit like a noose.
Step 6 - Slip the knot onto a knitting needle or crochet hook and pull both ends to tighten the knot.
We hope that you enjoyed our tutorial on making a slip knot. With KnitPro knitting needles and crochet hooks, you can start expressing your creativity. Choose from the wide variety of needle in various materials and designs. Crochet hooks come in varieties of single-ended, double-ended as well as Tunisian crochet hooks.


