If you are looking for a way to welcome a new one into your family, here is an idea that is sure to make everyone smile, including the new baby: Knit a Log Cabin Blanket.
This design has a special place in the hearts of people who love quilts. The cool thing about it is that it can be replicated in knitting easily and it is great fun. It’s safe to say that whoever receives this work of art will probably keep it for a lifetime. It’s the type of blanket that goes from wrapping your newborn to being a favorite “blankie” within a few short years. It can be made in a small size, or by duplicating the log cabin blocks, you can increase the size.
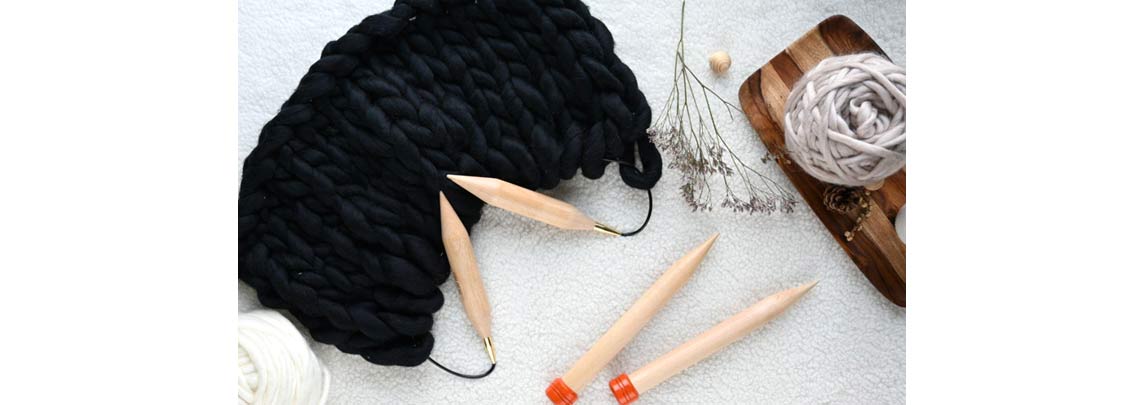
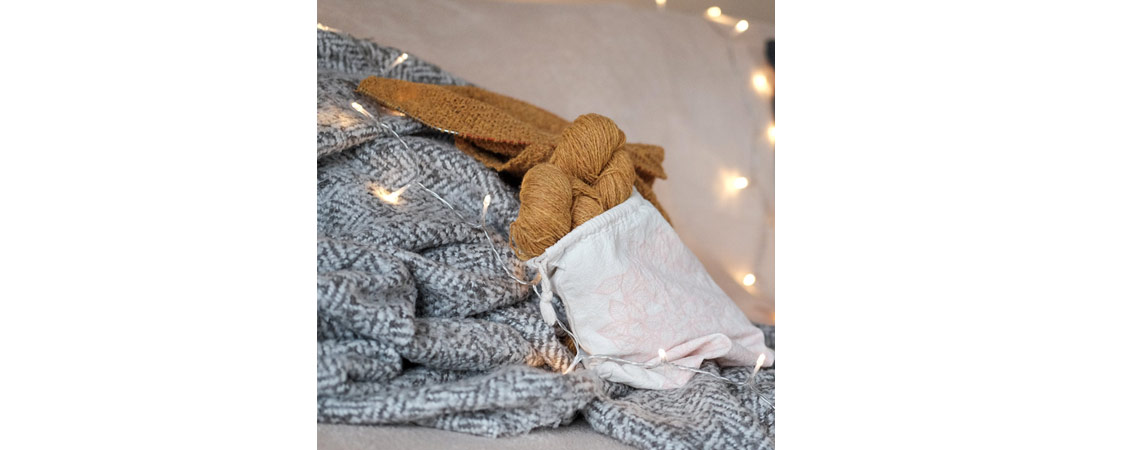
Following is a brief tutorial on how to make a log cabin blanket for a baby or child. It uses 5 colours, each of which calls for 100 yds of yarn, a size 10 knitting needle and a crochet hook.
It is recommended that you use a chunky weight, washable yarn for your first since it will go quickly. There are plenty of washable wools that are soft to the touch. Wool is warm, but you can also use a cotton and wool blend for babies in not-so-cold climates. Pure cotton is also fine as is a wool/nylon combination. Try and find materials that are as natural as possible since the synthetic yarn is not, as a rule, warm, plus, artificial fibers are not good for the environment.
If you are using a chunky weight yarn, a US size 10 knitting needle is a good choice. If you want to use a lighter weight yarn, like a worsted weight, that’s fine, but you would need a US size 7 knitting needle.
Once you are ready to begin, you will start with the center square and will continue to build from there. This blanket is knit entirely in a garter stitch. It’s easy – just remember that one ridge of garter stitch is 2 rows of knitting. This pattern was done with chunky yarn, but it can be done in more than one weight of yarn.
This blanket square will be worked in one piece and every row is knitted. Each block is picked up and knit from the previous one.
1st Block: With colour A, cast on 9 sts. Knit 17 rows (garter st), noting the first row is WS. Cast off, joining new colour (B) to last st.
2nd Block: Turn the work 90 degrees clockwise. With colour B, pick up and knit 9 sts across side edge of 1st Block. Knit 17 rows. Cast off, joining new colour (C) to last st.
3rd Block: Turn work 90 degrees clockwise. With colour C, pick up and knit 9 across side edge of 2nd Block and 9 sts across the bottom edge of 1st Block -18 sts. Knit 17 rows. Cast off, joining new colour D to last st.
4th Block: Turn work 90 degrees clockwise. With colour D, pick up and knit 9 sts across side edge of 3rd Block and 9 sts across side edge of 1st Block. 18 sts. Knit 17 rows. Cast off, joining Colour E to last st.
5th Block: Turn work 90 degrees clockwise. With Colour E pick up and knit 9 across side edge of 4th Block, 9 sts across top edge of 1st Block and 9 sts across side edge of 2nd Block. 27 sts. Knit 17 rows. Cast off.
You have just finished one nice-sized log cabin square. If you wish, you can make more and join them together with a mattress stitch. The size will be up to you.
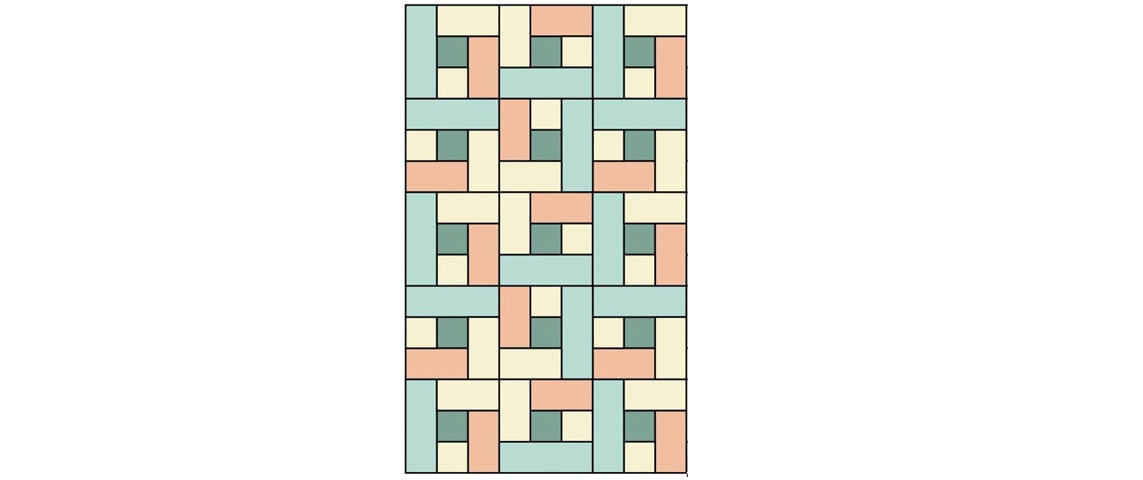
Finishing Using a mattress stitch or an overcast stitch sew the different squares together following this diagram. This size calls for 14 more squares, but you can make as many as you like. The size will be up to you. When finished use a crochet hook to weave in any loose ends.
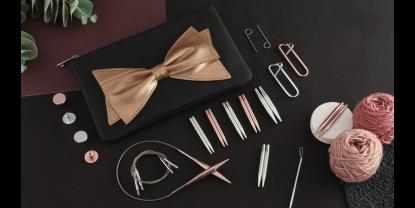
This ideal gift is both practical and beautiful. In the most heart-pleasing of ways it takes basic materials and turns them into something warm and beautiful. You can make this using finer yarn, as well. A sport weight yarn would be lovely. It will be smaller, overall, so you will need to make more log cabin squares and you will use a different size (smaller) knitting needle, probably a US size 4 or 5. It makes sense to have a knitting needle set on hand so that you have exactly the size you need when you are ready. Here’s a link to one that is ideal.


