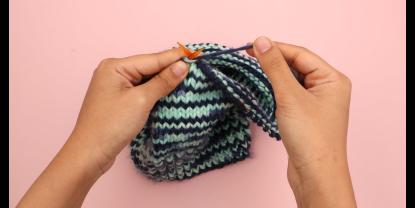
The first milestone you achieve as a beginner knitter is the mother of all knit techniques, the Garter Stitch pattern. It’s made of non-curling ridges that lie flat and is created by just knitting every stitch across all rows.
The garter stitch is reversible, meaning it looks the same on the right and wrong sides of your work. So how can you produce a reverse garter stitch on your single pointed or circular knitting needles, too? Let’s unravel the mystery and knit the intriguing counterpart of the garter stitch together.
What is the Reverse Garter Stitch?
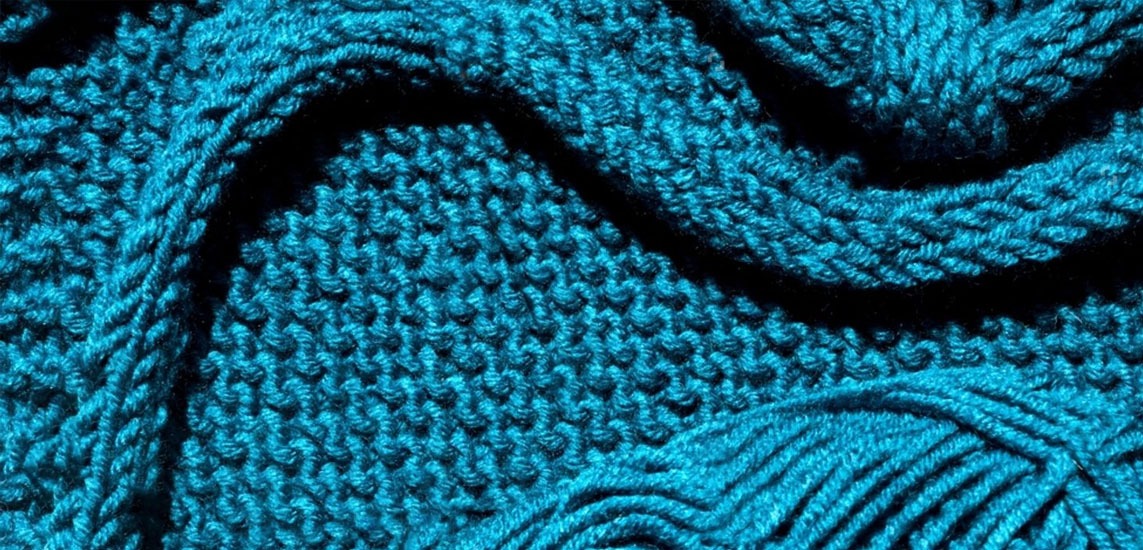
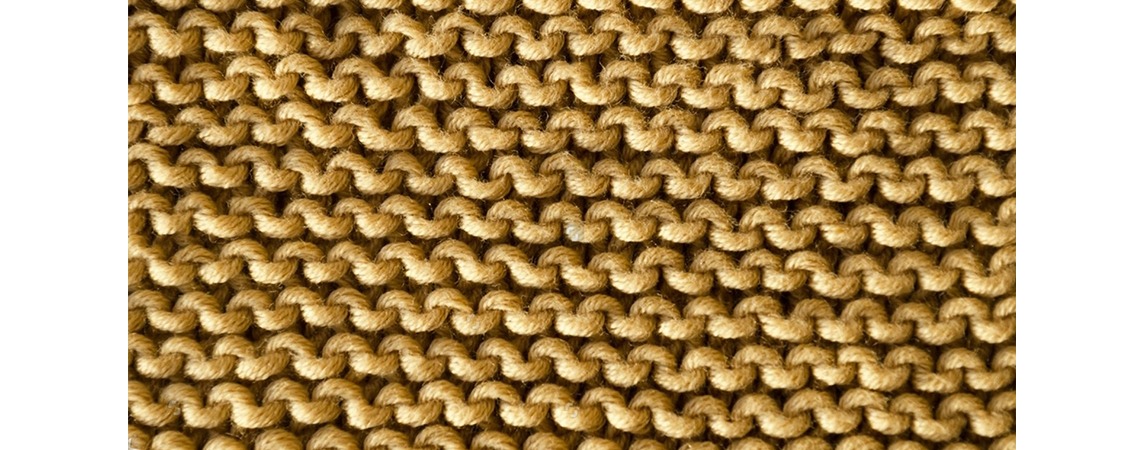
If the the classic garter stitch is created by knitting every row when working flat, or by alternating knit and purl stitches when working on circular or double pointed knitting needles, the reverse garter stitch is achieved by purling every row. The result is the same squishy ridged fabric you get when making knit stitches in every row. And like its twin sister, the reverse garter stitch is also reversible.
At second glance, you will find a slight difference in the stitch orientation and formation, though when using purl stitches only for your garter stitch pattern. The reverse garter stitch is slightly bumpier than its knitted counterpart. In addition, you will have the first row of your pattern appear as knit stitches instead of purl stitches since you always start on the wrong side of your work when knitting in rows.
How to work the Reverse Garter Stitch Step by Step
If you work this stitch pattern in rows on circular needles you begin by casting on your desired number of stitches. The reverse garter stitch can be worked over any number of stitches.
Step 1: Start the First Row (Wrong Side)
- Start the first row by purling the first stitch. Insert your right needle into the first stitch on your left needle, with the yarn in front of the work.
- Continue to purl every stitch across the row. Learn more about purling in this blog article.
Step 2: Second Row (Right Side)
- Repeat step 1 and purl every stitch. At the end of your second row, you will notice that the first ridge of your reverse garter stitch pattern has formed.
Knitting Reverse Garter Stitch on Circular or Double pointed Needles
Working the reverse garter pattern in seamless rounds requires a slightly different approach in order to achieve the same ridged appearance. Typically, when you purl every round, you create a textured pattern called ‘reverse stockinette stitch’. To achieve the garter stitch look when working with DPNs or circular knitting needles in the round, you have to alternate between purled and knitted rounds.
Step 1: Cast On
- Begin by casting on the desired number of stitches onto your circular needles or DPNs. Join to work in the round, carefully avoiding twisting the cast on stitches.
Step 2: Round 1 (Knit Round)
- Knit all stitches around.
Step 3: Round 2 (Purl Round)
- In this round, you bring the yarn to the front and purl each stitch instead of knitting.
- Continue repeating these two rounds. Alternating between knit and purl rounds will create the textured, ridged look characteristic of the garter stitch.
Tip:
Use a Stitch Marker to mark the beginning of your round and keep track of your pattern.
When do you use Reverse Garter Stitch?
Practically, there is no difference in the technique used to create a garter stitch and a "reverse garter stitch." The distinction lies in which side of the fabric you designate as the right side in your work and whether you choose to purl or knit all stitches on your knitting needles.
Aesthetic Reasons
In knitting pattern instructions, you may find the term ‘reverse garter stitch’ when a pattern wants to showcase the bumpier side of the garter stitch on the right side of the finished project, like in pieces that use the stockinette stitch on the right side, it may be an aesthetic choice to knit several ridges of reverse garter stitch for the hems or to give your project a more textured appeal.
Ergonomic Preference
Some knitters find purling their stitches easier on their hands and wrists, particularly knitters using the Portuguese knitting style. Additionally, for numerous Continental-style knitters, purling proves to be a more comfortable stitch to make.
Why choose the Reverse Garter Stitch - 3 Takeaways:
Intriguing Texture: The reverse garter stitch, is achieved by purling every row and alternating between purled and knitting rounds when working with circular knitting needles.
Aesthetic Choice: Opting for the reverse garter stitch gives your stockinette projects visual interest and textured, ridged edges.
Personal Comfort: Reverse garter stitch is particularly beneficial for knitters who find purling more comfortable, e.g. those practicing Portuguese or Continental knitting styles.
Experimenting with the reverse garter stitch enriches your knitting repertoire and is an excellent opportunity to master purl stitches if you’re already familiar with the classic knit stitch. KnitPro stands ready with an extensive range of knitting tools alongside comprehensive, cutting-edge knitting needle sets that will boost your skills to new heights.


