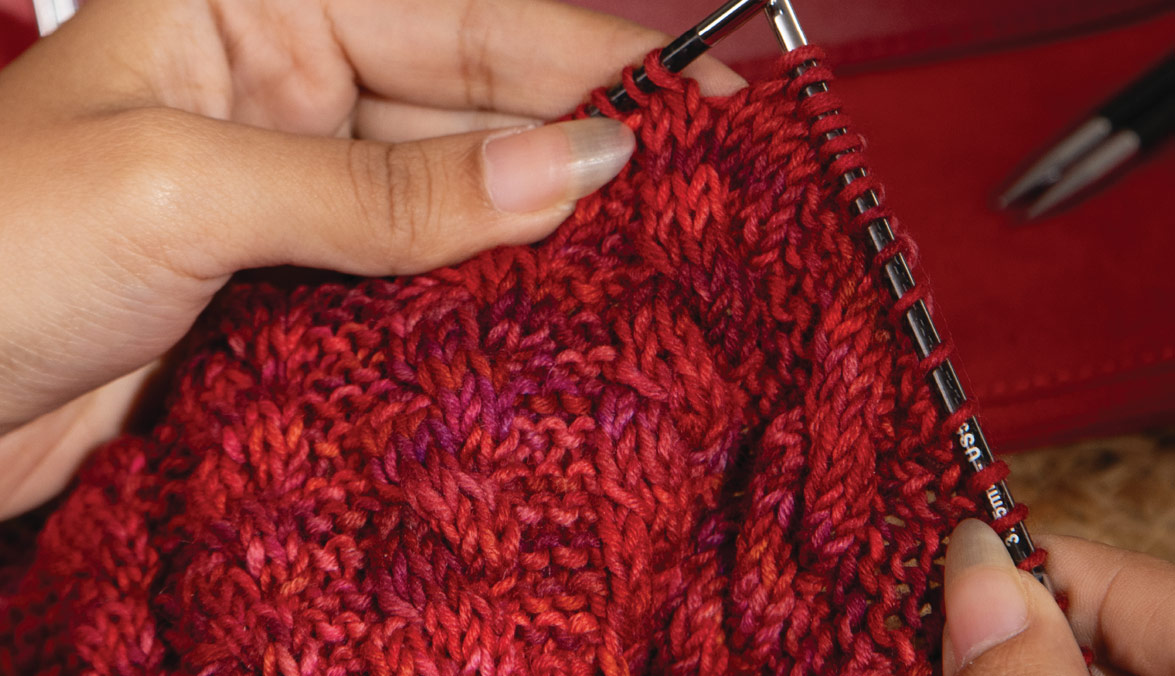
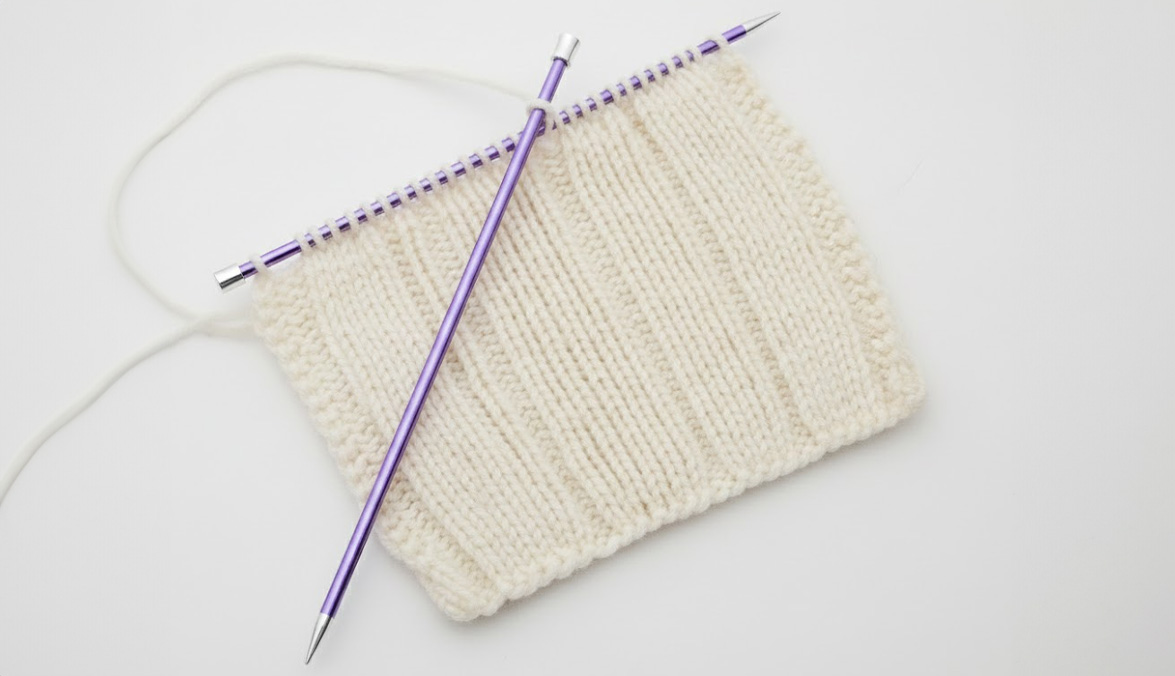
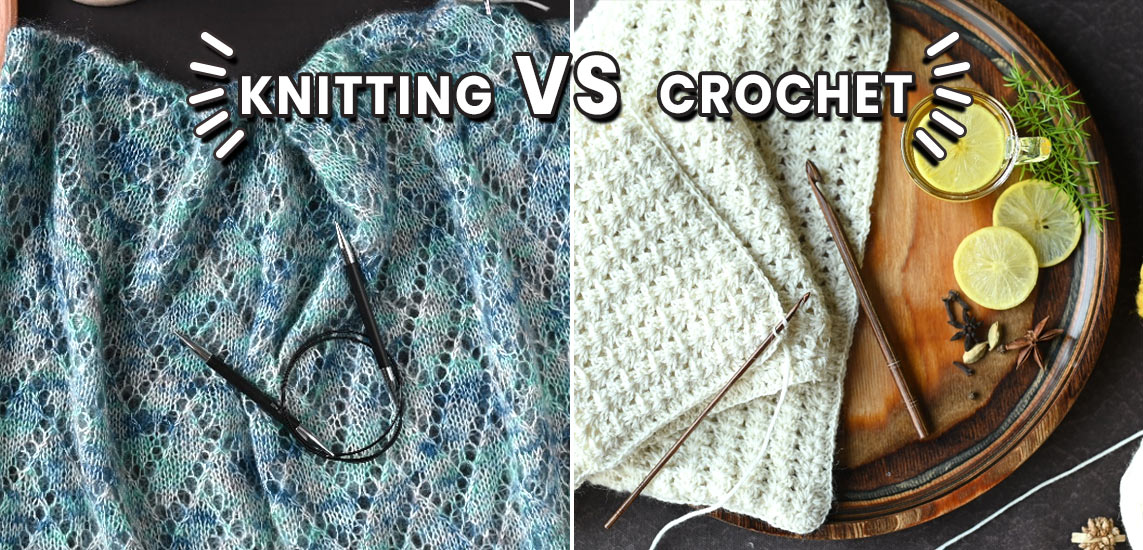
If you're anything like us, you love the feeling of cozy knitwear against your skin. And what's better than a handmade garment that fits like a dream and has a fantastic drape? The answer: a handmade garment that's seamless! The Magic Loop method is a fantastic way to knit in the round without any seams, creating a finished product that looks and feels amazing. With your regular circular knitting needles connected with a cable of extra long length or length that is 32 inches (80 cm) to 40 inches (100cm). You can also work with different lengths as long as you are comfortable balancing the cable. Not only does the Magic Loop method eliminate any pesky seams, but it also allows you to knit small circumferences, such as sleeves or hats, with ease.
In this blog post, we'll dive into the world of seamless knitting with the Magic Loop method and explore how you can create comfortable, stylish knitwear that fits like a glove. Whether you're a beginner or an experienced knitter, the Magic Loop method is a technique you won't want to miss.
What are the Advantages of the Magic Loop?
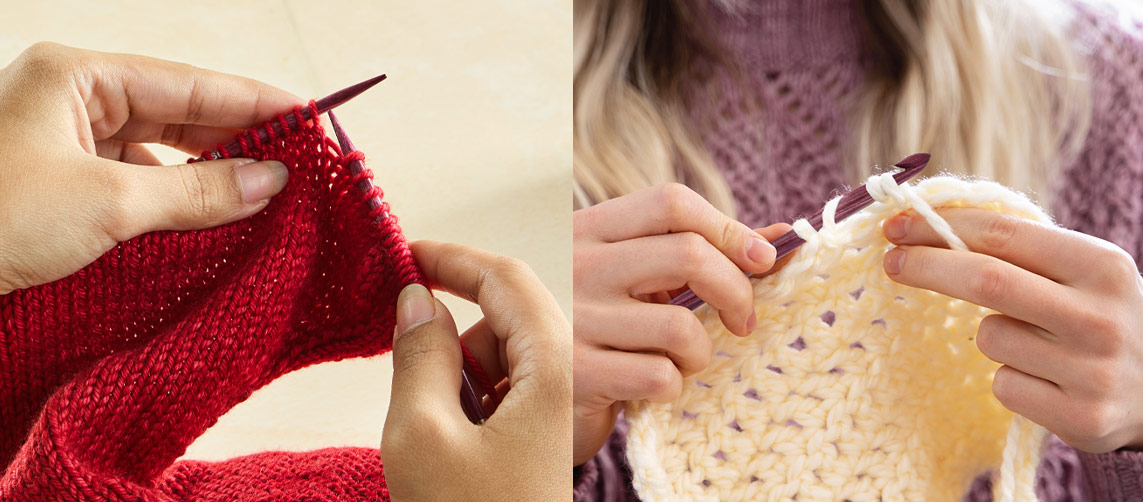
Using a long circular needle, the Magic Loop is a technique to work small circumference projects, such as sleeves and hats. It is an alternative to double-pointed needles, which can be fiddly and difficult to manage.
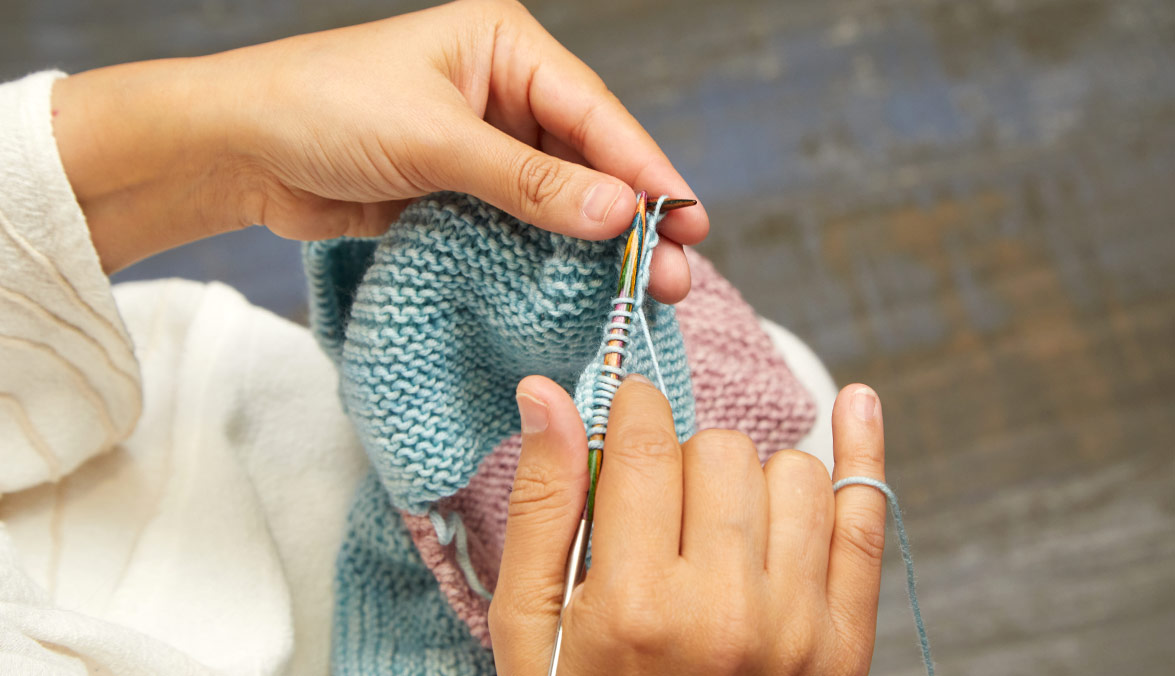
The magic loop technique allows you to work in the round using just one long circular needle by dividing your stitches into two halves and pulling the cable out between them, creating a loop. The many advantages of using the magic loop technique have made it so popular since its invention in the 1980s.
First, you only need one long circular needle instead of a whole set of double-pointed knitting needles. The technique is versatile, as you can use it for different project sizes and adjust the length of your cable to fit your stitches. With the Magic Loop, you do not have to worry about ladders or gaps between your needles, which can sometimes occur when using double-pointed needles.
And finally, the technique is much more comfortable for some knitters, as there are no hard needle tips to manage between your fingers, and the knitting cable can be easily adjusted to suit your preferred tension. Our previous guide on how to choose circular knitting needles for a magic loop.
What type of cable do I use for the Magic Loop?
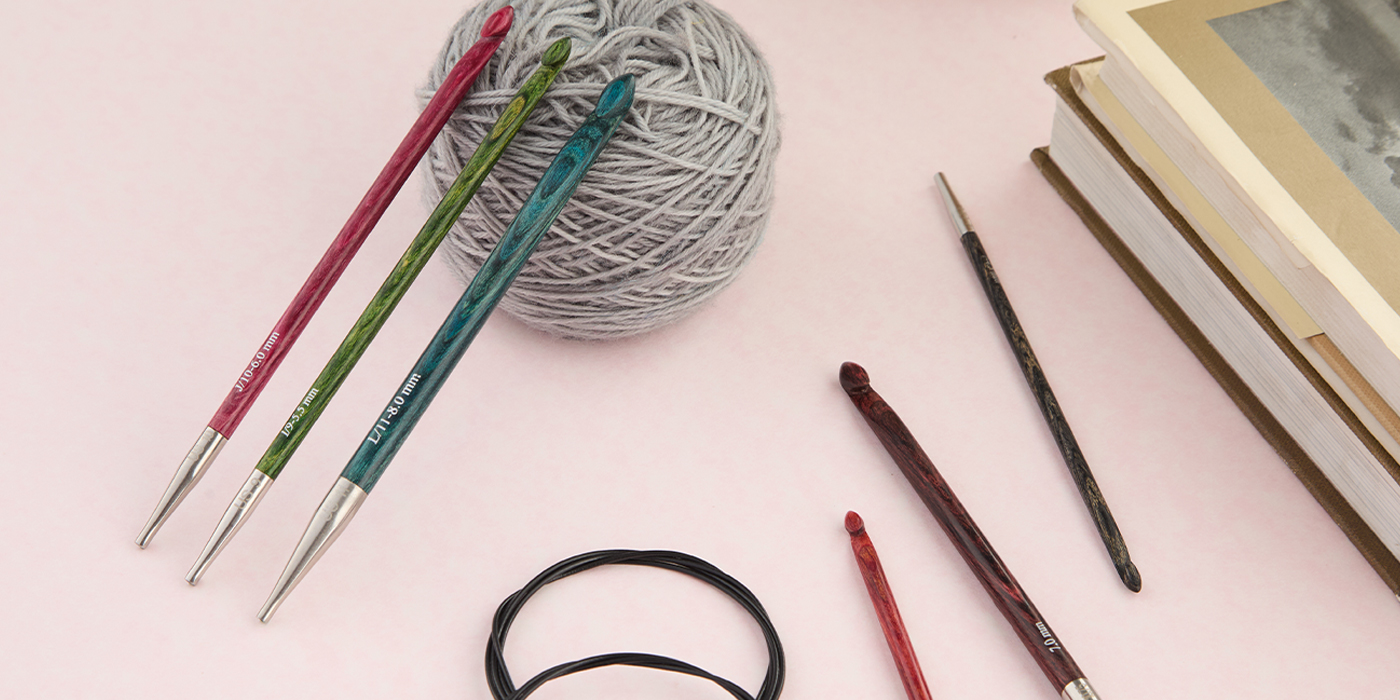
You will need a circular knitting needle with a flexible cord or cable that is long enough to hold the required number of stitches comfortably and has enough length left to be pulled out between the cast-on stitches. The ideal length of the cord will depend on the circumference of the project you are working on.
Generally, a minimum cord length of at least 32 inches (81 cm) is recommended for Magic Loop knitting. This allows you to comfortably loop the cord around and work on a smaller circumference of knitting, such as a hat or a sock. However, if you are working on a larger project, such as a sweater, you may prefer a longer cable of 40 inches (102 cm) or more.
Choose a cord that is flexible enough to allow you to manipulate it easily, without causing the stitches to stretch or distort.
That's where our unique stainless steel swivel cords come in! These knitting cords are designed to move along with your labor, allowing you to easily transition from one side of your project to the other without hassle. The swivel design of these cords allows them to flex and bend easily, which makes it easier to move the cord through your stitches as you work. This flexibility also reduces the risk of your stitches getting caught or snagged on the cord. Also, stainless steel is a durable material that can withstand the wear and tear of frequent use. You won't have to worry about your cord breaking or fraying, even after multiple projects.
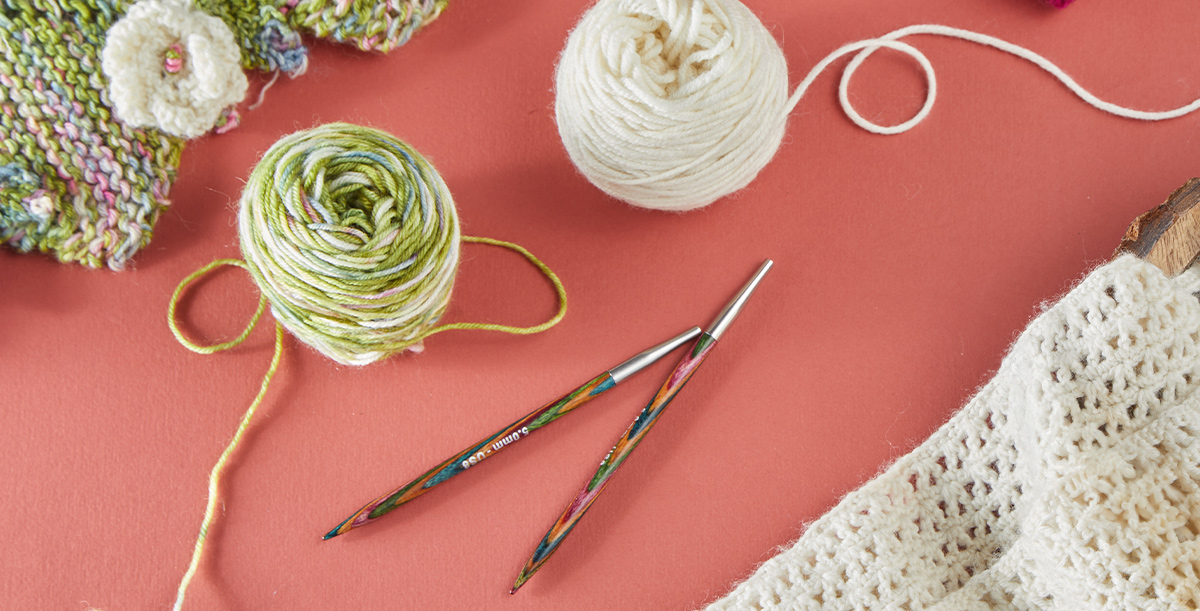
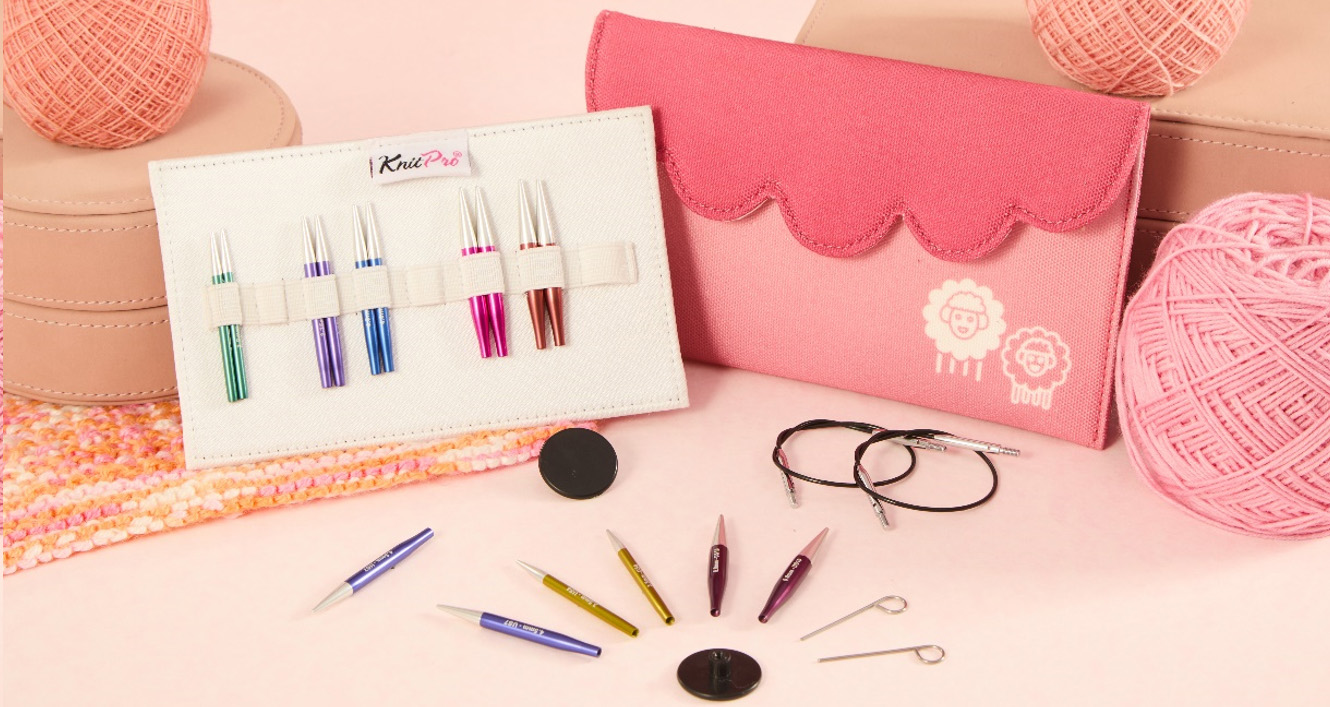
Having a knitting needle set with different cords provides additional convenience and flexibility, making it a worthwhile investment for avid knitters, especially when it comes to knitting the Magic Loop. A set of interchangeable circular knitting needles allows you to use the same set of needle tips with different cord lengths, giving you more versatility in the size and shape of the knitting projects you can work on.
The Magic Loop - A Step-by-Step Tutorial
Step 1: Cast on the required number of stitches for your project.
Step 2: Slide the stitches to the middle of the cord so the cord is between the stitches. Make sure the stitches are spread out evenly and not twisted.
Step 3: Bend the cord in half so that the two needle tips are parallel to each other. Ensure the stitches are divided evenly onto both sides of the needle tips.
Step 4: Slide half of the stitches onto the needle in your right hand, with the cord once again between the stitches.
Step 5: Place a stitch marker on the right-hand needle to indicate the beginning of a new round.
Step 6: With your right-hand needle, knit the first stitch, making sure to tighten it to prevent a gap from forming between the two sides of the work. Knit the first half of the stitches until you reach the cord.
Step 7: Now slide the knitted half of the stitches into the middle of the cord and pull the second half of the stitches onto your working needle. Again, ensure the stitches are evenly divided onto both sides of the needles to prevent laddering.
Repeat steps 6 and 7 when you reach the stitch marker.
As you progress through a few rounds, you'll likely notice that knitting in the round becomes much easier and more fluid than it was during your initial attempts. With each passing round, you'll become more accustomed to the process and be able to work more quickly and efficiently. Before long, you may even find that knitting in the round becomes a breeze, allowing you to focus on the joy of creating and the satisfaction of watching your project take shape. Happy Knitting!