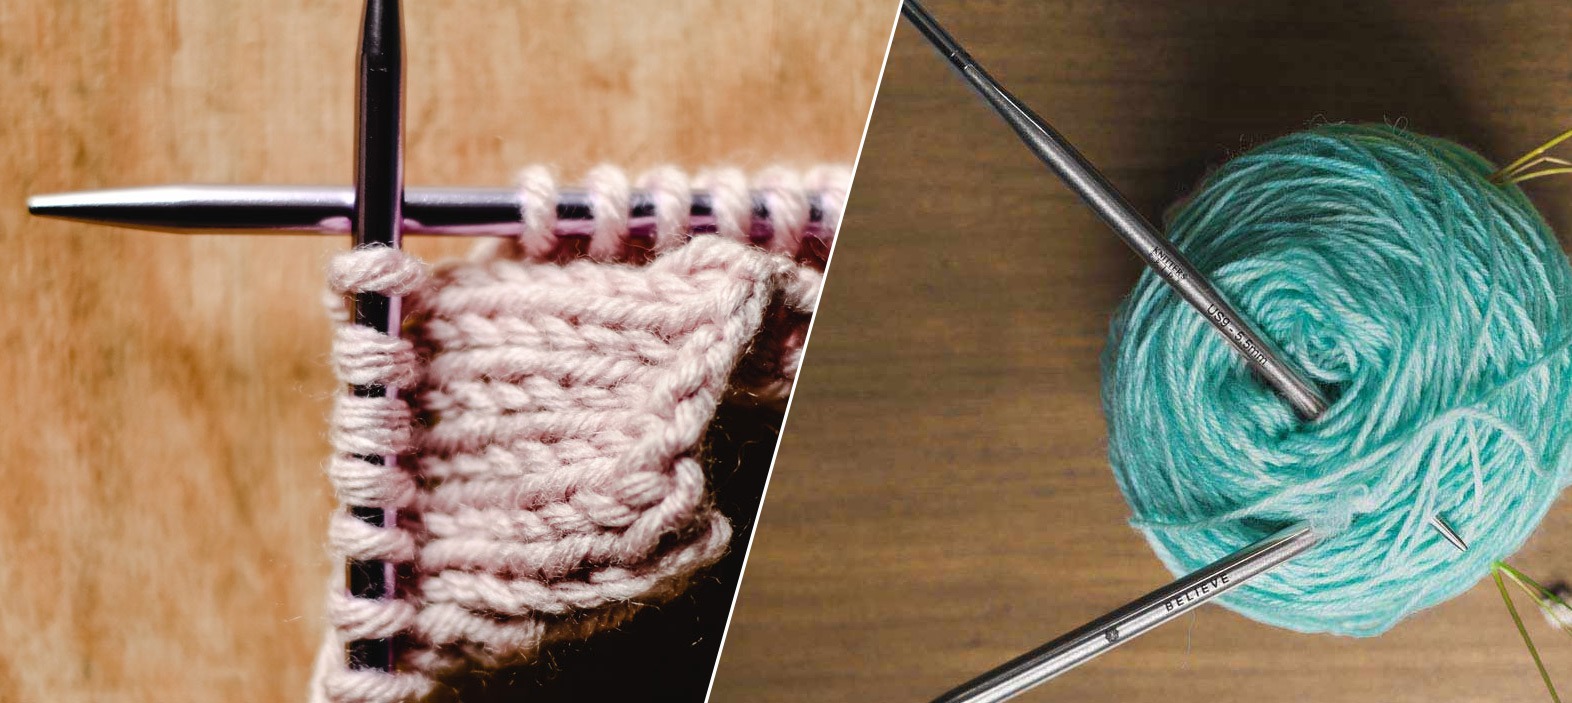
Mitered squares are a great knitting project. They can be made with any knitting needles in your craft collection. The interesting name comes from mitered joints, a union between two pieces, each cut at a 45-degree angle and placed next to one another to form a corner of the frame. Adding to the beauty of a simple square, it is one of the best ways to use up leftover yarn and be very creative about it. You can make a square or many to make an interesting blanket, scarf and other projects. They’re quick and easy, too! Though essentially knit back and forth (flat) with circular knitting needles or straights, the beauty of the square is such that you can use a pair of DPNs from the set of five.
If you are new to the mitered square or need a refresher, let’s walk you through making interesting squares to make spectacularly colorful work.
What are Mitered Squares?
Mitered squares feature a directional texture perfect for highlighting multiple-colored yarns and stripes. This modular design makes the squares versatile; they can be used in numerous projects, from scrap-busting patchwork blankets to modern clothing and accessories.
The interesting squares get their name from the beveled joint between two pieces of wood. In knitting, decreases make the knitting look like it’s turning at right angles, forming a diagonal line of stitches from corner to corner.
Crafting gorgeous designs can be achieved by strategically placing mitered squares in a multitude of positions. If you’re looking to learn how to knit these wonderful creations, here’s how to get started:
1. Cast On Stitches.
Start off by casting on the required number of stitches that are necessary to complete one side of the square. You can knit with double pointed needles but use only two and not the entire set. Say for example, one side of the square needs 20 stitches. Then cast them first with any method of casting the stitches. Afterwards, set a stitch marker to denote the halfway point as this will be the corner of the square. Finally, finish up the cast-on by adding an equal amount of stitches on both sides of the stitch marker which will make up the edges of the square.
2. Begin The Miter Stitch Pattern.
On the first row, which is considered to be a wrong side (WS), simply knit across and slide the marker as you go. For the second row, the right side (RS), knit up to two stitches prior to the marker, then perform a knit two together (k2tog) stitch, slip the marker, and complete with a slip, slip, knit (ssk) stitch before proceeding to knit the rest of the row. If more explanation is needed, then knit up to two stitches prior to the marker, then knit the next two stitches together. Next, slip the subsequent two stitches knitwise. Subsequently, place your left needle in the front of the slipped stitches that are now on the right needle, yarn over the right needle, and finally pull the yarn through both stitches to perform a knit two together (k2tog) stitch.
3. Keep Repeating.
Keep repeating rows one and two until you’ve only four stitches remaining. After a few repetitions, you’ll begin to see the corner taking form as the decreases pull the fabric on either side of the center. When the corner is halfway complete, you’ll get a glimpse of the square.
4. Finishing.
Finish the square off by knitting until you’ve four stitches left on the needle following a wrong side row. On the right side, knit the first decrease, remove the stitch marker, and then the second decrease. You should now be left with two stitches remaining. Afterwards, complete the square with a standard knit bind-off on the wrong side. Congratulations, you just knit a mitered square!
Utilize your new mitered square as a coaster, dishcloth, or anything else. Moreover, if you’d like to knit several squares, you can form a plethora of projects with them. The trick is to perfectly join the squares together to make them fit the way you want.
Seaming the Mitered Squares
When it comes to attaching the mitered squares together, you can either opt for seaming or seamlessly joining them together as you knit. If you go with the seaming option, mattress stitch or a similar technique will be used. Additionally, you can use the tails to sew the seams, eliminating the need to weave in any yarn ends. This option works best when your squares are large and if they are part of a garment with other seams. Furthermore, this allows for you to decide later on how to place the mitered squares together in a patchwork project.
If, on the other hand, you would rather avoid the seams and you want the mitered sections to either flow into or overlap with other areas, then joining as you knit is the way to go. This approach involves picking up stitches from the previous square to begin the next one, as dictated by the pattern schematic.
If you’re looking for a way to further personalize your mitered squares, try knitting two colors in a stripe pattern.
How To Knit A Mitered Square In Two Colors (Stripes)
Start the mitered square with one color, break the yarn after each stripe, and join in the new color. Depending on how large you’d like your stripes, you may end up with a lot of yarn tails. This may be slightly more bothersome if you’re dealing with larger squares, but it can lead to some truly incredible patterns.
Mitered squares are magic and get ready to cast your spell. From humble beginnings, you can make a beautiful blanket, a table runner, a scarf and interesting garment, etc.
With stainless steel knitting needles from the Mindful Collection get into the practice of mindful knitting. Each needle is eco-friendly and one step ahead with its mindfulness with a special word of motivation imprinted on the body that assists knitters focus on the mindful aspects of knitting.


