The fascinating technique of German Short Rows holds the power to revolutionize your knitting. Whether working on sloping shoulders, gentle curves, or seamless transitions, this quick-to-learn method gives your knitted garments the ideal fit. It is a real game-changer for truly personalized designs.
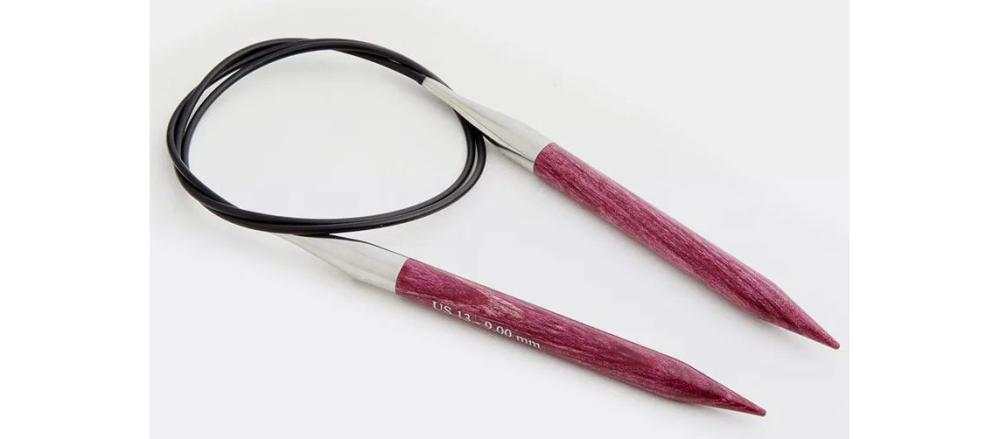
Prepare your Circular or Straight knitting needles as we begin our journey into the world of precise and elegant knitting!
What are short rows?
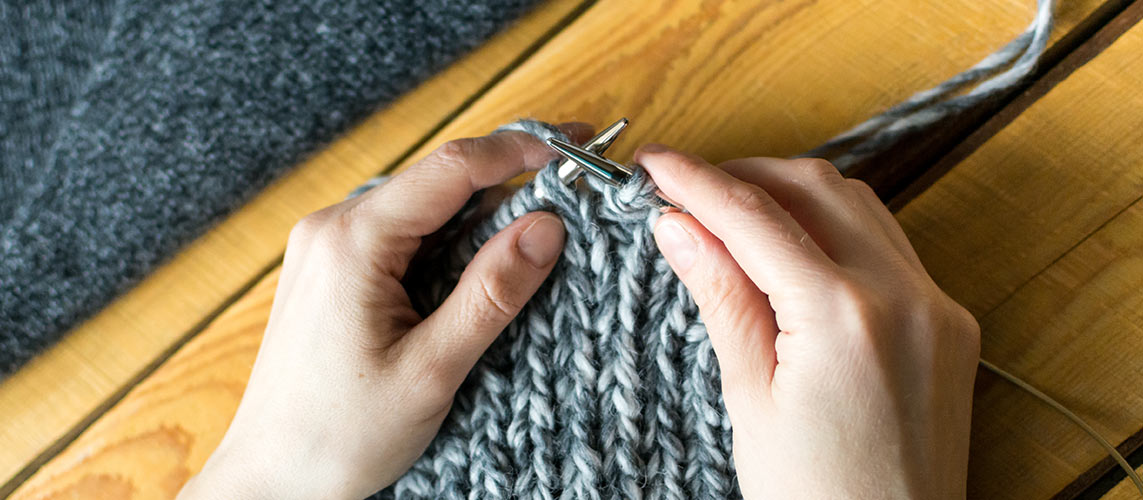
Short rows, and German short rows in particular, are a knitting technique used to shape a garment by crafting rows only partially instead of completing them. This method involves working partway across a row on your straight or circular knitting needles, You then turn the work, and work back towards the beginning. Sounds easy and straightforward. The technique has its challenges, though.
There are several ways to knit these short rows; the German - or rather northern European technique specifically refers to a method apt to avoid holes or gaps in the fabric when you turn your piece. You turn the last stitch into a double stitch, which you then treat as one stitch when encountering it on the next pass. Magic? No, it’s easy to perform if you knit carfully.
So the distinction of the German short-rows method in comparison to other techniques lies in the way the stitches are manipulated to prevent holes or gaps when turning the work using the wrap-stitch trick.
Where do you apply German short rows in knitting?
The German wrap-and-turn technique is particularly popular due to its ability to create smooth, nearly invisible turns in your fabric without leaving holes, thus ensuring a seamless couture-like transition just using your knitting needles. The beauty of German short rows lies in their adaptability to all kinds of projects. Your garments will have a tidy appearance and a gentle drape, making short rows a go-to choice for those seeking to add sophisticated shaping to their work.
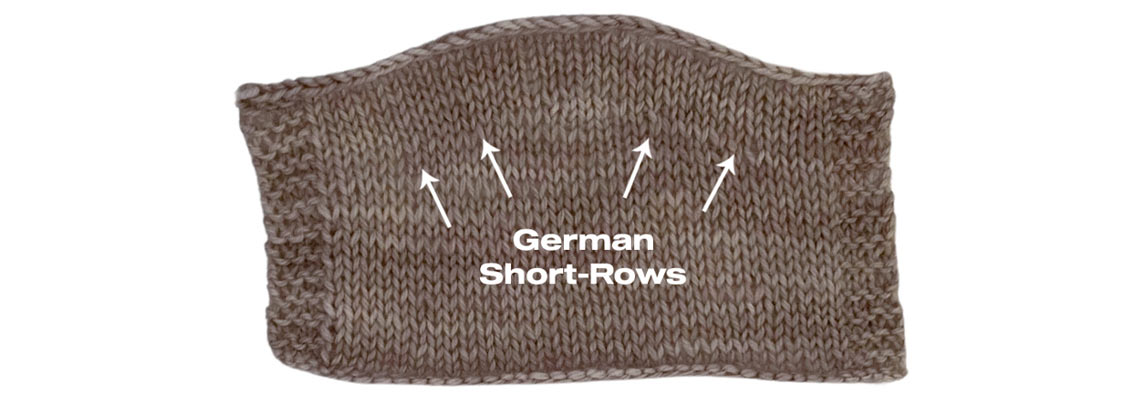
Shoulder Shaping
In sweater knitting, German short rows can be used to shape the shoulders to slope naturally and fit more comfortably.
Bust Darts
For tops and finely worked bustiers, use this technique to add extra fabric in the bust area, allowing for a better fit for those with larger busts.
Collars and Necklines
A shawl collar seamlessly crafted on your knitting needles helps cardigans and sweaters sit more naturally on the body to create a higher back neck or shape.
Hem Shaping
For creating asymmetrical hems or tailoring the fit around the hips.
Sleeve Caps
To design a more natural curve and fit in set-in sleeves.
Shawls and Scarves
To incorporate curves, waves, or other interesting shapes in shawls and scarves.
Can you apply the short-row method in the round?
The German short-row technique can absolutely be applied when knitting in the round, mainly when knitting socks on double-pointed needles. You can incorporate German short rows to create a heel turn on your DPNs. The method allows for a smooth, gap-free transition that's comfortable to wear.
But you might also use them to shape the crown of a hat. Knitting German short rows in the round is similar to knitting flat, but you'll need to be mindful of the beginning of your round and ensure that you turn your work correctly. Stitch markers will become your best friends during the process, especially while you still lack practice.
Step-by-step Tutorial for sloped shoulders
Knitting a sloping shoulder with German short rows in a jumper or vest involves creating a gently angled decrease in your work by gradually shortening the rows.
Step 1: Work your sweater pattern until you reach the point where shoulder shaping should begin. This is typically after the armholes have been shaped and the back of the sweater is almost at its final length.
Step 2: To start your short rows, work to reach your turning point, i.e., that part in your shoulder where you want to start the decrease. This point is often a few stitches before the end of the row. Once you reach the turning point, turn your work as if you were at the end of the row.
Step 3: Now create the Double Stitch. With the yarn in front, slip the first stitch purlwise onto your right needle. Then, pull the yarn over the top of the needle to the back, creating a double stitch (this stitch will look like it has a little collar). Purl back along the row.
Step 4: Repeat the process in the next row; work a row that stops 2 or 3 stitches before the last turning point and create another double stitch by slipping the first stitch purlwise with the yarn in front, then pull the yarn over the top of the needle to the back.
Step 5: Repeat the above steps a few times. Each time, stop a few stitches before the previous double stitch. This will slowly create your angle for the sloped shoulder. Periodically check your work to ensure the slope is forming as desired. Adjust the number of stitches between turns if necessary.
Step 6: Once the slope is at the desired angle and you have reached the final length of the shoulder, knit one final row across all the stitches, working the double stitches as one stitch each (knit the two loops of the double stitch together). Then, repeat this process for the other Shoulder.
Tips:
- Stitch markers are an essential accessory when working in German short rows.
- Place stitch markers before each double stitch to help keep track of where to turn.
- Turn the work at the same intervals on both sides for an even slope.
- Keep a consistent tension, especially when creating double stitches
German short rows are a versatile knitting method that allows you to craft sleek, gently sloped shapes seamlessly into your garments. Remember that practice is vital, so feel free to experiment with swatches before diving into your primary project! With the high-quality knitting needles and accessories from KnitPro at your disposal, you'll quickly master this brilliant method, ensuring a delightful process and perfect results.


