The Garter Stitch is one of the knitting basics that every knitter, beginner, or advanced maker needs to know. Once you learn to hold your knitting needles and make the knit stitch, you can very well make the garter pattern. Working in a garter pattern simply means knitting every stitch every row or round. The fabric made with a garter is ideal for beginner projects such as dishcloths, scarves, etc. Even for advanced patterns, the stitch pattern lends itself to knitting neat edges. Surprisingly, lace knitting patterns also have sections of garter for stable and sturdy fabric to artfully create holes.
Even though the stitch pattern comes from humble beginnings it can transform beautifully yarn into masterpieces. Such is its simplicity that pattern designers just refer to the name and expect you to know the steps. In this blog, we’ll walk you through garter stitch patterns.
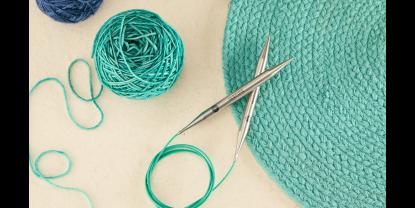
Ready to start knitting something? Grab some yarn and knitting needles. You can make garter on straight needles, circular needles and double-pointed needles. Whether you knit back and forth or in the round, the garter lends itself well to the knitted fabric.
So, get ready to try garter.
Cast on Stitches
For practice cast on about 30 -40 stitches in any method you prefer. Just make sure that the stitches are not very tight and prevent the making of stitches.
Start Knitting the First Stitch
Step 1: Knit the cast on stitches. Insert the right knitting needle through the first stitch from front to back, left to right.
Step 2- Bring the working yarn around the needle and wrap it counter clockwise. The yarn will be positioned between the two needles.
Step 3- Slide the right knitting needle under the left with the wrapped yarn and bring the needle to the front. This forms the new stitch on the right needle.
Step 4- Slide the stitch off the left needle on the right and you have made the knit stitch. Continue for the row and upcoming rows till you need to bind off.
This is for knitting back and forth. You can knit flat with circular needles or use a pair of straights.
Knitting in the Round the Garter Stitch Pattern

For knitting garter stitch in the round, the rules change.
You do not knit every stitch. Whether you knit with double-pointed needles or use the circulars for regular knitting or the magic loop, you alternate one row of knit stitches with a row of purl stitches. This is because you go in rounds without turning your project and you are always knitting on the right side of the project. If you knit all the stitches of all rounds, you create a stockinette pattern instead of the garter.
Garter Stitch Fabric
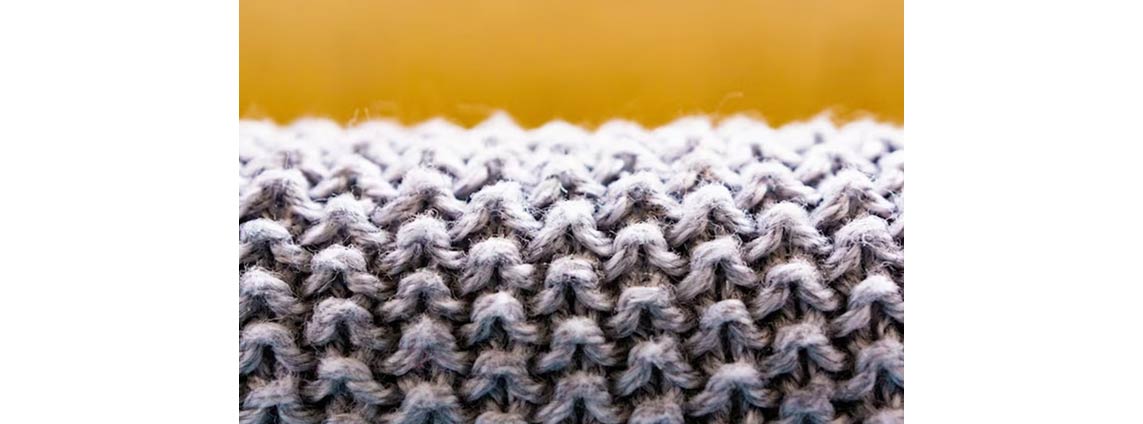
Just as a coin has two sides, the knit stitch has a front and back. The first is a V-shape, while the back is a bump, also known as a purl. When we refer to the knit stitch, we refer to the front of the work with the V-shape.
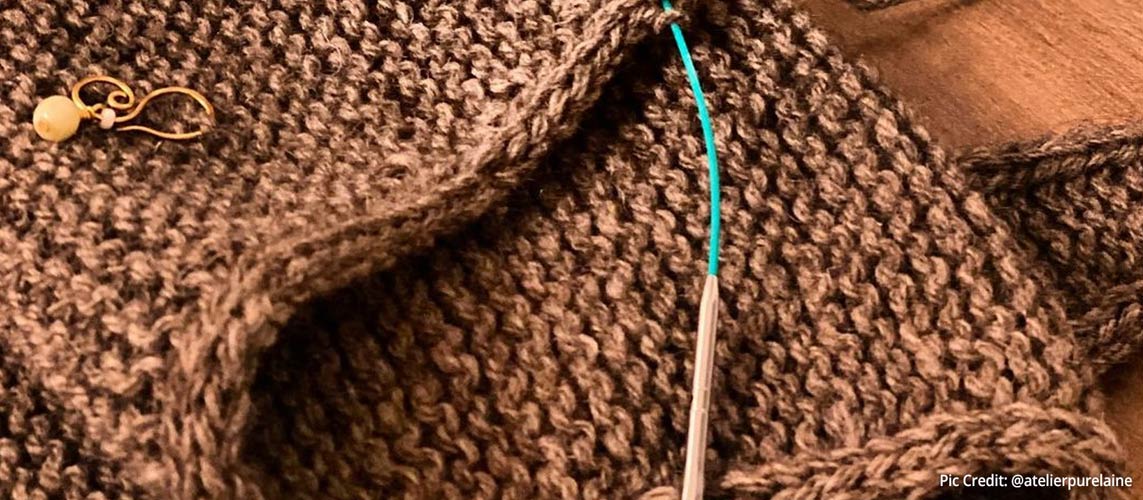
Unlike stocking stitch, which tends to curl, the edges of the garter stitch stay flat, which is excellent for knitting items without adding edging or other finishing. However, the edges could be more smooth. You can create a nice finish on the garter stitch with an extra step as you work.
To make the edge even, start the row of the garter stitch with a slip stitch, transferring the stitch purlwise. Then knit every stitch across the rest of the row. Repeat this for every row.
Calculate Gauge in Garter
Calculating the gauge in the garter stitch is no different than other patterns, and the best way to do it is by marking 4 cm across a row, after which pulling the ridges apart to get a better look at the stitches. It's also important to remember that one garter ridge equals two rows, and the garter stitch usually results in shorter and wider stitches compared to other patterns when it is not being pulled.
Additionally, some patterns may call for ribbing which is, in fact, a sideways garter stitch. The gauge in the example above is 9 stitches and 8 rows equal to two inches. A valuable suggestion is to block the swatch before you measure the gauge if you intend on blocking the project later. If you do not get the gauge as mentioned in the knitting pattern, here are a few tricks to correct your knitting gauge.
Colourwork in Garter Stitch Pattern
When working with a single colour in a garter stitch, the back or front of the work is indistinguishable since both sides appear similar. However, this isn't the case when multiple colours are used; the back and front of the work can be readily distinguished. In terms of switching colours, the best thing to do when knitting the garter stitch is to alter colours on a right side row so as to create a seamless look. The wrong side will show the loops of stitching which attach the yarns together, making a distinct line across the work.
Increase and Decrease Stitches in Garter
Increasing and decreasing can be accomplished with ease in garter stitch projects since the natural ridges tend to hide any bumps. For an increase, you can follow any knitting method. There are various techniques out there and you can use any. The same goes for decrease, there are plentiful ways to get this done.
Seaming the Garter Stitch Pattern
When it comes to sewing the garter stitch edges together, the two loops at the end of each ridge serve as your guide. You can lay the pieces flat with the right sides facing each other or pick them up and hold them together. Then select either the top or bottom loop of one ridge and the other one from the other edge, followed by sewing through those loops. Another alternative is to make use of the long tail from the cast-on edge.
Alternatively, you can take a separate piece of yarn (about two feet long) and start the seam by threading it through the first stitch of the other piece, and then the first stitch of the first piece. Continue sewing through the opposite loops across the whole piece. Even though the seam might be slightly visible, stretching the pieces (as with garments or hats) renders it nearly unnoticeable.
After you’ve learned how to knit and have practised the garter stitch, you can explore knitting the stocking stitch pattern (alternate rows of knit and purl stitches).
Whatever your knitting project, a pair of socks or a blanket, the garter stitch can be used for impressive creations. For tools and accessories for your knitting, explore the Mindful Collection. The stainless steel knitting needles have an inspirational word imprinted on them assisting the knitter with focusing on the mindful aspects of the craft.
Happy Knitting!


