
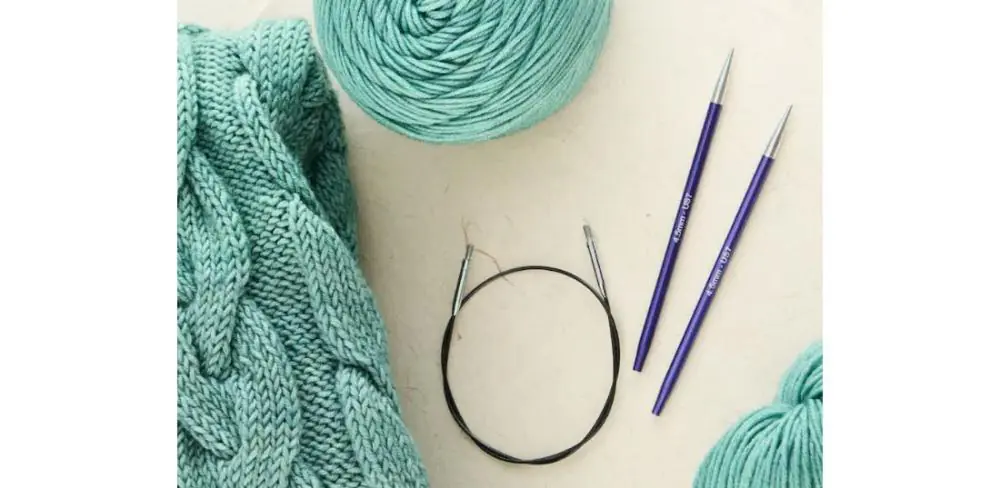
Cables are interesting knitting patterns that add to the charm of any knitting project. The intricate twists look elegant whether you add them to a hat, socks, mittens, scarves, sweater, or pretty much anything. Whether you are a new knitter to a seasoned one, understanding how to knit cables makes knitting projects more attractive. All you need is your knitting needles, yarn, a pattern, and a cable needle to get started with cable knitting.
In this blog post, let’s walk you through cable knitting.

What is a Cable Stitch?
Cable Stitches are stitches knitted out of order. They use knit and purl stitches. Cables can be worked in patterns of garter, stockinette, ribbed, and many more. These stitches are held on a cable needle, a double-pointed needle, or a stitch holder in front or back of the knitted fabric and worked later that give it a raised textured appearance that looks twisted. Cabling is the word that knitters use to describe any technique that crosses a set of stitches over other stitches. Crossing stitches allows you to create all sorts of textured effects, including twists, braids, rope-like patterns and chunky cables. The stitches that will become your cables are simply slipped into a cable needle. If you are not sure how to slip, refer to our blog on slip stitching in knitting.
What is a Cable Needle?
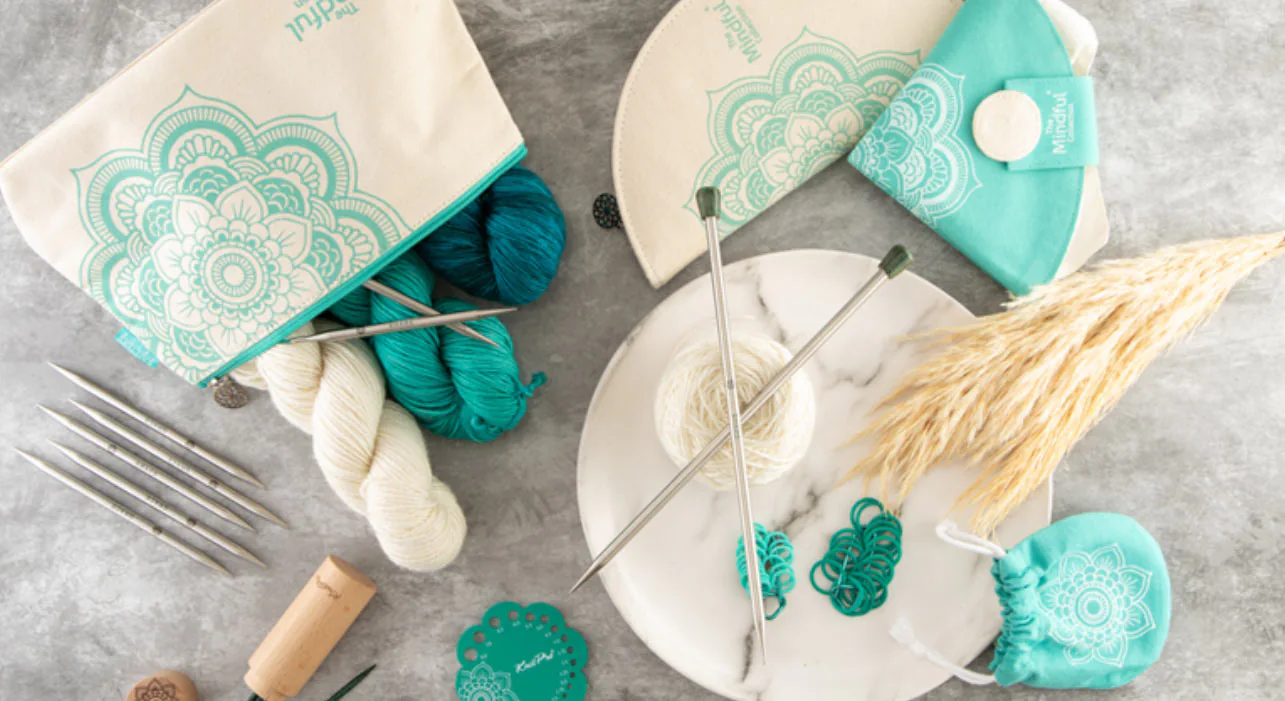
A cable needle is one of the knitting needle types exclusively used for cable stitches. You can also do without one but then the knitting accessory makes your crafting smooth and easy. The needle comes with grooves to ensure your stitches stay secure from the pattern and does not slip off. Also, the tapered tips ensure a smooth transition between the knitting needles and the cable needle. Just like knitting needles, they, too, come in different materials and also different sizes.
Our Symfonie cable needles made of wood have grooves to hold the stitches. The new Dreamz cable needles are similarly color-coded as the knitting needles and crochet hooks from the range. Our aluminum cable needle has a bent center to hold the stitches and smooth tips to knit with. The trick to choosing cable needles is a choice of the same size or smaller.
How to work Cable Knitting Patterns?
Cable stitches can be knitted with many variations. But all of them depend on the placement of the cable needle. When you have the cable needle with the stitches to the front of the project it will make the stitches twist to the left while keeping them at the back of the project will make the stitches twist to the right. While a knitting pattern will instruct you thoroughly, it’s always better to understand how the stitch pattern works.
Whenever you are working on cable stitches, first find the answers to
- Number of stitches (knit or purl) that will be moved to the cable needle
- Where to hold the cable needle - the project's front or back
- Knit or Purl the moved stitches forming the cables
Whether you are knitting a 2×2, 3×3, or any other combination, you just need to follow the steps of moving the stitches, knitting the moved stitches out of order, and then letting them make their design. You can also go for asymmetrical numbers. Like slipping 2 stitches into the CN but then knitting 3 stitches and then increasing the stitches on subsequent rows or rounds. The combination of left and right cables all through the rows and rounds gives a truly breathtaking look.

Cable Abbreviations
The cable stitches are abbreviated as C#(F) or (B). The “C” stands for cable and the # appears as an actual number, this means the stitches you need to move on the cable needle. The “F” stands for “front,” and the “B” stands for “back,” instructing where to hold the cable needle while you’re knitting.
The steps of knitting the cables, whether you place the cable needle front or back, are
Step 1: Slip the stitches onto the cable needle.
Step 2: Knit the stitches on your row or round as usual. Try to keep a nice tension to close the gap without creating any holes.
Step 3: Bring the cable needle with the slipped stitches back to the front (make sure you don’t twist the cable needle in the process) and knit or purl accordingly.
How to work the Right Cable Cross
Abbreviated with “Cable * back” or “C#B,” it means to hold the cable needle to the back of the project and work the above steps.
How to work Left Cable Cross
Cable * front or C#F is a left cable cross. It works the same way as the right-side cable twist. The only difference is that you hold the cable needle with your slipped stitches in front.
How to Knit Cable Stitches in the Round
Knitting in the round changes many things but not the technique of cable knitting. You simply follow the pattern instructions or your own design. If you are knitting in the round with double-pointed needles, you will have multiple needles hanging in the knitted fabric. Be careful not to knit with the cable needle tip until needed. While knitting with circular knitting needles, make sure to knit on the front side of the project so that the twists of the cables are on the right side of the pattern.
So, that’s how you work cable stitch patterns. Hopefully, this guides you through knitting your first cable knitting project.
While planning your cable knitting pattern, you must plan to block the pattern. Blocking is very important for cable stitches. Take special care not to stretch the stitch pattern. You just need to spray or steam block the knitted fabric lightly.
If you are planning your own designs then you probably need to start with a gauge swatch. Here the rules are a little different. Even if you knit with the same knitting needle size and yarn in the same stitch pattern, you won’t have exact measurements. Cable stitches take more yarn and that is because of its constitution.
So, get your hands on your knitting needles, yarn, and, of course, the cable needles, and try out cable knitting patterns.
Happy cable knitting!
For a step by step video tutorial, check out this -
Video Courtesy - Staci Perry | YouTube Channel - @verypinkknits


