One of the key skills you'll need to master as a crocheter is the ability to increase and decrease stitches. In this article, we're going to explore a few basic tricks that can help you create all sorts of fun and interesting shapes and sizes. From a flared skirt to a tapered leg, and from a wide collar to a fitted sleeve, we'll show you how to design projects that are truly one-of-a-kind. So, grab your crochet hook and yarn, and let's dive in!
Increasing stitches
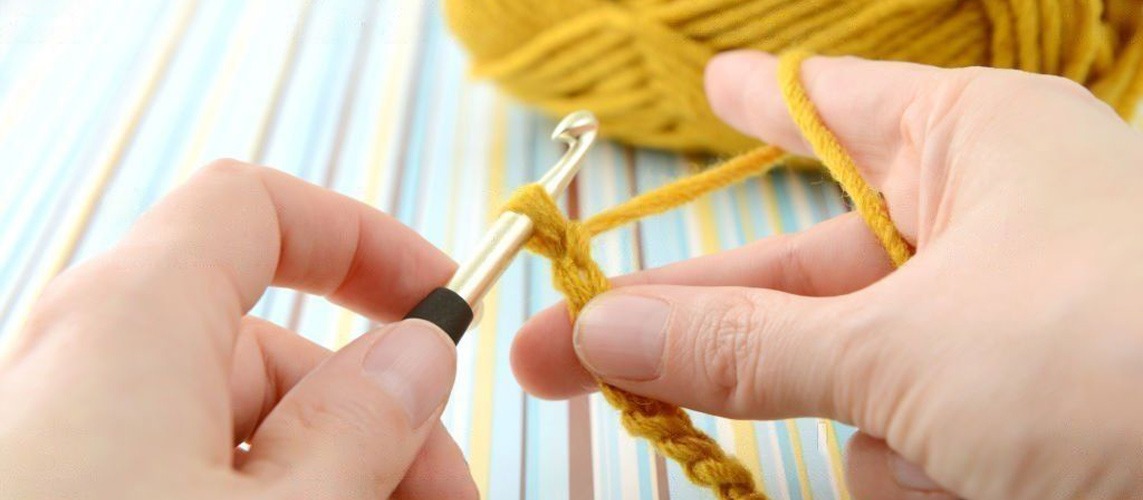
Increasing stitches in crochet is a technique that you'll use when you want to add width to your work, such as when creating a flared skirt, a round hat or a wide collar. Regardless of whether you are working single, half-double, double or treble crochets, you just work two or more stitches into the same stitch to increase the number of stitches in that row. Sounds easy, right? There are a few nuances to consider though, specially when it comes to calculating your increases for the desired shape of a piece.
Increasing for a Flat Circle
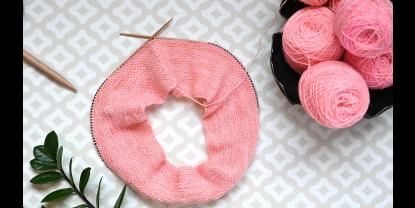
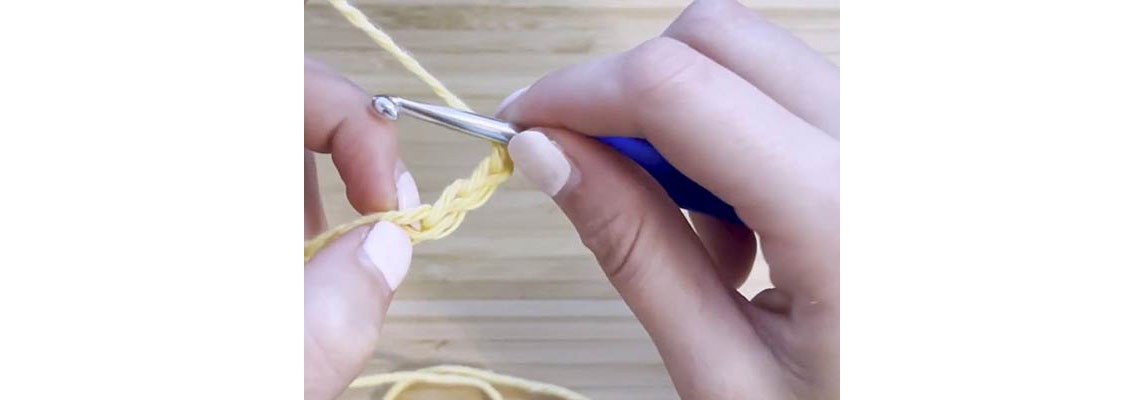
From crocheting coasters to a round rug or the base of a hat, knowing how to craft a flat circle on your single-ended crochet hook is one of the first skills you learn when starting to crochet.
One way to calculate your increases for a flat circle is to use the "magic circle" technique. This technique starts with a small circle of chain stitches that are worked into with a series of single crochets. Each round of single crochets increases by a certain number of stitches, typically by working multiple stitches into a single stitch or working into the "back loop only" of the previous round. The number of increases in each round will depend on the desired size and shape of the circle, but it's common to increase by a multiple of 6 or 8 stitches.
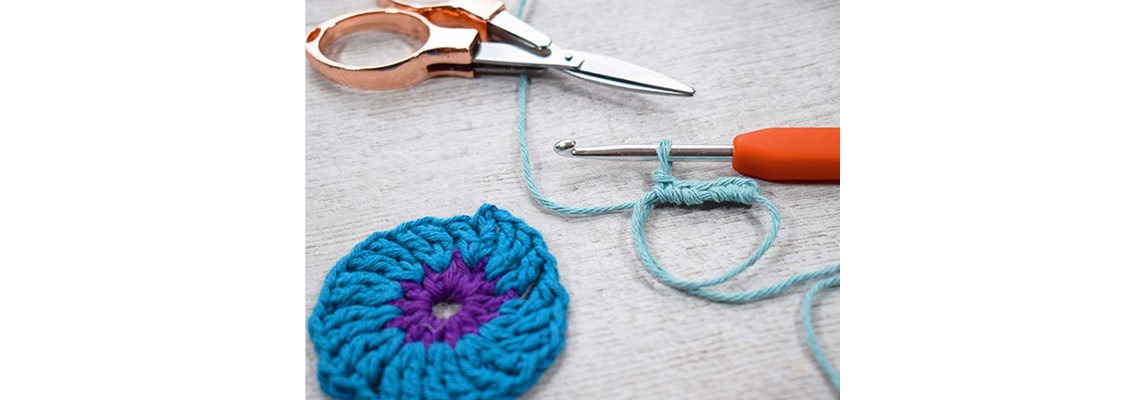
A second option to calculate your increases is to use the "increase every round"-method. You start with a small circle of chain stitches that are worked into with a series of single crochets. In each round, you increase the number of stitches by a fixed number. For example, if you start with 6 stitches in the first round, you might increase by 6 stitches in the second round, 12 stitches in the third round, and so on. The key is to increase the number of stitches in each round by a fixed number, this will give you a consistent increase and ensures that your circle will grow evenly. Once you master this technique you can of course create any imaginable shape, from ovals to squares, or hexagons.
When working in rounds, it's important to keep track of your stitches, as even a small mistake in the increase can lead to a distorted shape. It's helpful to use lockable stitch markers to mark the beginning and end of each round, and to count your stitches at the end of each round to make sure you have the correct number.
Increasing in Amigurumi
Amigurumi is a type of crochet that is used to make small, stuffed animals and dolls. For amigurumi, the secret is to give your finished items a seamless, natural shape and look. You want to make sure that you're working the stitches evenly around the piece to avoid creating any lumps or bumps.
One way to increase stitches for amigurumi projects is to use the "invisible increase" technique. This technique involves working two single crochets into the same stitch, but instead of working them into the front loop only, as you would with a typical increase, you work them into both the front and back loops. This creates a smooth, seamless increase that is less visible than a traditional increase.

As always in crochet, there is a second method to increase stitches for amigurumi projects. It is called the "increase in the back loop only”- technique and involves working two single crochets into the back loop only of the next stitch. This way, you create an increase that is less visible and gives your piece a nice texture.
Decreasing stitches
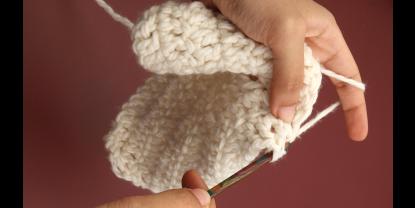
When you want to make the width of your work smaller, such as when creating a fitted sleeve or the top of a hat, you need to decrease your stitches. There are various methods to decrease, such as the single crochet 2 together (sc2tog). It is an excellent and smooth way to decrease the number of stitches in your row or round. Here is how you execute it:
- Insert your crochet hook into the next stitch you want to decrease.
- Yarn over (YO) and pull up a loop. You should now have two loops on your hook.
- Insert your hook into the next stitch you want to decrease.
- Yarn over (YO) and pull up a loop. You should now have three loops on your hook.
- Yarn over (YO) and pull through all three loops on your hook.
When decreasing stitches, it's vital not to accidentally twist the stitches. This can cause the decrease to be uneven, and affect the final shape of your labor.
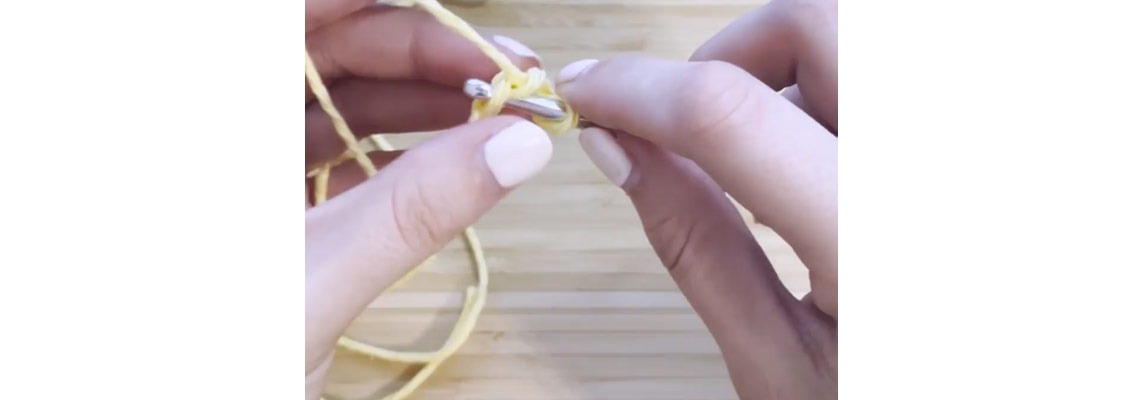
As with increases, you should decrease your stitches evenly across the row or round. Counting your stitches, marking your progress with a stitch marker, or using a crochet pattern that includes stitch counts can help you to achieve this.
In patterns where you need to shape a piece quickly and strongly, you can also reduce three stitches to one with the single crochet 3 together (sc3tog)-method. Just remember that this decrease is more aggressive than the sc2tog and creates a more dramatic shape change in your item.
- Insert your hook into the first stitch you want to decrease.
- Yarn over (YO) and pull up a loop. You should now have two loops on your hook.
- Insert your hook into the next stitch you want to decrease.
- Yarn over (YO) and pull up a loop. You should now have three loops on your hook.
- Insert your hook into the next stitch you want to decrease.
- Yarn over (YO) and pull up a loop. You should now have four loops on your hook.
- Yarn over (YO) and pull through all four loops on your hook.
With the skills you've learned in this blog post, you'll soon be able to create a wide variety of projects in all shapes and sizes. Remember to practice and have patience as you progress, and use only the best crochet tools for comfort and smoothness.


