There are many different ways to cast on your stitches, such as the single cast-on or the knit cast-on. Most of us learn the long-tail twisted cast-on as beginners, though, which is the most common method to start any knitting project.
The German cast-on, which is sometimes also called the old Norwegian cast-on, is based on the longtail method, but is special as it brings extra twist and therefore more elasticity to your edge. This is perfect if you wish to create gentle, extra stretch in the ribbing of socks, gloves or hats or if you are knitting with yarns that do not come with a lot of natural stretchiness, such as cotton or linen. Plus, the German twisted cast-on method is a fun way to start a new project because it makes your knitting needle dance around the yarn in a really gracious manner.
If you now feel intrigued and wish to learn more about this smart, sophisticated cast-on, have a look at our step-by-step tutorial below.
Step 1: Hand and yarn position
A “twisted” cast-on means you are already twisting your loops in the very process of casting them onto your needle, so you go under your thumb yarn and grab the thread from your index finger yarn. In comparison, the German twisted cast-on will give your loops a double twist. As with the longtail twisted cast-on you start by holding your yarn in a slingshot position with your left hand. Of course, you can always make a slipknot beforehand, but it is not necessary to give your foundation row stability.
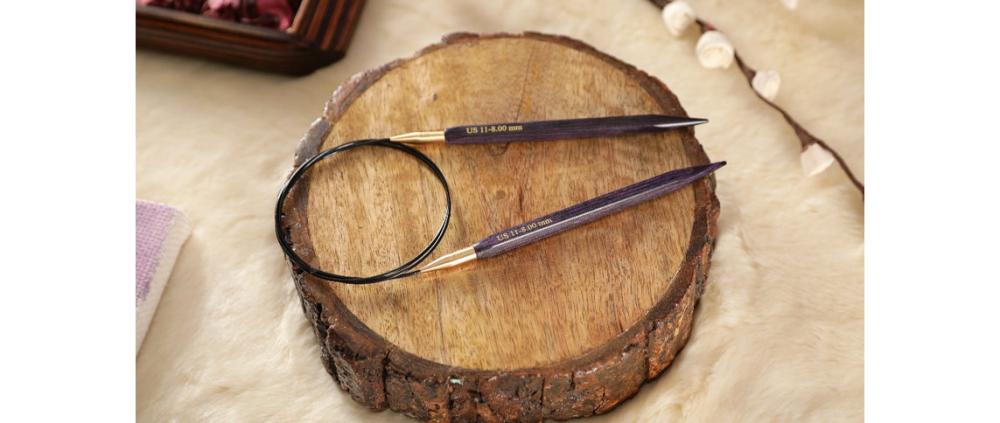
Step 2: The dance of the needle
For your first loop you start pushing your needle towards the thread between your thumb and index finger, pushing it all the way under both thumb threads around the thumb. You do not come out in the centre of the loop as you would when performing a normal longtail cast on. Instead, keep pushing under the second thread and come up on the other side of your thumb loop. Now you go through your thumb loop, but do so from top to bottom, as you can see in the picture. You then guide your knitting needle towards the index finger yarn and bend your thumb slightly, before grabbing the thread with the needle tip.
Compared to the usual longtail cast-on, the key difference here is, that with the German twisted cast-on you first guide the needle under both thumb threads and then move into the created thumb loop from top to bottom, instead the other way round. In order to get to your index finger you have to twist your loop and bend your thumb lightly.
Step 3: Grabbing the yarn and pulling through
Coming out at the index finger with your cast on needle you grab the yarn and can now finish off the stitch by pulling it through the thumb loop from the top. Bending your thumb slightly will aid you in the movement.
Once you have the sling on your needle, you can let the thread around your thumb go and use the thumb to pull the thread tight under the needle, ensuring that the cast on stitch forms neatly.
Step 4: The result
After a few stitches the main difference between the regular cast-on and the German cast-on becomes visible. The German twisted cast-on forms little bumps on both sides of the needle. When you look at the right side of your knitted item after knitting a few rows, the twisted stitches sit neatly on top of your edge, which is the secret behind the extra elasticity this method provides.
But it is also the reason why this way to start your knitting project will eventually consume more yarn than any other cast-on method. Therefore, please make sure you have enough yarn in your long tail end before you start.
Did you like our little tutorial about this fun way to cast the stitches onto your KnitPro knitting needles? What is your preferred way to cast on for a new WIP?


