Knowing how to decrease stitches opens up endless possibilities for your crochet projects. Without the need for seams, you can shape and customize your creations according to your vision, adding a personal touch to your work. Decreasing stitches is extremely useful in many situations, allowing you to create unique and perfectly fitting designs. Let us tell you all about it in this blog post.
Where decreasing is essential
When crocheting stuffed animals or dolls in amigurumi crochet, you often need to decrease stitches to shape their heads, bodies, arms, or legs. Decreasing helps create curves and contours, giving your amigurumi a more realistic and adorable appearance.
Whether you're crafting a cozy sweater, a stylish cardigan, or a cute top, decreasing stitches is essential for shaping the neckline. By decreasing gradually on each side, you can achieve a V-neck, scoop neck, or any other desired neckline shape elegantly.
Knowing how to decrease gradually is crucial when making fitted sleeves for sweaters, cardigans, or even gloves. By decreasing evenly along the arm, you can create a tapered effect, ensuring the sleeves hug your arms snugly and comfortably. Likewise, decreasing stitches is necessary to shape the crown or the top part of hats, crocheted gloves, and socks. By decreasing in a systematic pattern, you can create a nicely fitting piece that covers your head perfectly.
And finally, if you're into creating airy lacework, decreasing stitches allows you to form intricate patterns along with chain spaces. By strategically decreasing stitches in specific places, you can achieve elegant motifs, openwork designs, and visually stunning lace projects.
Decreasing with the sc2tog technique
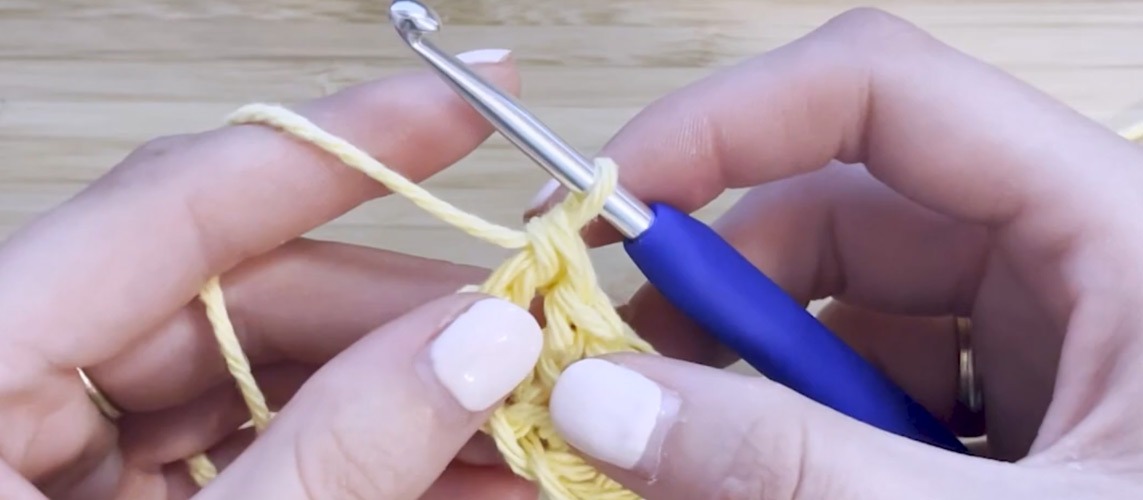
When you want to make your project narrower, like when you're making a cool fitted sleeve, a bag or the top of a funky hat, you decrease your stitches. There are a bunch of ways to do it, but let's talk about the single crochet two together (sc2tog) method. It's super easy to learn and leaves smooth results. Also, it helps you shrink the number of stitches in your row or round by one stitch each time you perform this method.
Step 1: Insert your hook into the next stitch you wanna decrease.
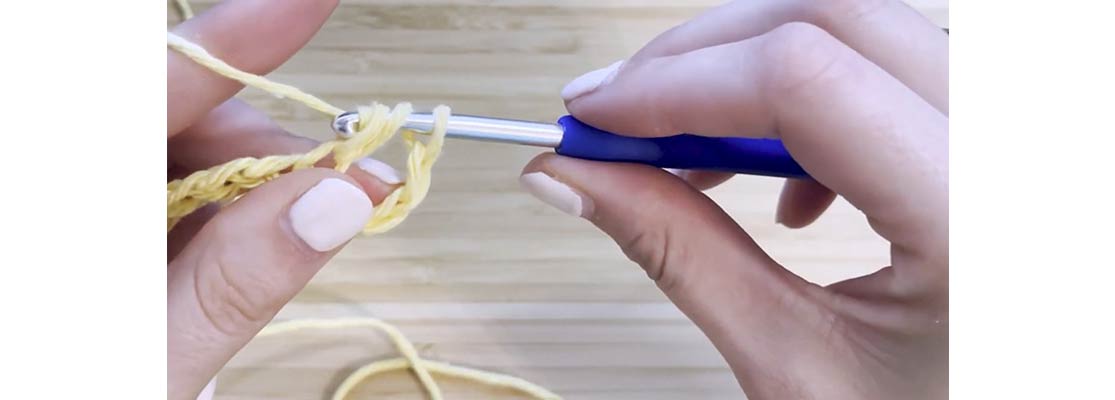
Step 2: Wrap your yarn around the hook and pull it through. Now you should have two loops on your hook
Step 3: Stick your hook into the next stitch you wanna decrease.
Step 4: Wrap your yarn around the hook and pull it through. Now you have three loops on your hook, like a cute little caterpillar.
Step 5: Wrap your yarn around the hook one more time and pull it through all three loops on your hook. Ta-da! You just decreased by one stitch!

When decreasing, be careful not to twist your stitches by accident. That can mess up your shape and make things wonky.
Just like with increasing, it's vital to decrease your stitches evenly across the row or round to avoid a bumpy texture. You can count your stitches in every row or round and make your progress visible by using stitch markers. These tricks will help you keep things nice and symmetrical.
Decreasing with the sc3tog technique
If you want to get even fancier and shape your project with some pizzazz, try the single crochet three-together (sc3tog) method. It's more potent than the sc2tog and creates a seamless but visible change in shape.
Step 1: Insert your hook into the first stitch you wanna decrease, just like before.
Step 2: Wrap your yarn around the hook and pull it through. Now you have two loops on your hook, like a mini double scoop ice cream cone.
Step 3: Insert your hook into the next stitch.
Step 4: Wrap your yarn around the hook and pull it through. You've got three loops on your hook, like three little fish.
Step 5: Now insert your hook into the next stitch.
Step 6: Wrap your yarn around the hook and pull it through. Now you've got four loops on your hook!
Step 7: Wrap your yarn around the hook one more time and pull it through all four loops on your hook. Boom! You just decreased three stitches in one go and created a radical change in your project.
The absolutely invisible decrease
There is another type of decrease that creates a seamless decrease compared to the above standard decrease methods. To execute the invisible decrease, insert your hook under the front loop of the next stitch, then under the front loop of the following stitch, yarn over, and pull through both loops on the hook. Make sure you pull the loop not too tightly to avoid a bump in the previous row. When executed smoothly, the invisible decrease technique helps maintain an unnoticeable, even appearance in your work.
So don't be afraid to experiment and have fun with decreasing stitches in your next crochet adventure! Now that you know these cool tricks, you can make all sorts of amazing projects. So get your crochet hooks out, have fun, and let your new-learnt skills fly high like a crochet superhero!


