Are you in love with textures in your crochet projects? An easy stitch pattern is all you need. Fall in love with Bobble Stitch! Yes, this is not the water bobble we are talking about. This stitch is a favorite among crocheters for adding dimension and a playful pop to everything from blankets to scarves using crochet hooks, and it’s much easier than it looks. Do you want to add a fun, textured element to your crochet projects? Through this guide, learn how to crochet the bobble stitch and exciting project ideas that you can create.
Let’s find more details about these beautiful stitches.
The Classic Bobble Stitch
The bobble stitch creates a raised, bumpy texture. This is achieved by working multiple stitches into one and then closing them all together at the top. When you start crocheting a bobble stitch with single-ended crochet hooks, you need to work from the wrong side (WS) of the fabric so that it 'pops out' on the right side (RS). The common abbreviation for bobble stitch is 'BO'. You get a “puff” or “bump” on the surface. These stitches are constructed from basic crochet stitches, such as chain (SC), single crochet (SC), and double crochet (DC).
Why learn a bobble stitch?
One of the reasons is that it adds a unique 3D texture, making it visually appealing. The raised texture makes it great for adding grip (think baby blankets or rugs) and is perfect for decorative elements on clothing and accessories. Whether you want to add a playful detail to a sweater or make a cozy blanket full of texture, the bobble stitch is perfect.
What material/tools required
- Medium-weight yarn that works well for beginners is a good option.
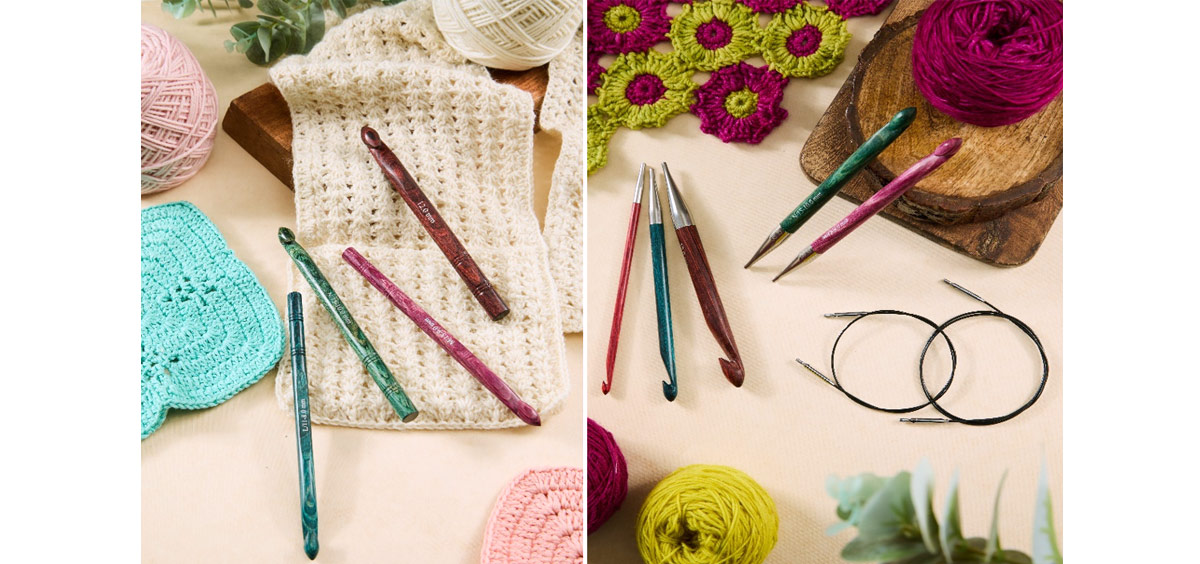
- Choose a crochet hook that matches your yarn weight. Check the yarn label for the recommended hook size. Wooden crochet hooks offer more friction while working with slippery yarn, and you will get a firm grip.
- Wool needle to weave the loose end and also you need a pair of scissors and stitch markers.
Step-by-step procedure
Are you ready to learn a new stitch pattern? Great! Follow the below steps:
Step 1: First, create a foundation chain of at least twenty. This is the easiest job for you!
Step 2: Start by crocheting a row of single crochet stitches, and the bobble stitch worked on the following row.
Step 3: Next, yarn over (YO) and insert your hook into the next stitch where you want your bobble stitch to appear.
Step 4: Pull up a loop and you will see three loops appear on the hook.
Step 5: Again, YO, pull through two loops and follow a DC stitch pattern. Repeat this process four more times in the same stitch. You must have five half-finished DC stitches all worked into one spot, with six loops on your hook.
Step 6: Once you have all six loops on the hook, again YO, and pull through all six loops. This closes the bobble, creating that raised “pop” effect.
Step 7: After completing the bobble stitch, work a single crochet stitch into the next stitch to keep your project even and flat. Continue alternating single crochet and bobble stitches to create your pattern.
Congratulations on completing your first bobble stitch pattern, and continue it until you are confident and perfect.
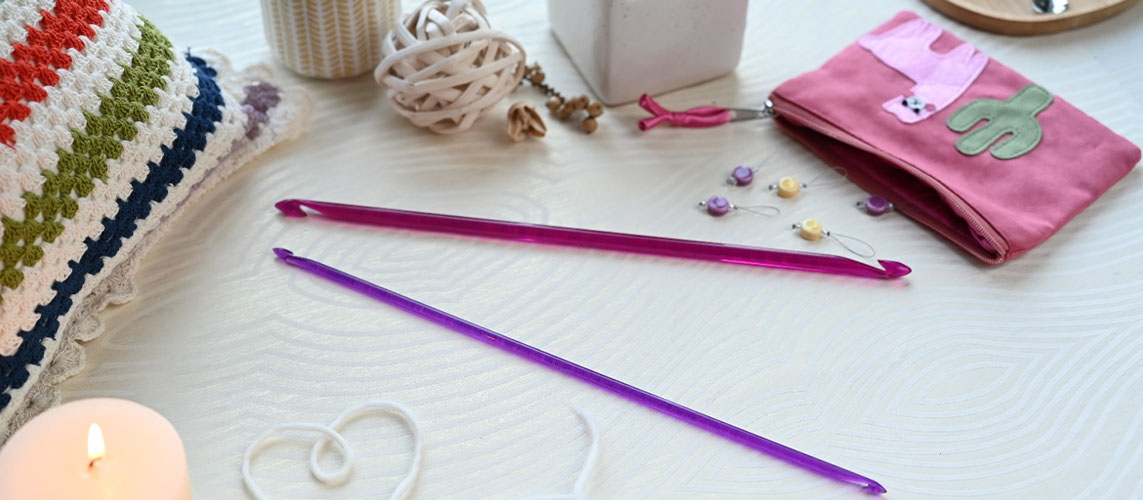
Experiment with Tunisian crochet as it creates a dense and textured fabric. If you are confused about what type of hook is needed, read our blog on choosing Tunisian crochet hook for beginners.
Tips/suggestions for a perfect bobble stitch
Here are some tips that help to create bobble stitches gorgeous:
- Ensure the yarn tension is consistent throughout; if it is too tight, it will be hard to pull through, and if it's loose, bobbles won’t be as defined.
- Experiment with different yarns and see how different it looks.
- The last and final suggestion is practice; the first is always tricky so keep practicing it.
Grab your yarn, hooks, and crochet accessories to transform simple ones into creative stitches.
What projects can you make?

After understanding the complete process of bobble stitches, it's time to make some creative patterns.
1. Cozy Beanie- Texture Meets Warmth
Are you ready to welcome winter and want to create a cozy beanie and add bobbles to it? Pure magic. The bobble stitch can make a simple beanie stand out, adding a trendy and textured element to a classic winter staple. You can use bulky yarn, start with a basic beanie pattern, and incorporate the bobble stitch. Either add stitches in rows or randomly scatter over them.
2. Scarf- fun and fashionable
Do you want to add a bit of texture to your winter wardrobe? A bobble stitch scarf is a playful and cozy addition to your winter collection. The texture adds visual interest and makes the scarf extra warm and squishy. To get a thicker fabric, use chunky yarn. Start with a foundation chain, work rows of alternating bobble stitches, and create half-double crochet stitches for a warm, textured look.
3. Stitch Pillow: Add Some Pop to Your Home
Why settle for plain pillows when you can add some bobble flair? A bobble stitch pillow adds texture and a handmade touch to your living room or bedroom décor. Plus, it’s a smaller project, and you’ll finish it quickly!
Do you want a variety of hooks in different sizes? Crochet hook sets allow you to select the suitable hook for your project.
These projects are ideal to keep you warm and the best way to show off your creativity.
Finally, the bobble stitch is an easy and fun way to add texture and personality to your crochet projects. Whether you make a cozy blanket, a stylish scarf, or a trendy pillow, the bobble stitch brings a playful and creative flair.


