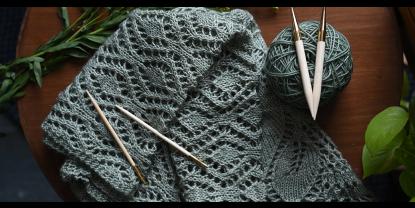
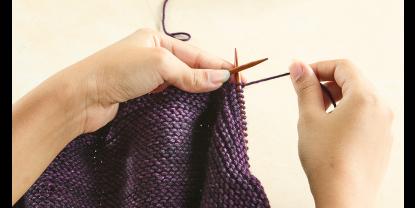
From the annals of crochet history emerges a stitch that has stood the test of time: the 'basketweave stitch.' This classic pattern, which first graced fabrics centuries ago, presents a woven appearance that seems sophisticated at first glance. However, delving into its intricacies, one finds a straightforward pattern with a single-ended crochet hook and some yarn. Yet, it is utterly captivating.
The beauty of the basketweave lies not just in its design but also in its versatility. It's stretchy but dense, thick yet malleable, making it a darling of artisans for many projects. Picture cozy scarves wrapping around your neck during winter, plush blankets you can sink into, rustic rugs gracing your floors, stylish bags slung over your shoulder, or even snug sweaters and cardigans bearing this iconic pattern.
What Type of Crochet Hook Works Best for the Basket Weave Pattern?
The choice of crochet hook for patterns like the basketweave largely depends on the type of yarn you're using and the desired density or drape of the finished project. Any type of yarn with the basketweave stitch looks thicker than it is. Chunky yarn will make this pattern look even thicker, which is excellent for things like bags and rugs. But it's better to use a medium yarn like worsted weight for blankets or clothes to provide this stitch with some drape.
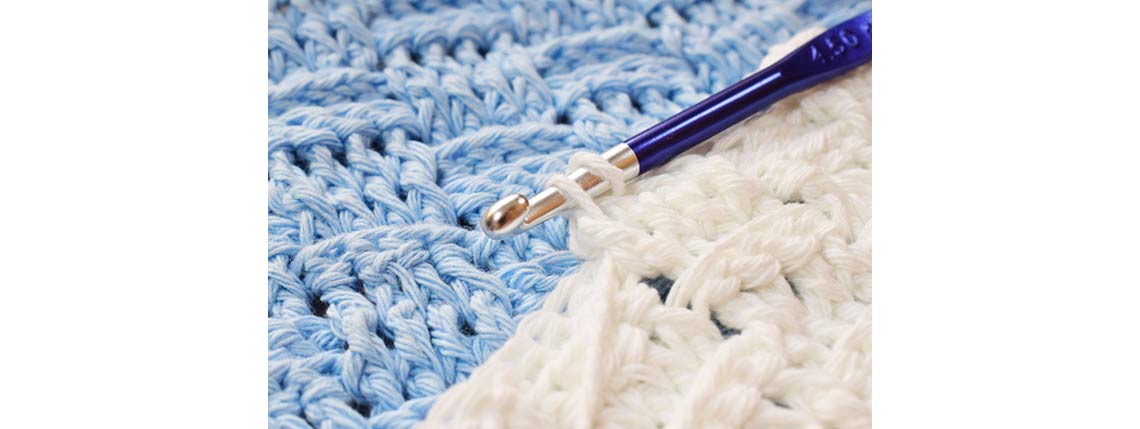
Most yarns provide a recommended hook size. This is a good starting point, especially if the pattern doesn't specify a size. Choose a smaller crochet hook than recommended to achieve a tighter weave in basketweave patterns. You might go for a larger hook for a looser fabric.
For the basketweave stitch, considering it results in a dense fabric:
- If you're using a worsted-weight yarn, a standard hook size would be 5.0 mm (H). However, if you desire a tighter fabric, you might go down to a 4.5 mm (G), or, for a looser drape, up to a 5.5 mm (I).
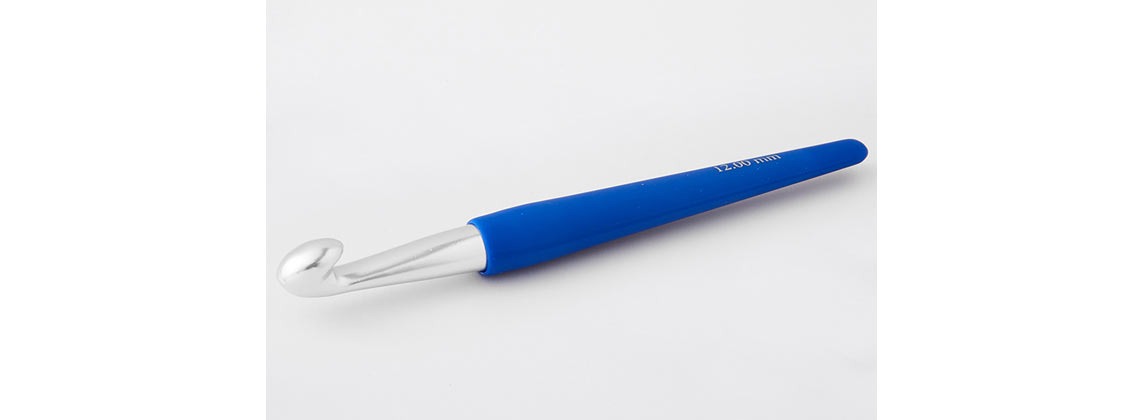
- If you're using a chunky or bulky yarn, you'd typically start with a larger hook, like 6.5 mm (K) to 9 mm (M/N), depending on the exact thickness of the yarn and desired texture.
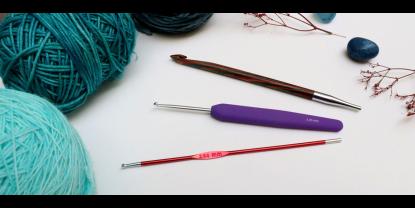
If you plan to craft for extended periods, consider ergonomic crochet hooks to reduce hand and wrist strain.
Always create a gauge swatch before starting your project to ensure that your hook size gives you the desired fabric and meets the pattern's gauge requirements or your calculated measurements.
How do you Work the Basket Weave Stitch? A Step-by-Step Guide
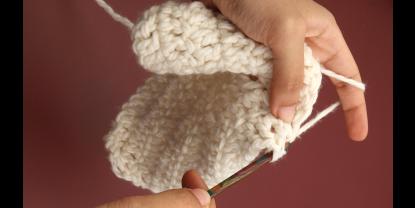
The basketweave crochet pattern hinges on alternating sets of front and back post double crochets over two rows. After two rows, swap the pattern. Start each row with 2 chains and conclude with a double crochet. The final design will showcase alternating sets of four front and back post double crochets.
1. Starting:
Begin with a slipknot and chain any multiple of 8 stitches. Then, add four more stitches: two for the edges and two for forming the initial double crochet of your first row. Learn more about how to create a double crochet stitch in this blog. In your first row, bypass the initial two chains and double-crochet into the third chain. Remember, we're following Continental crochet terminology (a DC translates to treble crochet in the UK). Continue to double-crochet across the entire row.
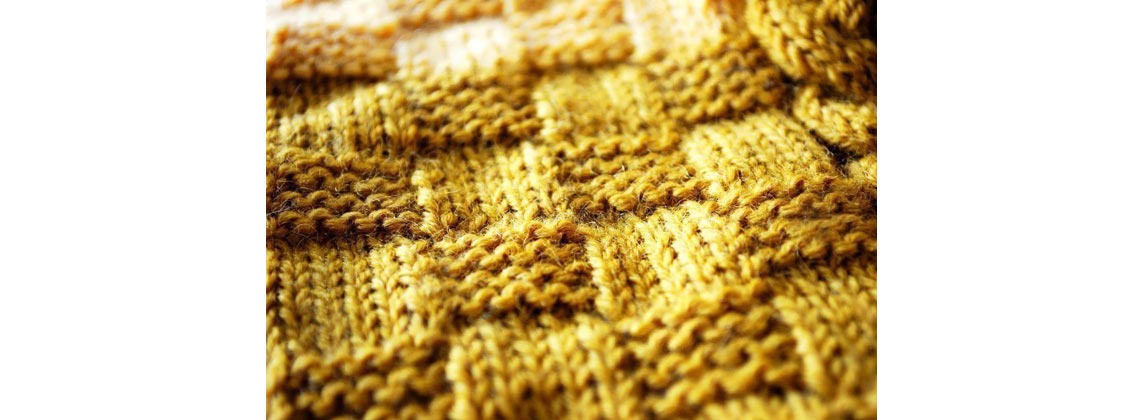
2. Crafting the First Row:
Kick off your second row by chaining two loops and rotating your work. This chain double serves as your second row's edge stitch.
3. Mastering the Front Post Double Crochet (fpdc):
Your next goal is to master the front post and back post double crochets. To craft a front post double crochet, yarn over and crochet around the prior row's double crochet post, bypassing the typical top insertion. Move your hook rightward, behind the stitch, emerging on the left. After yarning over and pulling through, finalize your double crochet, ensuring it's manageable. Consider using a larger hook or stretching your stitch to match the chain three's dimension. After making four front post stitches, you've completed your initial set.
4. The Back Post Double Crochet (bpdc):
Next, craft four back-post double crochets. The process is just slightly different: yarn over and approach the stitch from its rear, moving from right to left. This method might obscure some stitches, so ensure all are completed and you do not miss a double crochet.
6. Continuing the Pattern:
Maintain the pattern, alternating four front and back post double crochets until the row concludes. Your finishing touch will be an edge stitch into the preceding row's chains.
For the third row, chain two and turn, mirroring the second row's actions.
7. Alternating Stitches
The fourth and fifth row introduce a pattern shift: front post stitches are replaced with back post stitches, and vice versa.
This textured pattern's charm continues after completing this stitch's basic structure. The basketweave's elegant appearance also serves as a canvas for further embellishments. Think appliques, adding a touch of creativity, personalizing it to your heart's content.
The basketweave stitch is a testament to the timeless appeal of crochet artistry. Whether a novice or a seasoned crocheter, this versatile pattern should be in your repertoire for many future projects. Moreover, for a smooth crocheting experience, consider the wide range of professional and ergonomic KnitPro single-ended crochet hooks designed to cater to every crocheter's needs and preferences.


