Short rows are the gateway to an elegant new world of crochet possibilities. Envision the ability to craft mesmerizing curves with your crochet hook or add captivating ripples to your designs. Short rows in single-ended crochet hold the key to transforming your designs into extraordinary masterpieces, elevating them to a league of their own.
Get ready to master smooth crochet short rows effortlessly with our step-by-step instructions. Guided by the magic of your crochet hook, you can infuse your creations with elegance and charm by making short rows.
What are short rows in crochet?
From crafting cozy garments that hug your body's contours to fashioning charismatic accessories, short rows can transform any project into a personalized work of art.
By creating short rows with your crochet hook, you can enhance the fit and aesthetics of your creations in truly unique ways. Add bust darts or gracefully slope the shoulders of a sweater for a more flattering and comfortable fit. Dive into turning the heel on a sock with finesse, or add length and create adorable pot bellies for your amigurumi creatures.
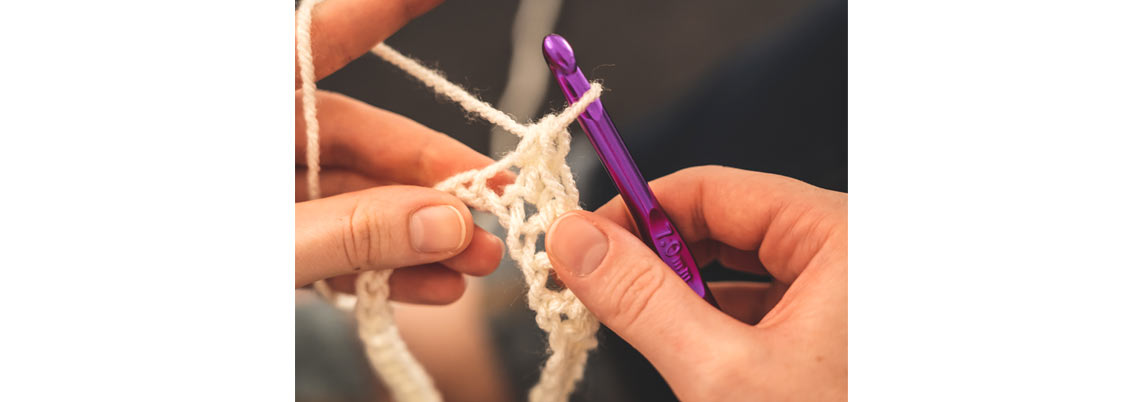
Note that crocheted short rows are crafted in pairs or 2-row sets, worked both forward and backward. This technique entails crocheting incomplete rows, leaving some stitches untouched, and then turning your work before reaching the end of the row.
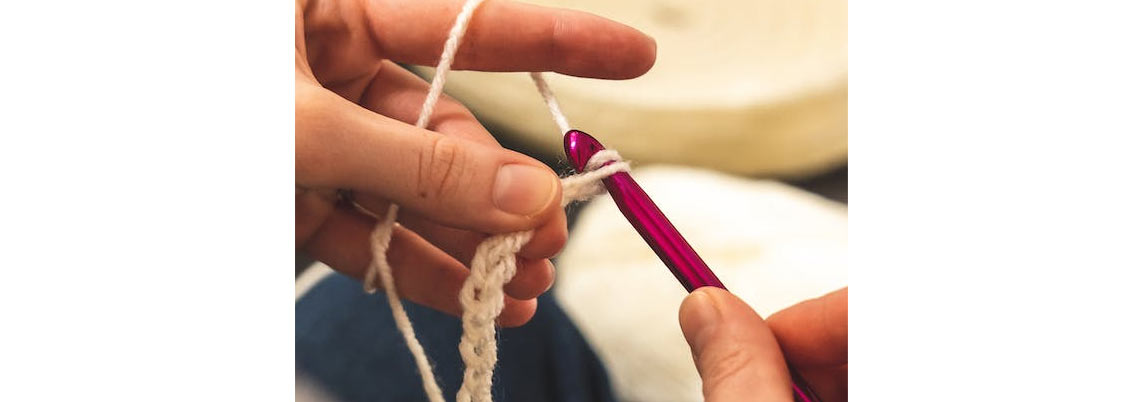
How do you crochet short rows in single-ended crochet?
Short rows typically shape specific areas at the end, the beginning, or the middle of a row or round. First, you'll need to create a foundation chain corresponding to the width of the section you want to shape. After making your crochet chain, you can just chain several rows without altering your stitch count before working your short rows.
Inserting short rows at the end of a row:
Step 1: Start crocheting using your chosen stitch (e.g., single crochet, double or treble crochet.) Refrain from completing the last stitch when you reach the end of the row. The more stitches you leave unworked, the more dramatic your slope will be.
Step 2: Chain 1 (or 2 for DC). Instead of finishing the last stitch(es), turn your work so that you are now looking at the back (or wrong side) of your work.
Step 3: Begin crocheting back in the opposite direction, following your pattern instructions for the row. Complete the row as usual, but wait to finish the last stitch.
Step 4: Continue turning your work, skipping stitches (if needed), and working back across the row until you've completed all the short rows specified in your pattern or achieved the desired shaping.
Once you've finished all the short rows, you'll typically continue crocheting without turning or skipping stitches. This will eventually create a seamless transition between the shaped section and the rest of your project.
The number of stitches you skip in your short rows may vary depending on the pattern and the project you are working on. You can modify the patterns and number of stitches you skip to achieve different shaping effects.
Create short rows at the beginning of a row.
Step 1: Chain 1 and turn.
Step 2: Skip the chain at the beginning of your row and the first single (or double) crochet, then single crochet into the next stitch.
Step 3: Work till the end of the row, chain 1, and turn.
Step 4: Work into each stitch, but stop when you get to the single chain stitch on top of the sc you have skipped at the beginning of the previous row.
Step 5: Now crochet into the side of the jog created at the skipped stitch(es). Note, that you are not changing the stitch count now; working into the side of the skipped stitch will give your work a seamless transition.
Step 6: Crochet to the point where your next set of short rows will turn, then repeat the above steps.
This method ensures a seamless transition at the turning point of your short rows when starting a new row. Simply skip the first stitch and work into the side of the step, smoothing over the transition flawlessly.
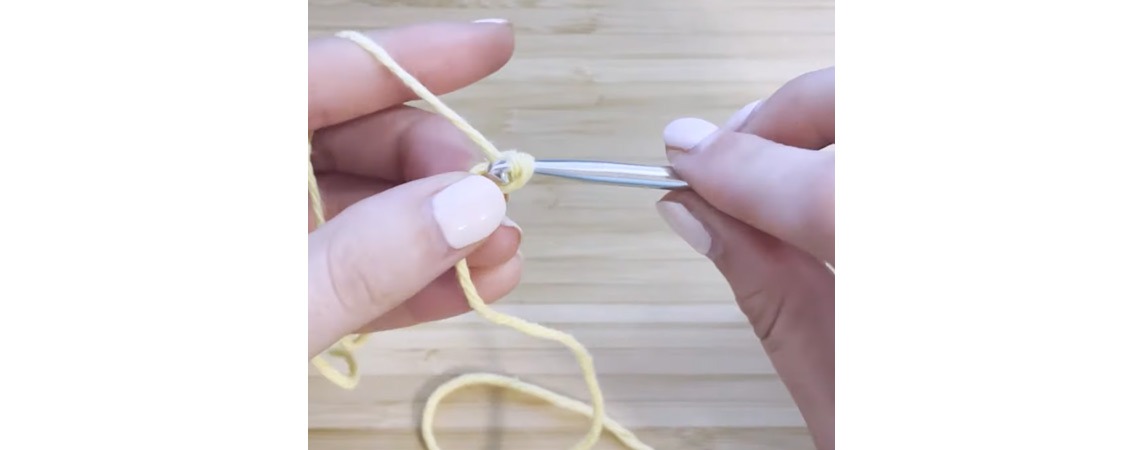
Making short rows in rounds
When working in the round, only the right side of the stitches is visible, resulting in a different look compared to crochet worked in rows. If you incorporate short rows into a piece crocheted in the round, they may not seamlessly blend in due to the one-sided nature of round crochet.
You can take a strategic approach to achieve inconspicuous short rows in a round project. Simply turn your work at the end of each round, alternating between right and wrong side rows to match the texture of the short rows. This method cleverly conceals the short row transitions and ensures a cohesive appearance throughout your crochet piece.
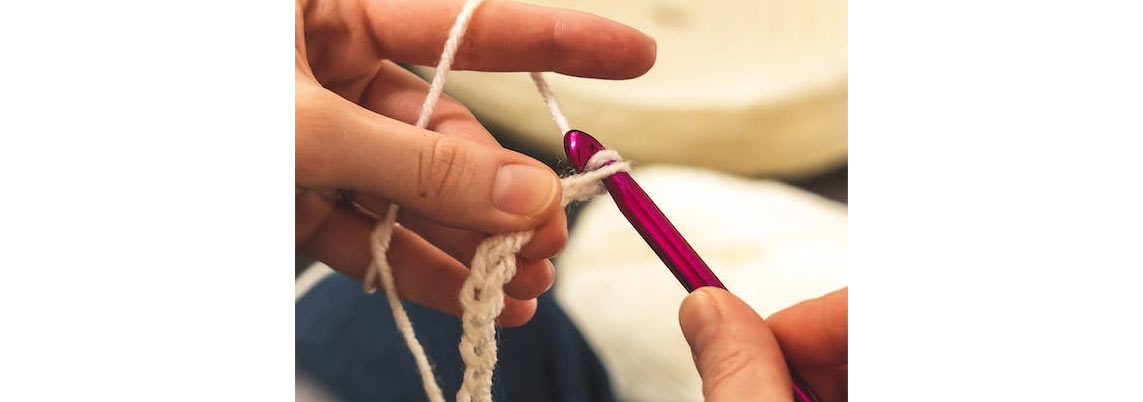
More tips and tricks when making short rows
When working with short rows, the primary challenge is concealing or minimizing the noticeable step or bump where the short row begins or ends. Short rows are commonly executed using single crochet stitches to achieve a smoother transition, as taller stitches like half double crochet or double crochet create more prominent gaps.
However, if you wish to incorporate taller stitches into your short rows in your single-ended crochet, there's a beautiful solution to taper the ends of your rows. For instance, if you're working with double crochet, before the turn, use your crochet hook to craft shorter stitches and gradually reduce the step. This technique will result in a smaller and more manageable step, ensuring your crochet project's polished and professional finish.
The technique is more complex than it may sound, and with a bit of practice and armed with the professional single-ended crochet hooks by KnitPro, you'll be crocheting short rows like a pro in no time! Happy crocheting!


