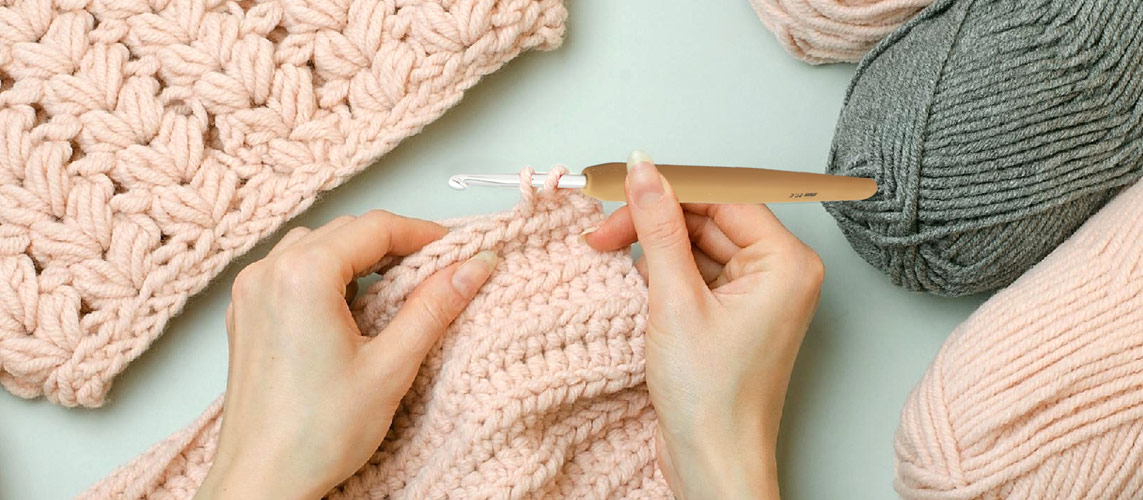
Crocheting a sweater is a big project. But, with the knowledge of basic crochet stitches and techniques, you can very take the first step into garment making. All you need is your crochet hook and yarn. Make sure to have the right size that matches the yarn. You can go ahead with a sweater pattern or even plan your own with measurements of your project and a gauge swatch. Let’s walk you through the steps of how to crochet a sweater.
If you are a knitter or a beginner crocheter, you may be wondering if it is worth the effort. The answer is yes and yes. Both the crafts of crocheting and knitting can each produce a sweater from the same yarn, but the results won’t look or feel the same. So first let's take a look at the features of the crocheted fabric and understand how different it is from the knitted fabric.
Crochet Characteristics
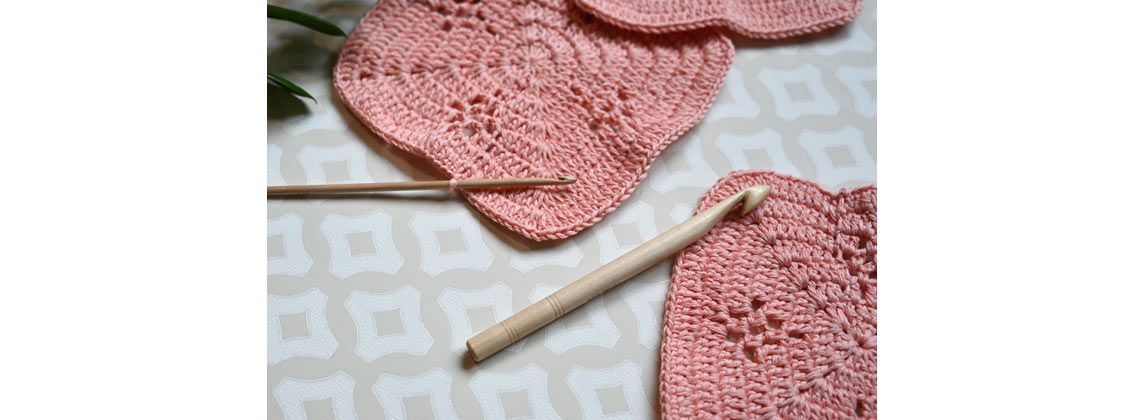
Fabric made with crochet is usually thicker and denser than ones made with knitting because each stitch is closed before pulling up the next one. Crochet is easier for structural projects. The beauty of the craft is such that if you use lighter-weight yarn you can have a lacy effect while with chunky-weight yarn you will have a very warm garment. There are also options for designs such as granny squares and magic circles where you can assemble the small pieces for making a sweater or a garment. You can refer to our guide on how to crochet the classic granny square to make a vibrantly-coloured garment.
Now getting back to the steps.
How to crochet a sweater?
Step 1- Choose a Pattern
The first step is to find a crochet pattern within your skill. It’s easiest to start with a sweater pattern that contains shapes, like rectangles and squares. You can choose to crochet the front, back and sleeves separately then seam them together or go with a pattern that does not require you to use your wool needle to assemble.
Pattern designers mention multiple sizes of garments from XS, S, M, L, XL to XXL with metric measurements. You can go ahead with general sizes or calculate with a measuring tape to get the exact numbers. Measure the body length, neck circumference, sleeve length & circumference, bust length & chest circumference and other areas. Do factor positive ease for the sweater with an extra 15cm for an easy fit.
Step 2- Go through the Crochet Stitches and Techniques
Crochet Terms (UK)
• CH – Chain. In the most basic crochet stitch, the chain serves as the foundation for crochet stitches. They don't have a height in the crocheted piece. You can make chains on fabric or in the air.
• SS– Slip Stitch. More of a technique than an actual stitch, it is made by inserting a crochet hook into the stitch or space indicated, yarn over, and pulling wool through both loops on the hook. SS does not add height to the fabric but runs horizontally, joining two stitches.
• DC – Double Crochet. One of the basics of crochet, the stitch, can be made by inserting the hook into the second chain or space indicated. Yarn over and pull up a loop; you’ll have two loops on the hook. Yarn over and pull the thread through both loops on the hook. SC adds the least height to the fabric and is dense.
• HTR – Half Treble Crochet is made by inserting the hook into the third chain or space indicated. Pull up a loop, and you’ll have three loops on the hook. Yarn over and pull the thread through all the loops.
• TR – Treble Crochet Stitch works similarly to SC, but the difference is that you pick up three loops but pull yarn through 2 loops and then pull yarn through the 2 loops again.
• DTR – Double Treble Crochet Stitch. The tall stitch adds much to the height of the crocheted fabric and makes an open fabric. To work this stitch, you start to like the single crochet stitch but then pull up 4 loops on the crochet hook and pull yarn through 2 loops on the hook 2 times. Similar to TR, DTR is the tallest of crochet stitches.
U.K. |
U.S./Canada |
slip stitch (ss) |
slip stitch (sl st) |
double crochet (dc) |
single crochet (sc) |
half treble (htr) |
half double crochet (hdc) |
treble (tr) |
double crochet (dc) |
double treble (dtr) |
treble/triple (tr) |
triple treble (trtr) |
double treble/double triple (dtr) |
| tension |
gauge |
miss |
skip (sk) |
| yarn over hook (yoh) |
yarn over (yo) |
• Crochet Increases & Decreases
Increasing and decreasing stitches shape up a project. Make sure that you are confident with them. The increase means making two stitches with one stitch and the decrease means making two stitches into one. All stitches have their own steps so make sure you practice a little beforehand.
• Changing Colours in Crochet
Changing colours in a crochet pattern is a technique that almost every crocheter learns. Even if you know how to crochet a multi-coloured scarf, make sure you know to neatly introduce new yarns for the sweater pattern.
Step 3 - Choose Yarn
A crochet pattern will mention the yarn weight, shade and even brand that they may have used for their project. Choose the very same yarn or a similar yarn weight. If you have scraps from your previous project, you can use them too. Just remember that crochet requires more yarn in comparison to knitting. This is because of the formation of the crochet stitches. In general, you can expect crochet projects to use 25-30% more yarn than a knitting project of the same size, depending on the stitch pattern. This means that crochet garments may feel a bit heavier. For a quick winter project, you can consider crocheting with chunky yarn.
Step 4 - Choose the Crochet Hook
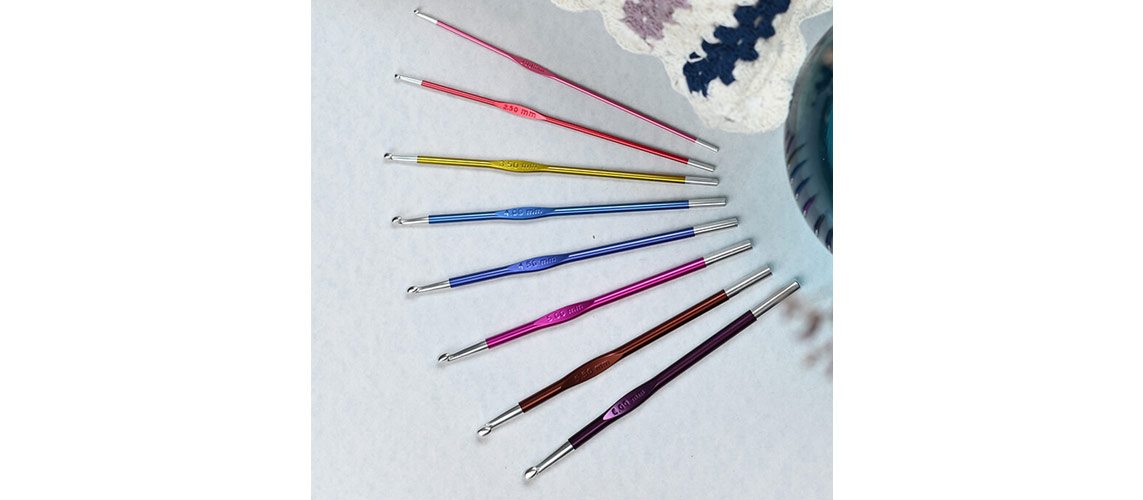
Choosing the right crochet hook depends on the yarn. You will need to choose a size matching the yarn weight. If you prefer wood then explore KnitPro’s Ginger or Symfonie range or go ahead with sustainable bamboo. For metals, try the Zing range or Aluminium or steel hooks. You can choose single-ended hooks or double-ended or interchangeable Afghan/ Tunisian crochet hooks.
Step 5 - Gather accessories
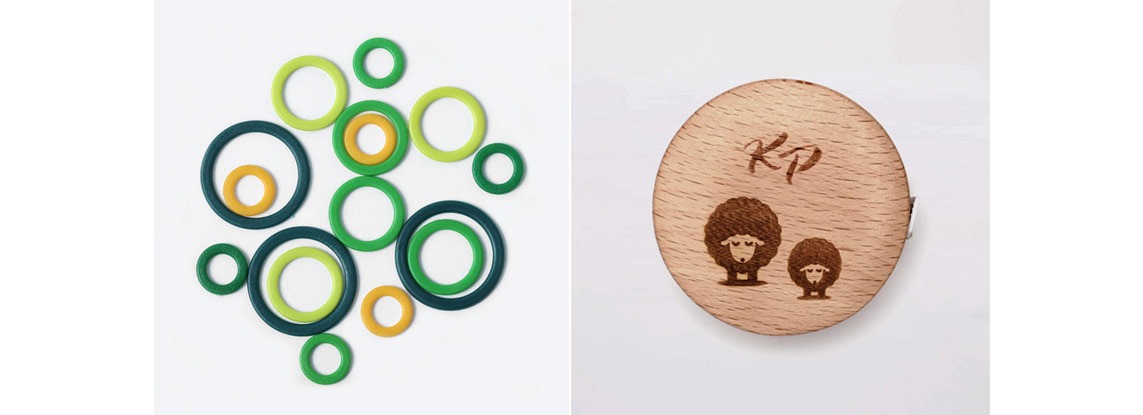
Accessories are crochet essentials. You will need stitch markers (locking ones), sharp scissors, measuring tape, row counters, and a wool needle to assist you with smooth crafting.
Step 6 - Crochet a Gauge Swatch
With the yarn and crochet hook you chose for the sweater, make a square of at least 10 cm. Once you’ve completed the swatch, wash it and block it. Once dry, measure the row count and stitch count. If you have stitches that match the number mentioned in the pattern, then you don’t have to make any changes. If your gauge doesn’t match, you can try to go up or down a size to see if it matches then or follow our tips to get the correct crochet gauge.
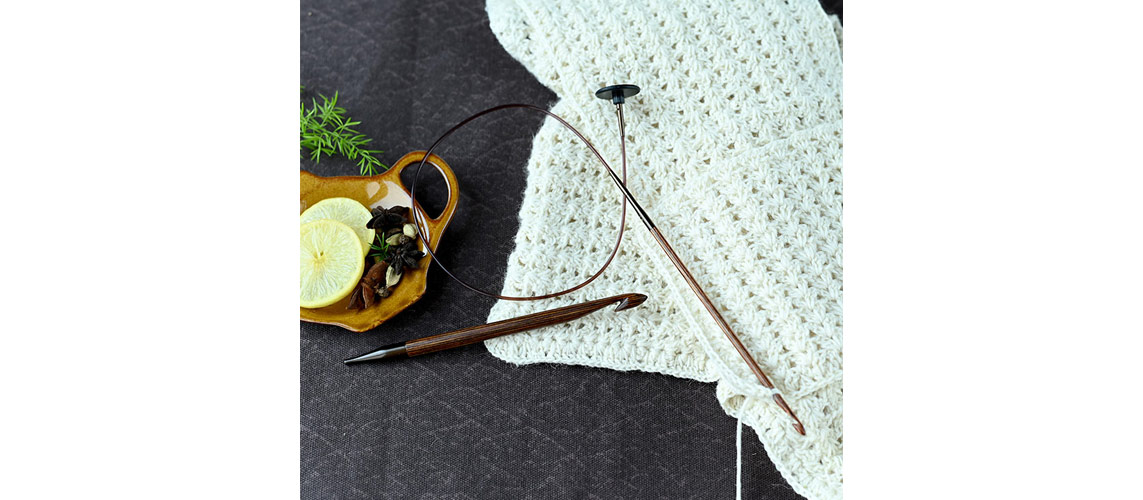
Even if you are not following a pattern, do not skip this step. This is necessary for many reasons. You will get a glimpse of how the fabric will look. You get an estimate of the yarn needed for the project by unravelling a length of yarn for 5 or 10 stitches and then multiplying it with the stitch count for the entire project.
With the above steps, get ready to start your crochet sweater.
If you are following a pattern, you will have step-by-step instructions. If you are planning your design, then you can start with the neckband and go down or start from the waist and up or even make it in parts and then seam them all together.
Block the Sweater
After your sweater is ready. Wash the project and block it. The blocking tools will assist you with proper blocking. Yarns bloom once blocked and you will have a clean and fitted sweater.
Weave in Ends
The final step is to weave in the ends. You will have as many tails as the yarns you’ve used plus two. With the wool needle (the same or smaller size than the knitting needle) weave in the ends. Go across the fabric to neatly finish the project.
Happy crocheting!


