Knitting is like engineering, where following instructions is akin to following an architect's plan. But what if you stumble upon a pattern you love that requires knitting flat pieces and sewing them together, and you despise seams?
The good news is that you can convert the pattern to a circular one without seams. However, it requires careful planning and adjusting the pattern before knitting.
In this blog article, we guide you through the steps to convert any flat knitting pattern into a round one.
What Skills and Materials do I need to convert a flat into a round Knitting Pattern?
To complete a circular knitting pattern, you will need the same basic skills you require for a flat-knitted project, such as casting on, knitting, purling, increasing, decreasing, and binding off. In addition, you should know one of the various techniques of knitting in the round, either on circular knitting or double-pointed knitting needles. Look at our step-by-step tutorial here if you have never worked on a seamless item.

When using circular needles for knitting, it's essential to remember that you're consistently working from the right side, which will be the exterior of the finished work. In other words, the wrong side rows you would encounter while knitting flat will alternate with every right side round when knitting seamless circumferences.
Additionally, reading the pattern thoroughly before starting is paramount to ensure you have all the required materials and understand the pattern construction.
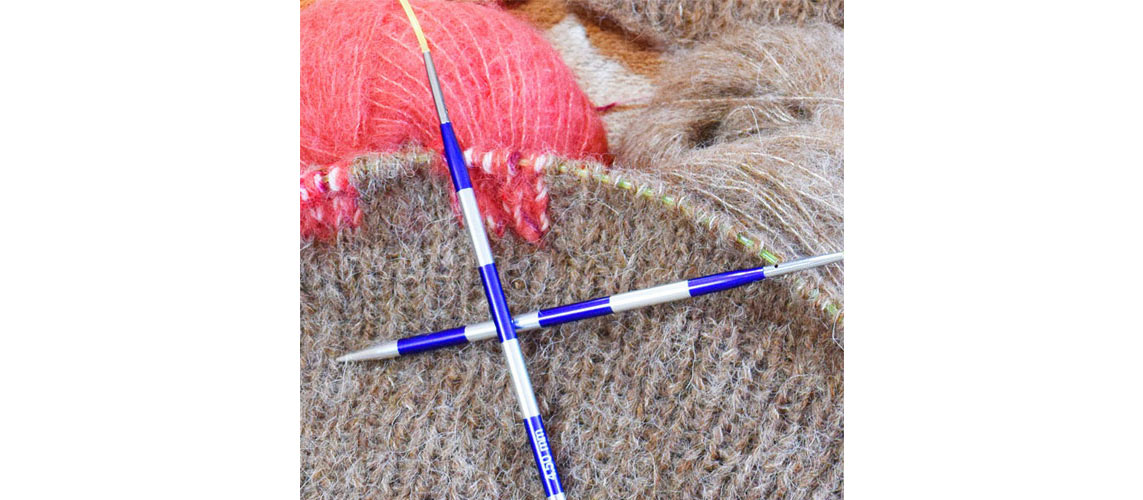
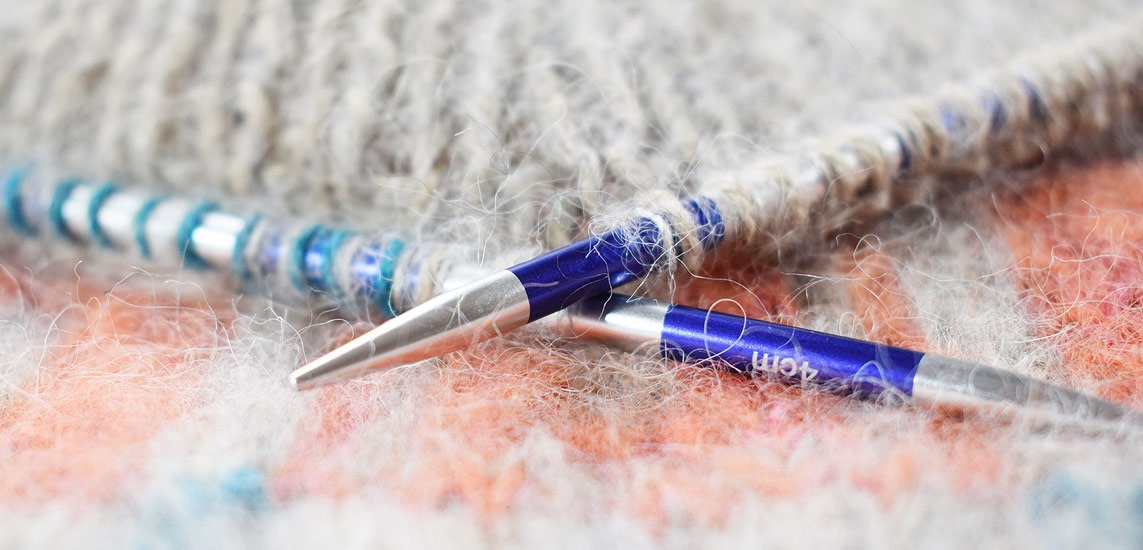
Apart from yarn, you will also need suitable circular knitting needles; two pointed needles connected by a flexible cable, and stitch markers to keep track of your rounds. Depending on the pattern, you may also need a finishing needle for weaving in ends and a row counter to help you keep track of the number of rounds you've knit.
Converting a flat-knitted Pattern to Circular Knitting Needles
Change the stitch pattern: When knitting in the round, first, you will need to adjust the stitch pattern to work in the round seamlessly. This may involve modifying the pattern to eliminate the odd-numbered, wrong-side rows and changing the stitch counts.
To calculate the adjustment needed to convert a flat-knitted project, you first need to determine the gauge of the pattern. The gauge tells you how many stitches and rows you need to knit in a given measurement, usually over 4 inches.
Next, you decide on the desired circumference of the finished piece that works for you. Divide the circumference by the gauge to determine how many stitches you need to cast on. Note when you knit a project in the round, you don't need to include border stitches for each piece.
For example, if you were knitting a flat tank top consisting of two pieces, you would have four border stitches that you need to subtract from your stitch count.
Knitting in the round also means you have to adjust any stitch patterns to work seamlessly in the round. For example, if a pattern has a wrong-side pattern row that is purled, modify it to work as a knit row when knitting in the round in stockinette stitch.

Increasing and decreasing: You typically have separate instructions for the front and back pieces in a flat-knitted pattern. Shaping is done by decreasing or increasing stitches at the edges. To create a round pattern, you just adjust the shaping to be worked in the round. This may involve changing the placement of the shaping or using different types of decreases and increases. For example, instead of increasing at the beginning and end of a row, you would icrease evenly around the work using a more invisible type of stitch increase.
Consider the neckline and armholes: When working in the round, you plan the neckline differently than in a flat-knitted pattern. You may need to use German short rows to shape the neckline, place stitches for the sleeves on hold, and use a provisional cast-on method so you can later pick up stitches for your sleeve design.

Plan for finishing: As you have done a lot of preparational work, there is less work left to finish your round-knitted item. In a flat-knitted pattern, you typically have separate pieces blocked separately and later sewn together to finish the project. When blocking your round-knitted labor, you block it as a whole and finished piece. Spread it gently on your block mats or ironing table and pin it into shape without over-stretching it. Spray it generously with lukewarm water from a spray bottle and leave it until completely dry.
Converting a flat knitting pattern to a seamlessly round one requires careful planning and adjustments before casting on your work. With some practice and the right circular knitting needles, you can create a beautiful seamless garment that fits snugly.


