So you have finished your first project proudly and beautifully and are now wondering how to get these stitches off your knitting needles without unraveling everything? Congratulations on reaching this pivotal moment in your knitting journey!
Binding off, also known as casting off, is a crucial step that stands between you and the joy of completing your first handmade creation. It's the process that safely and elegantly secures your stitches, ensuring that your hard work doesn't come undone when it leaves the needles. Whether working with straight or circular knitting needles, learning to bind off correctly is the key to giving your projects a professional, polished look. Let's dive into this essential skill that will mark the completion of your knitting project and the beginning of many more to come!
Why Binding Off Stitches is Crucial
As a beginner, the idea of binding off or casting off might seem daunting or complex, but it’s a simple technique that, once mastered, becomes as intuitive as your knit and purl stitches.
Binding off ensures your knitting projects are finished, regardless of whether you are crafting them on double pointed knitting needles in the round or working flat items on a pair of straight needles. Binding off your stitches serves several purposes:
Securing Stitches
The primary purpose of binding off is to securely close the live stitches that are on your needle. Without binding off, these stitches would remain open and could easily unravel, undoing all your knitting work.
Creating Edges
Binding off provides a neat, finished edge to your knitting project. It marks the completion of the work and ensures that the piece maintains its shape and structure.
Different bind-off techniques can create various edge effects and textures, decorative and stretchy bind-offs can add flair and needed elasticity to the edges of shawls or blankets.
- Basic Bind-Off is the simplest and most common bind-off method.
- Stretchy Bind-Off ensures a more flexible edge, like for a cuff or a shawl. The stretchy bind-off can be achieved by using a larger needle size or by adding a yarn over before each stitch in the bind-off row.
- Picot Bind-Off creates a decorative edge with small, evenly spaced loops. It's often used for decorative hems and edges.
- I-Cord Bind-Off creates a rounded, cord-like edge and is ideal for summer tops or garments with no ribbing.
- Lace Bind-Off ensures a stretchy edge that matches the lace pattern. It typically involves yarnovers and decreases in the bind-off row.
- Tubular Bind-Off creates a seamless, ribbed edge that is often used for cuffs and hems. It mimics the appearance of a tubular cast-on and is especially useful for 1x1 ribbing.
- Jeny's Stretchy Slipknot Bind-Off is a super-stretchy bind-off that works well for shawls and other projects where you need a lot of give at the edge. It involves a slipknot technique.
Control Over Tension
The different types of bind-offs allow you to control the tension at the edge of your project. How you bind off can influence whether the edge is tight, loose, stretchy, or firm, which is crucial for the overall shape and fit of the finished piece.
Basic Bind-off: How to bind off your stitches neatly
You typically bind off stitches to either finish a project; sometimes, however, you also need to cast off some stitches mid-project, eg, when crafting the thumbs for your mittens or gloves.
The process is always the same whether you bind off a few or all of your stitches, whether a flat piece or while working in the round using your best knitting needle.
For visuals refer to this Video link: https://www.youtube.com/watch?v=hgDuCeXzng4
Step 1: Knit Two Stitches:
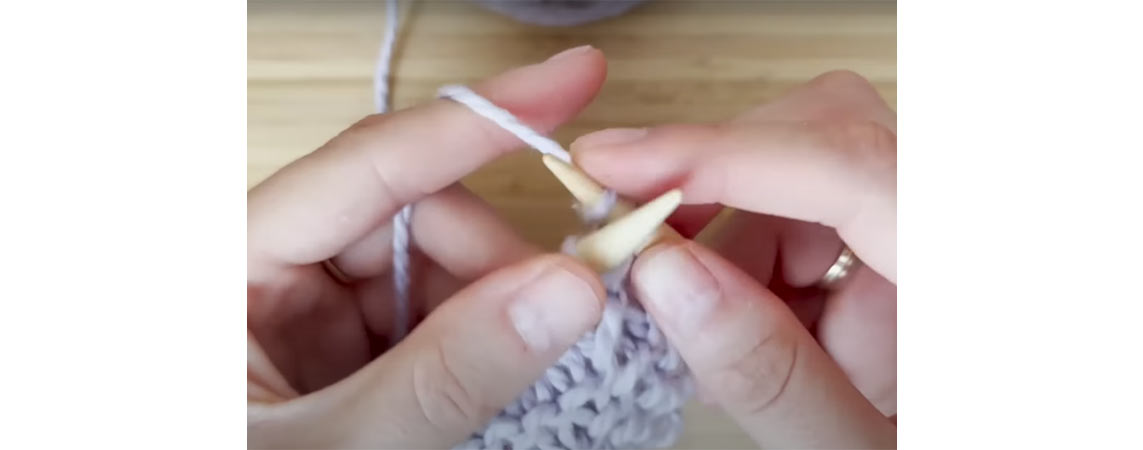
Begin by knitting two stitches in the usual way. You will now have two stitches on your right-hand needle.
Step 2: Lift the First Stitch Over the Second:
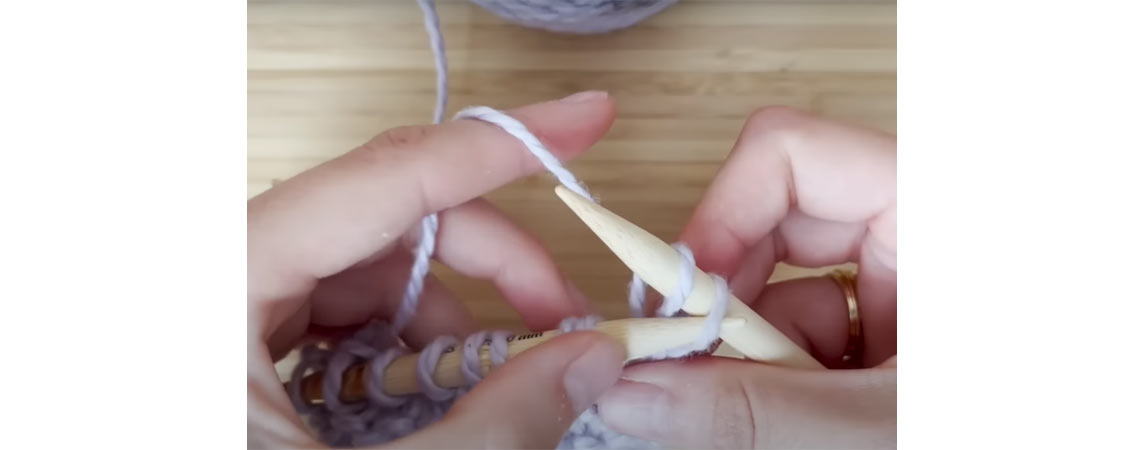
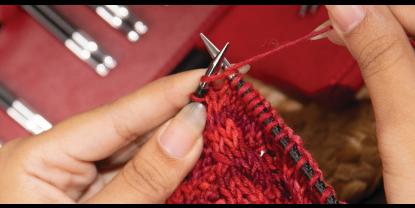
Insert the tip of your left-hand needle into the first stitch you knitted (the one furthest from the tip of the right-hand needle).
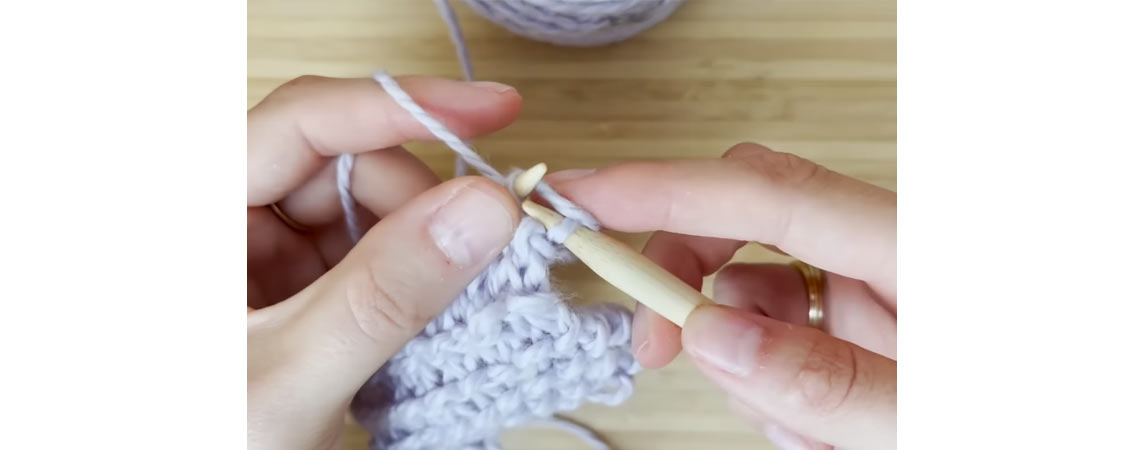
Carefully lift this stitch over the second stitch and off the right-hand needle. Now, you'll have one stitch left on the right-hand needle. This is your first bound-off stitch.
Step 3: Knit Another Stitch:
Knit another stitch from the left-hand needle so you again have two stitches on your right-hand needle.
Step 4: Repeat the Process:
Repeat the lifting process: use the left-hand needle to lift the first stitch over the second stitch and off the needle.
Continue this process across the row. Each time you lift a stitch over, you "bind off" another stitch.
Step 5: Finish the Last Stitch:
When you get to the last stitch, you will have one stitch remaining on your right-hand needle.
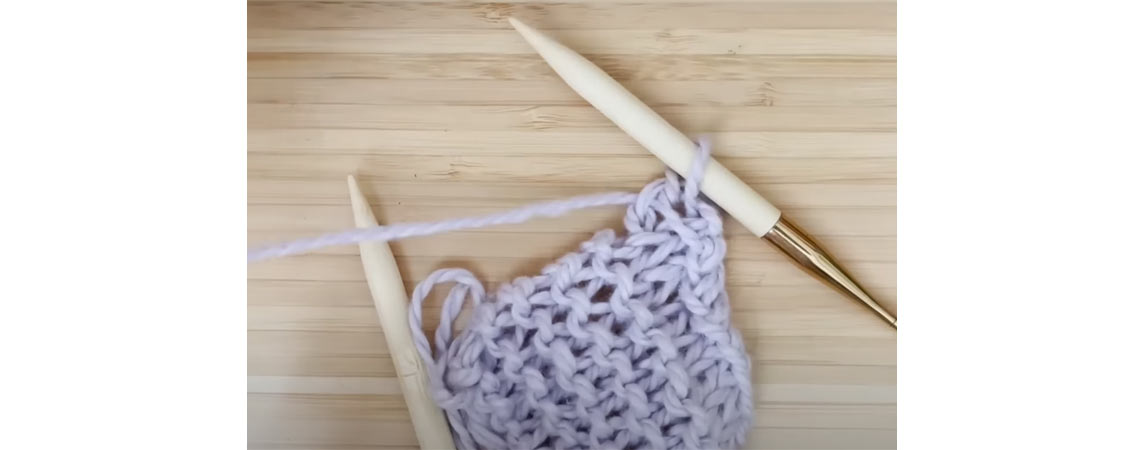
Cut the yarn, leaving a tail (about 6 inches long). Pull this tail through the last stitch and tighten it to secure it.
Basic Bind-off Troubleshooting:
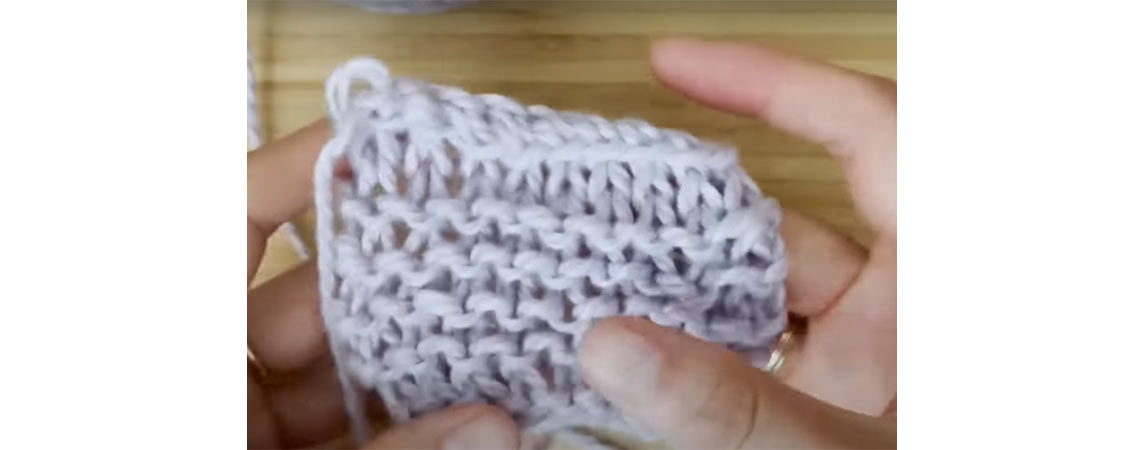
The tension of your bound-off edge should be similar to the rest of your knitting. If it's too tight, it can cause the edge to bunch up or curl. If it's too loose, the edge may flare out. Your bind-off tension in the Basic bind-off should be somewhat looser than your general knitting tension, so that the pulled stitch fits comfortably, but not too snugly on your knitting needle.
The key to a successful bind-off is not just in the technique you choose, but also in the tools you use. At Knit Pro you will always find your best knitting needles regardless of your skill level and preferences.


