Knowing how to knit a plain knit stitch is one of the basic knitting skills, and it's really easy to learn, as well. It doesn't matter whether you knit on acircular, double pointed needle or two single needles, as long as the needle size matches the thickness of your yarn. We will not only explain to you here how you can easily produce a knit stitch from scratch, but also what terms such as 'stockinette' or 'garter stitch' mean and how you distinguish the right side from the wrong side.
So, what exactly is a knit stitch?
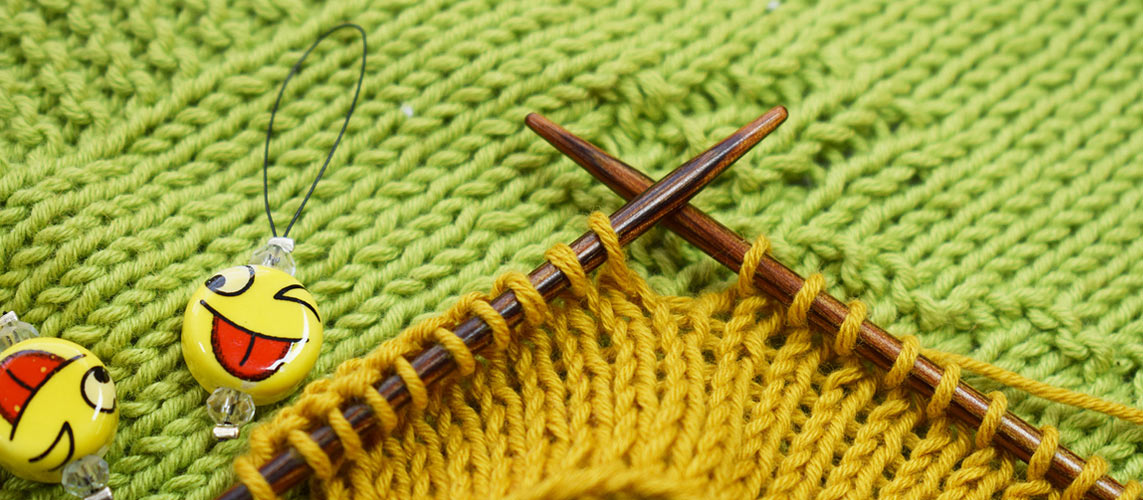
A knit stitch consists of two stitch legs that converge towards the bottom. This will make them all look like a little V. They're crafted by pulling the thread of your working yarn through the loop on your needle and transporting the stitch from your left onto your right needle.
By the way, on its backside, a knit stitch always appears as a purl stitch. It looks completely different because of the small, wavy bar at the top. But if you look closely at a purl stitch, you will see that the wavy bar represents the top end of the loop of your knit stitch.
The alternation of knit and purl stitches results in many beautiful patterns, such as the moss or seed stitch, for which you alternate between knit and purl stitches and simply reverse them in the following row.
And how do I create a knit stitch?
If you look at your pair of knitting needles, you will notice that you have one for each hand. The right knitting needle is referred to as the working needle, the left one as the stitch needle because all the stitches to be knitted are located on this needle. Regardless of whether you are about to create a knit or purl stitch, the stitch of the cast-on row or the previous row always sits on your left-hand needle. When knitting, you move the loops onto the needle in your right hand.
All knit stitches should have their right leg in front of the knitting needle, while the left stitch leg is located behind the needle body. While you hold your left-hand needle pretty steady, you move your working needle around quite a bit to create the new loops.
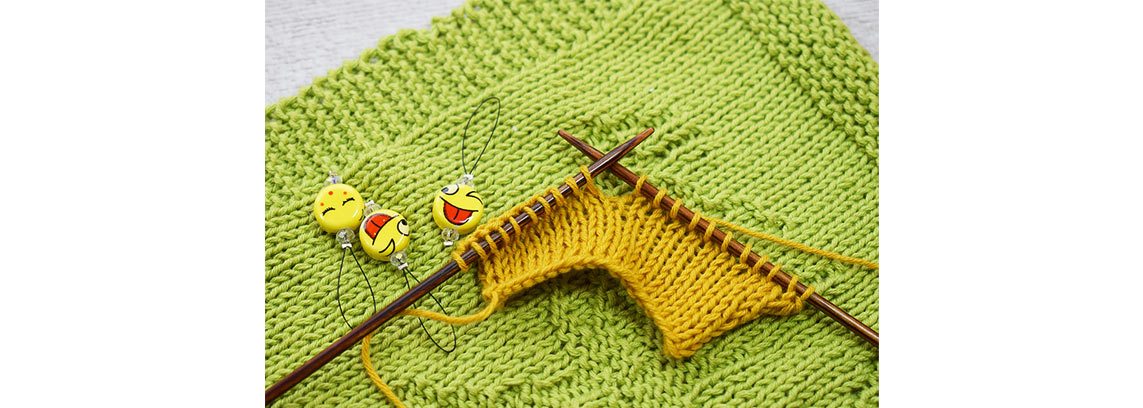
Step 1: The working thread lies on the index finger of your left hand. To tighten it, you can wrap it around your finger once or twice. You have the cast-on stitches on your left needle and now want to knit them onto your needle in your right hand.
Step 2: Now, insert the working needle into the first stitch from the front left and use it to grab a piece of the working thread lying around your index finger.
Step 3: Pull the tip of the needle with your working thread through the loop on your left-hand needle, thus forming a new stitch on the right needle.
Step 4: Repeat these steps. until all stitches are knitted from the left needle and transferred to your right one. At the end of the row you can see how all the knitted stitches have formed a new row as you go, and you can see all the neat, little Vs you have created.
What does ‘stockinette stitch’ mean?
Knitting in stockinette stitch results in a particularly beautiful, even pattern. To create a stockinette pattern you knit stitches on the “right” side and purl stitches in your back row. The knitted piece will curl up slightly at the edges when only knitting in stockinette stitch.
There is one exception though: If you knit a piece in the round on circular needles, then you won’t have to purl any stitches, simply because there is no back row. You always knit your stitches in the round, and it will automatically result in a stockinette pattern.
What does ‘garter stitch’ mean?
If you are a beginner and do not yet know how to create purl stitches, start by knitting back and forth on straight or single-pointed needles with a stopper at the end so that the stitches on the other side do not slip down. If you now knit right stitches both in the front row and the back row, the right stitches you knit in the back rows will appear on the front of your knitted piece as left stitches. The sort of wavy-looking result is called garter stitch, and it will look the same on both sides of your project. But by the way, it doesn't curl at all.
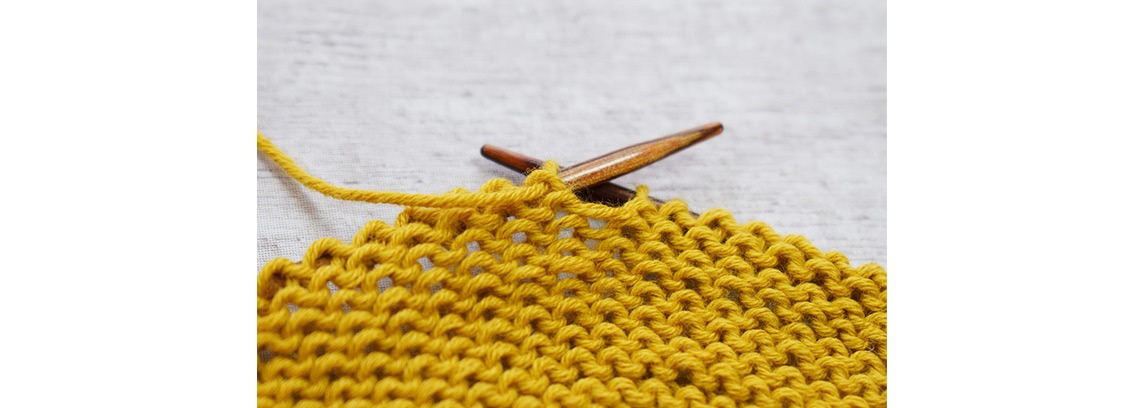
The garter stitch pattern creates a beautiful, straight knit edge. You can also use it as a pattern for a scarf or straight sweater.
What does ‘right and wrong Side’ mean, anyway?
You may have seen instructions on some knitting patterns that tell you to work on the right side (rs = right side) or the wrong side (ws = wrong side). The guide tells you how to knit the pattern on the front and back of the piece. In the finished project, the right side is the front, always facing outwards.
However, some patterns will make your knitting look the same on both sides, making it harder to identify front and back, such as the above mentioned garter stitch.
One way of distinguishing the right one from the back is the starting thread of your project. If you have the initial tail on the right side of your work, then you are in a right side row, i.e. your number of rows is always odd. If you knit towards the thread, i.e. it is on the wrong side, then you are knitting the back row, i.e. the even number of rows.
Another, also quite stylish, way to distinguish the right from the back is the use of stitch markers. You can simply hook them in after the first stitch on your right side and then you know that you are knitting on the right side.
We hope our little introduction into the beginnings of the knitting craft has given you confidence to try it for yourself. Learning to knit is really very easy. And you will see how much fun it can be with the right equipment from KnitPro. Do you already have a project or design in mind which you would like to knit?
Also take a look at our post about knitting on straight and on circular knitting needles here.


