Are you a fan of the famous TV show F.R.I.E.N.D.S and a Crocheter, too? Friends have brought us so much joy. As we share the love for both, why not bring that joy and nostalgia to our homes with our crochet hooks? Just so you know, it’s not that common, it doesn’t happen to every guy, and it is a big deal!
First, tell us, have you ever noticed the iconic crocheted throw gracing Monica and Rachel’s living room couch? Look at the image below. Does it ring-bing a bell?
Today, KnitPro will guide you through recreating this legendary granny square throw. This project ain’t rocket science, even Joey could do it (well, maybe after some explaining).
You will be challenging your inner Phoebe Buffay in no time, whipping up granny squares, joining them together, and bringing a little piece of Friends’ apartment into your living room. So grab your crochet hooks and yarn and get ready to Pivot…!
Be “Rachel Green” Ready with Essential Supplies
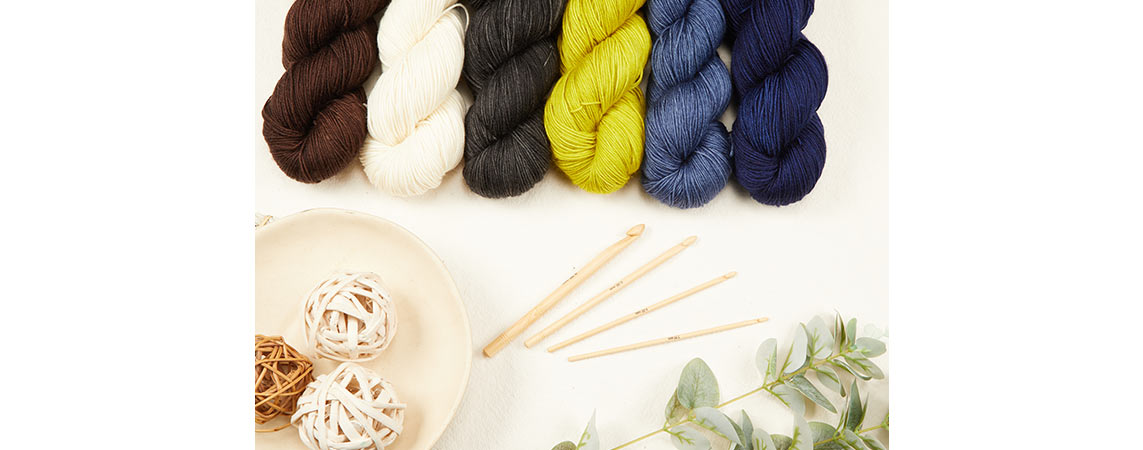
Yarn: You will need worsted-weight yarn in cream, dandelion (yellow), raspberry, poppy (orange), and thistle (purple) colors. I Know you can feel a little indecisive about the colors, don’t worry. Crochet's adaptability is what makes it so beautiful. Choose tones that appeal to you; any worsted-weight yarn will work.
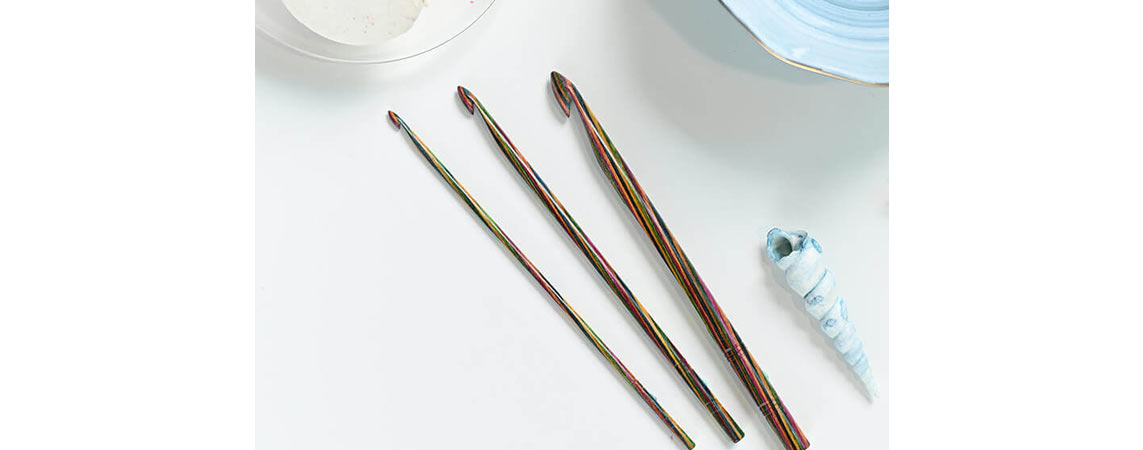
Crochet Hook: Grab a hook of your choice from the wide range of single ended crochet hooks.
Scissors: To trim down or cut those pesky yarn ends.
Stitch Markers: They can be your true friends, which helps you to mark the row or stitches.
Gauge
12 stitches in 6 rows: 4 inches (or 3 rounds 4 ¼ half inch. The approximate size of each square should be 5.5 inches by 5.5 inches. The throw is 60.5 inches by 41 inches in its complete size.
Could it be anymore longer? Well, yes! When the cream border is added, the granny squares measure 6.5 by 6.5 inches (16.5 by 16.5 cm), and the throw is larger due to the scalloped edge surrounding it.
Granny Gettin’ Squares
Make 14 squares in raspberry and poppy (orange) and 13 squares in dandelion (yellow) and thistle (purple).
The Central Perk: Foundation
Begin by making a magic circle, chain 4, and slip stitch into the first chain to form a ring.
Round 1: Chain 3 (count as the first double crochet throughout), followed by 2 double crochets into the ring. Chain 2, repeat three more times. Finally, slip stitch into the top of the starting chain 3 to close the round.
Round 2: Chain 5 (count as the first double crochet). Create a corner stitch by making {3 double crochet, chain 1, 3 double crochet} into the next corner space. Repeat twice. In the next corner, make {3 double crochet, chain 1, 2 double crochets}. Slip stitch into the 3rd chain of the starting chain 5 to close the round.
Round 3: Slip stitch into the next chain-2 space. Chain 3 followed by 2 double crochets (treble crochet,UK) into the same chain-2 space. Chain 2. Into the next corner space, create a corner stitch by making {3 double crochet, chain 1, 3 double crochet, chain2}. In the next chain-2 space make 3 double crochet, chain 2, repeat this sequence twice. In the next corner, create a corner stitch with [3 double crochets, chain 1, 3 double crochets, chain 2]. Finally, slip stitch into the top of the starting chain 3 to close the round.
Round 4: Chain 5. Make 3 double crochets into the next chain-2 space. Chain 2. In the next corner space, create a corner stitch with [3 double crochets, chain 1, 3 double crochets, chain 2]. Repeat this sequence (3 double crochets, chain 2, corner stitch) two more times. In the next corner, create a corner stitch with [3 double crochets, chain 1, 3 double crochets, chain 2]. 2 double crochet in the next chain-2 space. Slip stitch into the 3rd chain of the starting chain 5 to close the round.
How YOU doin’ so far?
Pretty great, right? You just need to bind off now!
“The One Where They Join Everything”
Now that you have all your squares ready, it's time to turn them into a throw.
Grab that cream yarn and find the top left corner square. Crochet a chain of 3, followed by 2 double crochet, chain 1, 3 double crochet, and chain 1 stitches to create a pretty little border into the corner.
Along the side, {3 double crochet and chain1} into the space of between 3 double crochet shells from the previous round. Repeat { } two more times. Ss into the third chain's top. Securely bind off.
The rest of the squares will have the same border as the first one, and they will be snuggled up next to their neighbors.
Color Scheme for Joining
Raspberry |
Poppy |
Thistle |
Dandelion |
Raspberry |
Poppy |
Dandelion |
Thistle |
Raspberry |
Poppy |
Dandelion |
Thistle |
Poppy |
Raspberry |
Dandelion |
Thistle |
Poppy |
Raspberry |
Thistle |
Dandelion |
Poppy |
Raspberry |
Thistle |
Dandelion |
Raspberry |
Poppy |
Thistle |
Dandelion |
Raspberry |
Poppy |
Dandelion |
Thistle |
Raspberry |
Poppy |
Dandelion |
Thistle |
Poppy |
Raspberry |
Dandelion |
Thistle |
Poppy |
Raspberry |
Thistle |
Dandelion |
Poppy |
Raspberry |
Thistle |
Dandelion |
Raspberry |
Poppy |
Thistle |
Dandelion |
Raspberry |
Poppy |
“We Were On a Break”
Since all were separated into pieces and we joined them together it’s time to make the finishing border.
Pick up the cream yarn, insert it into any space between two 3 double crochet shells, chain 1, and make 5 double crochets into the space. Encircle the blanket, slip stitch, and make 5 double crochets into every gap between 3 double crochet shells and into the corners of the granny squares.
Just weave in any loose ends for a clean, professional look, not just normal clean, but Monica-clean, and snuggle up if you don't even have any pla..!
And there you have it, your own friends-inspired granny square throw.
Now scream with Joy, “MY EYES, MY EYES” seeing this beauty.
Grab your crochet hook set and make this iconic creation for yourself, or gift it to a F.R.I.E.N.D.S fan.


