Entrelac knitting is a beautiful technique that produces a stunning weave-like look on scarves, sweaters, or blankets. The term "entrelac" comes from the French "entrelacer," which translates to "to interlace" or "to intertwine." It aptly captures the essence of entrelac knitting as you construct a braided look by knitting separate interlocking squares.
While Entrelac knitting may appear complex at first glance, mastering it on a pair of straight or circular knitting needles is surprisingly straightforward once you grasp the underlying principles. Our beginner-friendly Entrelac tutorial will give you everything you need to know to take your first steps in this intriguing textured knitting style.
How does Entrelac Knitting work?
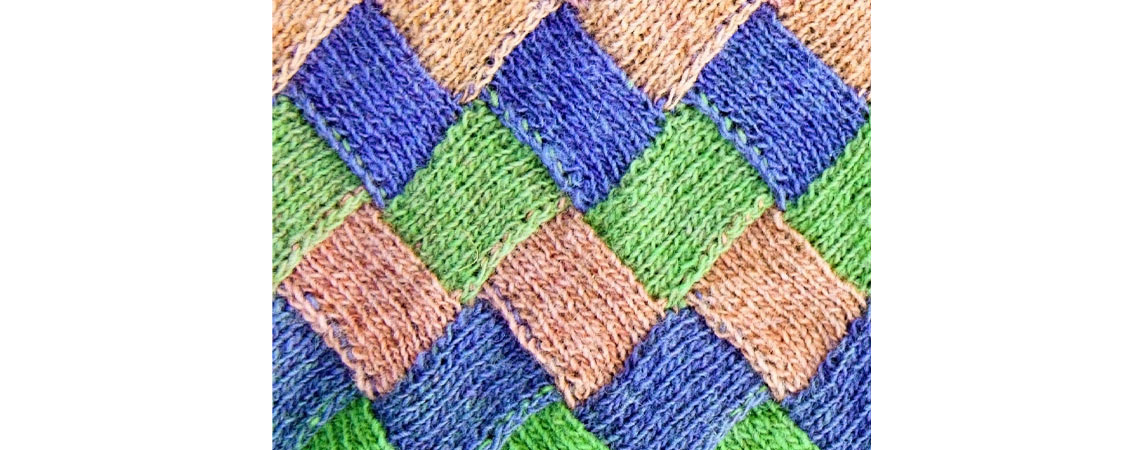
Entrelac knitting produces a diamond pattern that looks like a basketweave from interlaced strips of fabric. It is achieved by knitting interconnected squares in different orientations.
The process involves alternating tiers of left-leaning and right-leaning blocks, with each new block picking up stitches from the edge of the one before it. You can work Entrelac in one color, but you achieve a striking look that highlights the geometric nature of this pattern even more when using two or multiple colors.
What Knitting Skills Do You Need for Entrelac Knitting?
At its core are the classic knitting techniques such as casting on, the knit, and purl stitch. Other than these, you’ll require:
- Increasing and decreasing stitches to shape the edge triangles that frame the entrelac structure.
- Picking up stitches is one of the hallmarks of entrelac knitting. his skill is vital for creating the woven appearance of interconnected blocks.
- Working short rows is a technique where you turn the work before reaching the end of the row. You use it to create the separate building blocks of the Entrelac style.
What Knitting Needles are Best for the Entrelac Method?

Straight Needles are suitable for smaller to medium-sized Entrelac projects, e.g. dishcloths or flat panels for a blanket or sweater. But because this knitting style can produce a dense fabric, working on straight needles may strain your hands and wrists.
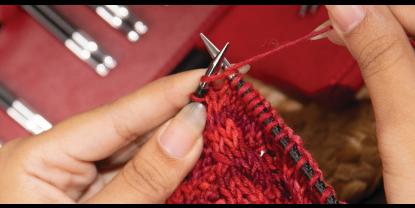
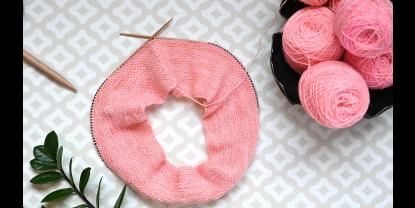
Circular needles are highly recommended for Entrelac knitting. They allow you to knit flat pieces, but also in the round. Additionally, you can hold a large number of stitches comfortably and turn your work easily. With the versatility of interchangeable needle tips, you can adjust the cable length to any project size.
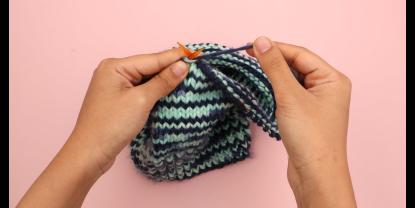
Double pointed needles (DPNs) are ideal for smaller entrelac projects worked in the round, such as hats or socks.
Entrelac Knitting Swatch: Step-by-Step Guide
Our Entrelac Swatch creates three rectangles, each five stitches wide, to give you an idea of the technique.
Step 1: Cast On
- Cast on 15 stitches using a stretchy cast-on method.
Step 2: Preparation Tier (Base Triangles)
- Row 1 (RS): Knit 1 stitch, then turn your work. You'll work back and forth in short rows so that you won't complete the entire row.
- Row 2 (WS): Purl the stitch you have knit, then turn your work again.
- Row 3 (RS): Knit 2 stitches (knit the original stitch plus one more), then turn your work.
- Row 4 (WS): Purl those 2 stitches, then turn your work.
- Row 5 (RS): Knit 3 stitches (knit the previous stitches plus one more), then turn your work.
- Continue this pattern, adding one stitch to each right-side row until you knit 5 stitches in the last row for your first triangle.
Step 3: Repeat for Additional Triangles
- Once you've completed the first base triangle, you'll start the next one on the same needle without cutting the yarn.
- Next Triangle Start (RS): Like the first triangle, knit 1 stitch, turn your work, and continue with the pattern of adding one stitch on each right-side row until you reach 5 stitches for the second triangle. Repeat Step 3 for the last triangle.
Step 4: Second Tier (Right Slanting Rectangles)
- For a neat edge, begin the second tier on the wrong side if knitting flat to avoid extra yarn tails.
- Start with a filler triangle on the left edge: Purl into the first stitch, keeping it on the needle, then purl into the back loop of that same stitch. This creates an increase. Continue this pattern, knitting, and purling in short rows until you have five stitches.
Step 5: Pick up Stitches
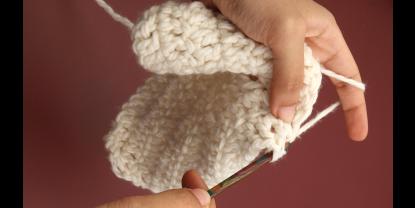
- Pick up five stitches evenly along the edge of the base triangle using a crochet hook or your knitting needle tip.
- Work short rows, knitting one row, turning the work, and then purling back, combining the last stitch of the new color with the next stitch of the old color.
- Continue until all stitches from the base triangle are worked into the rectangle.
Step 6: Third Tier (Left-Slanting Rectangles)
After completing your right-slanting rectangles, the next step is creating left-slanting rectangles that fill the spaces.
- Begin at the right edge and pick up 5 stitches.
- Work in short rows and purl back across the picked up stitches.
- Knit the next square, then knit together the last stitch of your current rectangle with the first stitch of the adjacent right-slanting rectangle from the previous tier to connect them.
- Turn your work, purl to the end of the work and repeat.
- Continue until you have worked all stitches into the rectangle, ending with a single stitch. Repeat this step until the last rectangle.
Pro Tips:
- Use stitch markers to keep track of your pattern.
- Pick up stitches from the front for neat edges.
- Work short rows until you've incorporated all stitches from the adjacent triangle.
This entrelac technique creates a series of interconnected triangles and rectangles and is fun to knit. You can expand this method with practice to create stunning projects with unique, woven-like textures. Whether you're a beginner looking to explore the basics of entrelac or an experienced knitter aiming to incorporate intricate colorwork or lace into your projects, KnitPro's range provides the tools and knitting needle sets necessary to achieve detailed and complex designs.


