Want to add some handmade charm to your home? Punch needle embroidery offers endless opportunities to add beauty, warmth, and texture. A punch needle rug is a beautiful project. From geometric patterns to colourful abstract designs, the possibilities are endless. So, grab your yarn and punch needle kit, and let your imagination run wild! Trust us; your floors and feet will thank you for the fluffy comfort. To assist with your punch needle crafting journey, in this guide, we'll take you through the step-by-step process of making a punch needle rug, from gathering materials to finishing touches. Let's get started on the process of creating a one-of-a-kind masterpiece with your hands.
Understanding Punch Needle Rug Embroidery
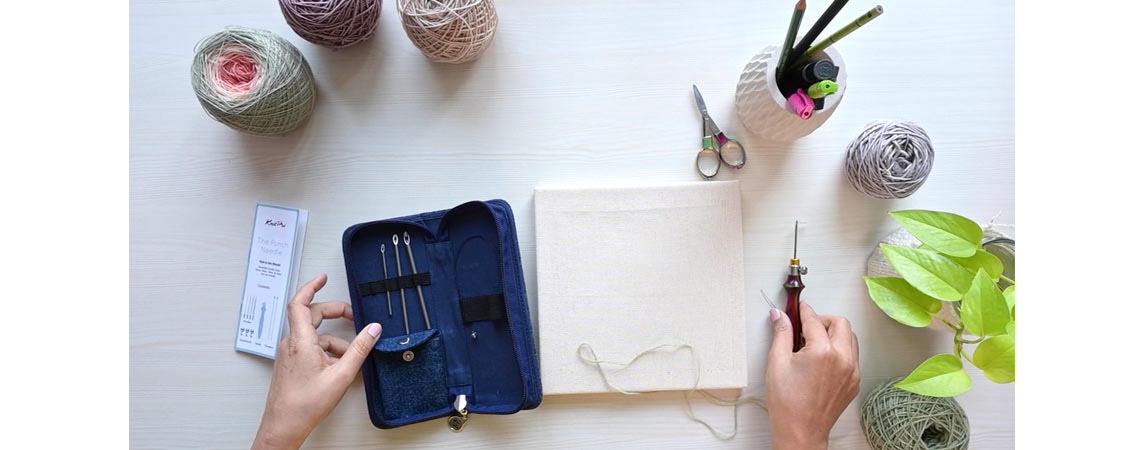
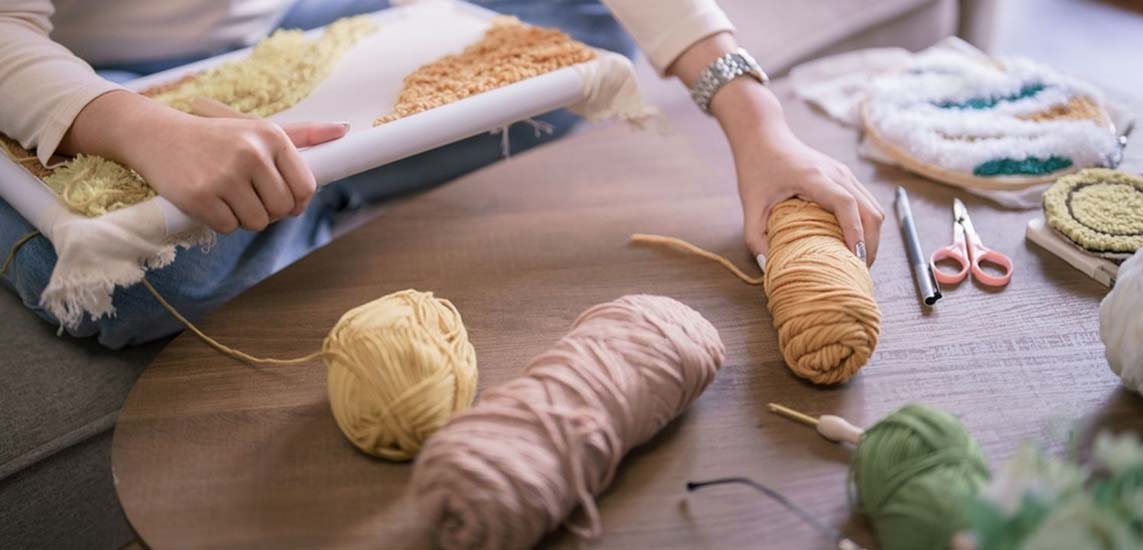
Punch needle art has many names in different cultures. One of the oldest names it has is rug hooking. To utilize punch needle embroidery in rug making, you work a technique that involves punching loops of yarn (chunky weight) or fabric through a material, typically monk's cloth. The loops create a plush texture, making it perfect for rugs. The embroidery art also enhances patterns on garments, accessories, cushions, and wall hangings. Before diving into the process of making punch needle rugs, it's essential to familiarize yourself with the basic tools and materials you'll need:
Punch Needle Kits: Punch needle are specialized tools for art. The hollow needle allows yarn to pass through as you punch it into the backing fabric. The needles come in different sizes, depending on what you want to make. Delicate stitch patterns require smaller sizes, while chunky stitches work with bigger sizes. Similar to knitting and crocheting, punch needles follow the same guidelines. Lighter yarns = smaller needle sizes and heavy-weight yarns = bigger needle sizes. A kit comprises multiple punch needles and accessories in one place.
KnitPro's Vibrant and Earthy punch needle kits are designed for crafters, from beginners to seasoned pros. Available in a vibrant rainbow-coloured handle in a colourful blue denim case and earthy wood in a black denim case, the kits ignite punch needle creativity. Each kit comprises an ergonomic handle that can attach four needle sizes (2, 3, 4, 5 mm). Two threaded attachments assist with threading the yarn through the needle eye.
Foundation Fabric: Punch needle embroidery requires a foundation fabric through which you punch the yarn. A suitable fabric ensures a neat project and helps the stitches pop up with a textured effect. Choosing a sturdy and tightly woven fabric is essential. Monk's cloth is a popular choice for this craft. Made with 100% cotton, it has a double strand woven with a white line every two inches to help position the pattern. The sturdy yet flexible weave helps the stitches shine. Other options are duck fabric, weaver's cloth, etc.
Yarn or Fabric Strips: Worsted weight (also known as DK or aran) yarn works well for punch needle rugs. The mid-weight yarn looks and works beautifully, but you can also experiment with other types of yarn for different effects. Keep in mind the colour palette according to the project's size, design, and shape.
Frame: Every punch needle project requires a frame or embroidery hoop to hold your foundation fabric taut while you work, ensuring even stitches and consistent tension.
Steps of Designing Your Punch Needle Rug
Now that you've gathered your supplies, you can start working on your project. The beauty of the punch needle rug is that you can choose any design, shape, or size. From designs inspired by nature to whimsical shapes or abstract patterns
Transferring the Design
Once you've finalized your design, transfer it onto your fabric using a washable fabric marker or tailor's chalk.
Thread the Punch Needle
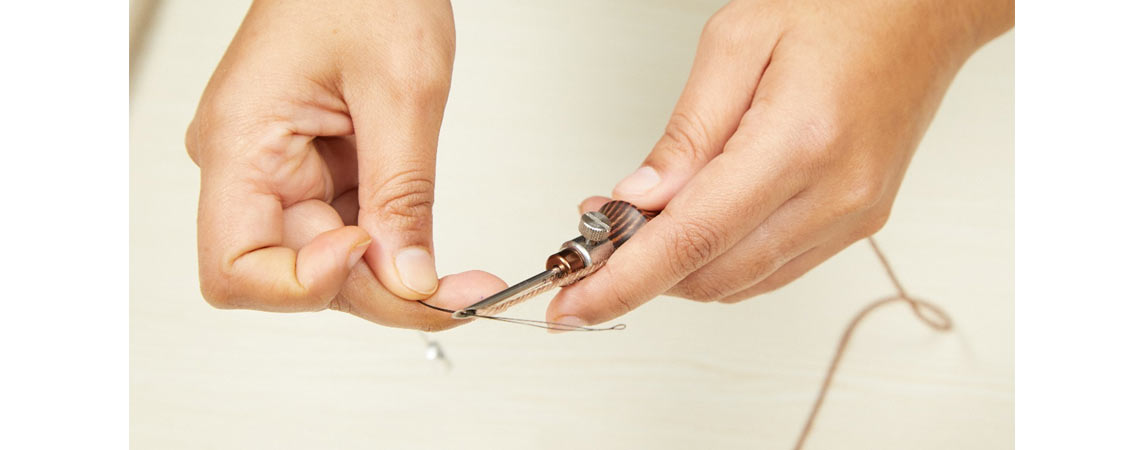
Determine the length of yarn for the desired pile length. Thread one end of the yarn through the eye of the punch needle, leaving a tail of a few inches. To know more about how to thread the punch needle
Punching the Loops
Begin punching your design from the outer edges, working your way inward. Insert the needle into the fabric, pushing it through until the handle touches it. Pull the needle back slightly, then lift it straight to create a loop. Continue punching loops following your design, spacing them evenly to create a uniform pile.
Filling in the Design
Once you've outlined your design and, fill the remaining areas with loops, working in rows or sections. Take care to maintain consistent tension and pile height throughout. You can vary the texture by using different colours or types of yarn or by punching loops at different angles.
Finishing Touches
Once you've completed punching your design, flip the rug over and trim any excess yarn or fabric loops with sharp scissors. Add a backing fabric or rug pad to finish the rug and prevent slipping. Finally, admire your handiwork.
You are now a proud maker of a punch-needle rug. With the right tools, materials, and a bit of patience, you can craft a cozy and stylish rug.


