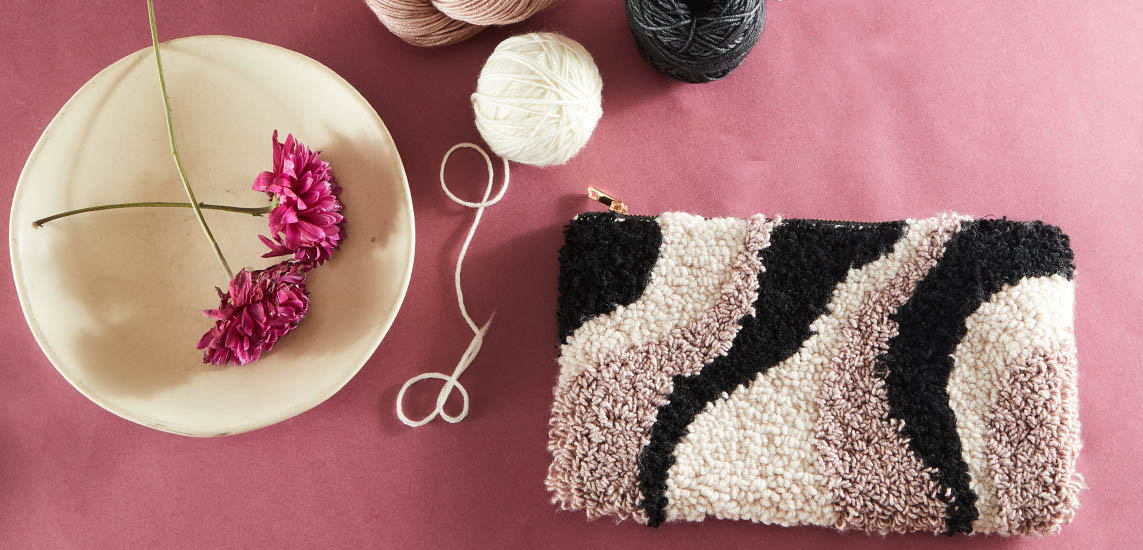
Our bags or clutches are like our little companions, tagging along wherever we go. They're pretty essential, right? But here's the fun part – they don't have to be just like everyone else's! With a sprinkle of creativity, you can whip up your totally unique and very own bag. And guess what? It's super easy – even the little ones can get into the action! All you need is a Punch Needle , and voila! You're on your way to crafting a bag that's as special as you are. Want to try it for real? Then let's make it together!
What would we need to make this Total Stunner?
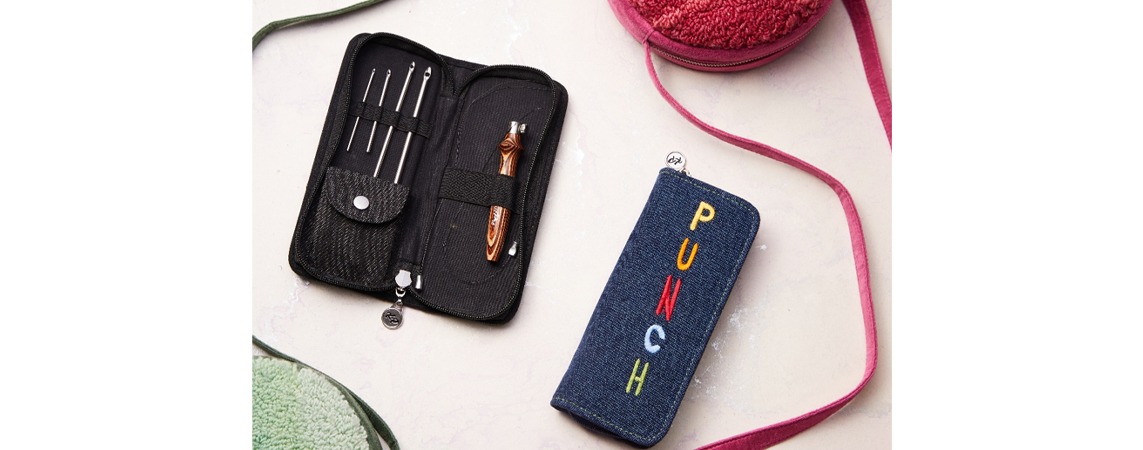
- Choose from any of our Punch needle sets, They both contain the following;
- Embroidered Denim Blue Case/Embroidered Earthy Tone Denim Black Case
- Rainbow-Hued/Wood Toned Punch Needle Handle
- 4 Needles: 2, 3, 4, 5 mm
- 3 Attachments: 2mm, 3mm, 4mm
- 2 Threaders
- Complete Instructional booklet
- Yarn: Choose yarn in your favored colors; we have used Himalayan Salt (SS1002), Pink Sandstone (SS1003), and Black Pepper (SS1019) from Viva's range by Symfonie Yarns.
- Embroidery hoop: Keeping your fabric taut and in place while working is essential. Make sure to choose a large hoop to accommodate your design.
- Monk cloth or other suitable fabric: Choose a sturdy fabric for punch needle embroidery. Monk cloth is a commonly used fabric for this technique, but you can also use other types of woven fabric that can hold the punched stitches well.
- A good quality zipper
- A tracing paper and a pen or marker.
- A pair of scissors: For trimming excess fabric and thread. Make sure to have sharp, precise scissors on hand for this project.
- Hot glue gun: It will secure the fabric patch onto the canvas pouch. Make sure to have a functioning glue gun with extra glue sticks.
- Extra Fabric: You'll need a canvas fabric or any other material to insert inside your clutch. This will protect the loops from tangling in your fingers whenever you put your hand in it.
- Tapestry needle (Optional)
That's all what we need to begin with this beauty. Now, here comes the time for a step-by-step tutorial.
Punch Needle Clutch
Step 1: Make a Template/Trace the Design
We need to start by making a template or design on the cloth. This ensures our design is consistent and symmetrical, resulting in a polished and professional-looking clutch.
Step 2: Hoop Up
The second step in this process is to hoop up your fabric. Take your chosen fabric, such as monk cloth, and stretch it tightly into an embroidery hoop. Make sure the fabric is taut and smooth, as this will provide a stable surface for your punch needle embroidery.
Step 3: Thread Your Needle
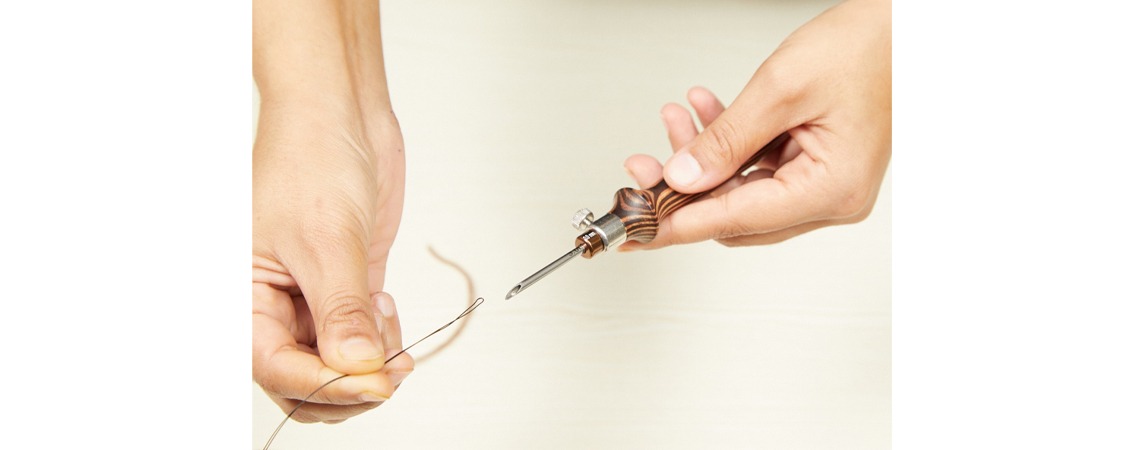
It's time to thread your needle. Holding the punch needle with the groove facing up, take your chosen color of yarn and thread it down through the eye of the needle. Pull the working yarn back until it slides into the needle groove. This will secure the yarn in place and allow for smooth punching. Once your needle is threaded, you can move on to the next step.
Step 4: Punch the Outline
It's time to start punching the outline of our design. Hold the punch needle with the groove facing up and press it through the fabric until the base of the wooden handle touches the monk's cloth. Continue punching evenly around the outline, following the curve of the design.
As you punch, you'll notice the textured loops forming on the right side of the fabric. These loops create the visual and tactile appeal of punch needle embroidery. Ensure your punches are evenly spaced and consistent in depth to maintain a uniform look.
Step 5: Fill It In
This step will bring your clutch to life with vibrant colors. Continue punching evenly across the entire section and fill in all the outlines with the respective colors shown in the design.
Step 6: Repeat
Keep repeating the process with different colors to complete the design.
By now, you're well on your way to completing your handmade clutch with a beautiful design.
Step 7: Attach the fabric
Once the design is complete, it's time to attach the fabric to our design. Remove the monk cloth from the embroidery hoop. Take a pair of scissors and carefully trim around the design, leaving about ¾" of fabric around the perimeter. This will ensure you have enough fabric to work with when attaching it to the fabric.
Step 8: Glue It Down
Next, add hot glue along the wrong side of your punch needle art. Be generous with the glue, as you want to ensure that the patch is securely attached. Carefully add the zipper as well on its edge. You can even sew your zipper on the fabric. Take a moment to make sure that everything is aligned with your desired placement. Now glue the sides or sew them whatever suits it. And that's it.
Well done! You have just completed your own handmade clutch using a punch needle. Isn't it amazing? So why not try making a matching accessories set or even venture into punch needle home decor? Just go ahead and be wild and brave with your craft.


