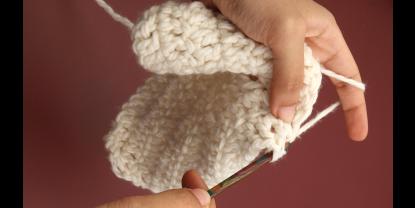
Wait, what? Can you recreate the unique knitted Garter stitch pattern with your crochet hook? There is actually a brilliant crocheter somewhere out there who has had the curiosity and the patience to develop the garter stitch crochet and it looks stunningly similar to knitted fabric, but is slightly sturdier! You can use it to create beanies, gloves, headbands or scarves. The stitch pattern mimics the appearance of a knit garter stitch but is created using a combo of different techniques with a single-ended crochet hook. So, we'll provide a step-by-step guide and share our thoughts on this unique pattern.
What is the Garter Stitch?
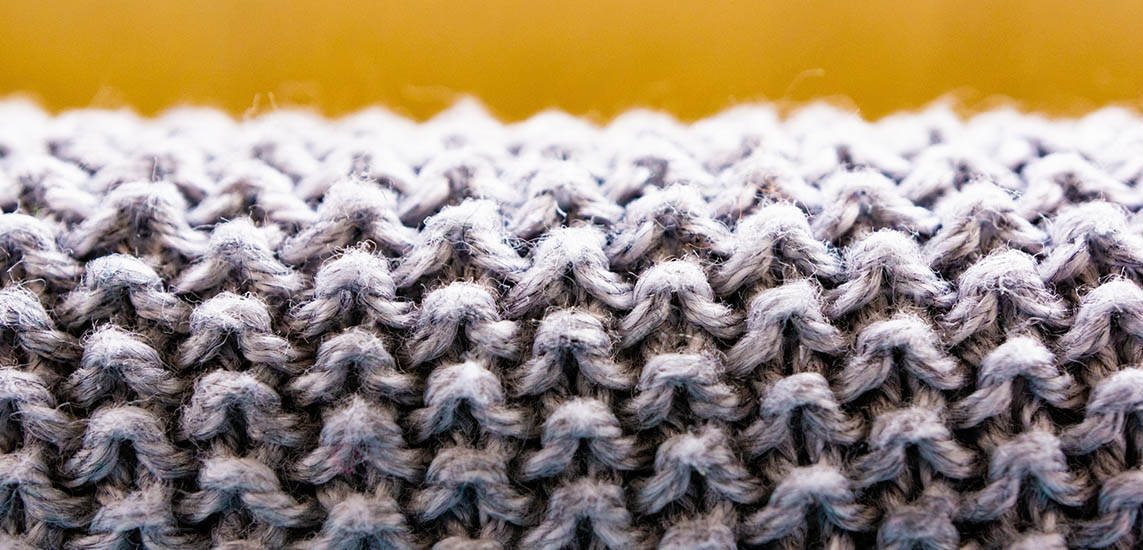
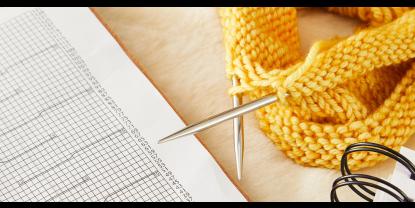
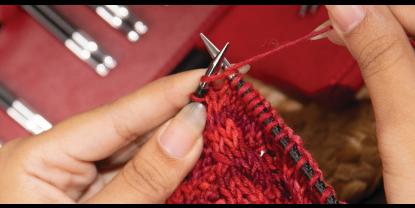
For those crochet purists among you who until now have turned their backs on anything knitting, the Garter stitch is a classic knitting pattern known for its simplicity and distinctive squishy texture. In the garter stitch, every row is knitted, resulting in a fabric with rows of raised horizontal ridges or bumps. It looks like a series of interconnected wavy shapes, with each ridge representing two rows of knitting the knit stitch. The Garter stitch is reversible, meaning it looks the same on both sides of the fabric. It's often used for cozy projects like scarves and blankets and is a great choice for knitting beginners due to its straightforward nature.
Achieving the Garter stitch look in the crocheted fabric is more complicated than knitting it and requires a specific stitch pattern.
What crochet Skills do I need to create a Garter-stitch-like look?
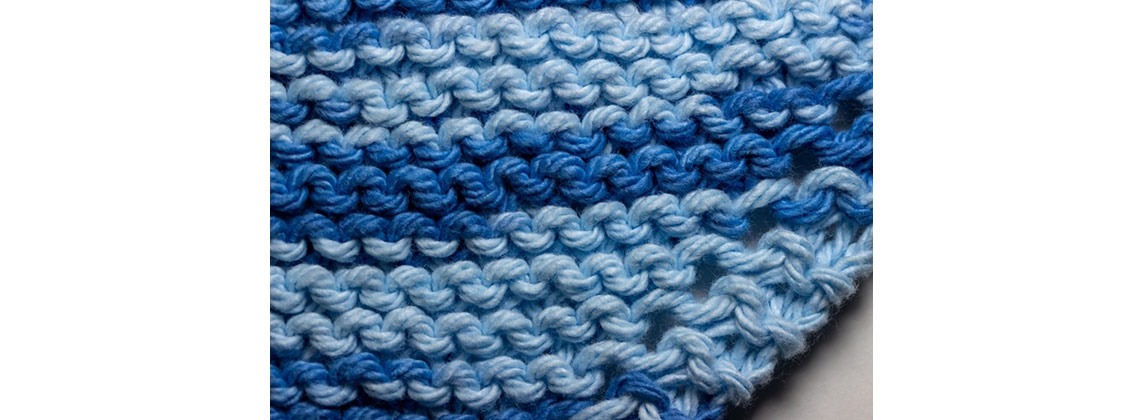
To create a fabric with your single-ended crochet hook that resembles the garter stitch, you often need to use combinations of different stitches that mimic the appearance of knit garter stitch.
Chain Stitch (ch): The chain stitch is the foundation of almost all crochet projects. You'll need to be comfortable creating chains of the desired length to start your project.
Slip Stitch (sl st): Slip stitches are the primary stitch used to create the garter stitch look in crochet. You'll need to know how to insert your hook into the appropriate loops and work slip stitches evenly. Consistent tension is essential when working slip stitches, as too tight tension can cause your fabric to become stiff and less stretchy. Practice maintaining a relaxed tension as you work.
Turning Chains: You'll often need to create turning chains at the beginning of rows, which can vary in height depending on the stitch pattern you're using. Knowing how to make turning chains is essential for maintaining the proper tension and height in your work.
Working in the Front and Back Loops: To achieve the garter stitch texture, you'll frequently insert your crochet hook in either the front or back loop of the stitches. Identifying and crochet into these loops is crucial for creating the desired effect. For a detailed tutorial refer to our blog tutorial on front and back loop crochet.
The crocheted Garter Stitch step by step
Start with your foundation chain by chaining any multiple stitches you desire with your single-ended crochet hook. To test the pattern, best start with a swatch of 12 - 15 chains, but you can adjust it according to your project's width.
Row 1 Slip stitches into your chains
- Begin in the second chain from your hook.
- Insert your hook only into the back loop of the chain.
- Yarn over and pull up a loop.
- Pull this loop through the loop on your hook, creating a slip stitch.
- Continue working slip stitches into the back loop of each chain across the row.
Row 2 Slip stitches into front loops
- Turn your work.
- Now, you'll work into the front loop only. To find the front loop, look at the top of the stitch, which will look like a back loop when you turn it.
- Insert your hook into the front loop.
- Yarn over and pull up a loop.
- Pull this loop through the loop on your hook, creating a slip stitch.
- Continue working slip stitches into the front loop of each stitch across the row.
- Continue working Row 2 for subsequent rows.
- Pay attention to the top of your stitches to ensure you work into the correct loop.
Tips
- Keep your slip stitches loose, especially when working the foundation chain and Row 1. This will make it easier to work into those stitches in later rows.
- As the pattern progresses, distinguishing between rows may become more challenging. Keep track of your row count to avoid confusion.
The garter-like crochet pattern resembles a knit garter stitch but is created using slip stitches. It's a visually exciting pattern and a sure head-turner, but it can be time-consuming due to the slip stitch technique. Maintaining a consistent gauge with your crochet hook is essential to avoid your project tightening up. Give this pattern a try using KnitPro’s professional crochet tools and wide range of accessories for the best results. Happy crocheting!


