As the weather begins to warm up and flowers bloom, many fiber artists seek new ways to spice up their crochet projects. Learning new stitches is a great way to add interest and texture to your work. With a willingness to experiment, you can explore a variety of stitch combinations based on the basic crochet stitches, which will spice up any garment or decor item - from a single spike stitch to more complex designs like clusters and shells. With easy-to-follow tutorials, we show you four fun ideas perfect for exciting springtime projects. So grab your crochet hook and favorite yarn, and let's start!
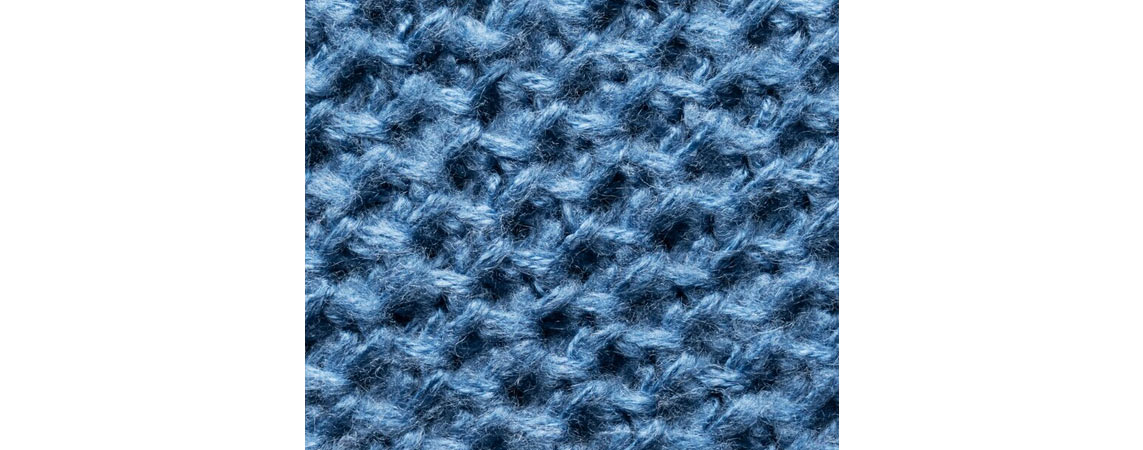
1. Puff Stitch
The puff stitch is a popular crochet stitch that creates a raised, three-dimensional texture in a pattern, and it is often used in granny square, sweater, or shawl patterns. You will typically see it in crochet patterns abbreviated as ‘ps’ or ‘puff’. To craft this stitch, follow these steps:
- Begin by chaining the desired number of stitches.
- Yarn over and insert the hook into the designated stitch.
- Yarn over again and pull up a loop. You should have three loops on your hook.
- Yarn over once more and insert the hook back into the same stitch.
- Yarn over and pull up another loop. You should now have five loops on your hook.
- Repeat steps 4-5 in the same stitch until you have 9 loops on your hook.
- Yarn over once more and pull through all 9 loops on the hook.
- Finish the stitch by chaining one to secure it.
The result should be a raised, puffy stitch with a bobble-like appearance. You can vary the number of loops used in the stitch for a more or less dramatic effect.
2. Spike Stitch
The spike stitch is abbreviated as ‘SPsc’ and it is a simple crochet technique that creates a textured effect by inserting the hook into a row below the current one. Here’s how you make the spike stitch:
- Begin by working several rows of standard single crochet stitches.
- Identify the stitch where you want to place the spike stitch. This can be any stitch in the row, but it's usually placed a few rows below the current row.
- Insert the hook below the current row in the stitch directly beneath the stitch you want to work the spike stitch into.
- Yarn over and pull up a loop. You should have two loops on your hook.
- Yarn over again and pull through both loops on your hook.
- Continue working across the row as usual.
The spike stitch creates a vertical line that adds texture and visual interest to the crochet piece by inserting the hook into a previous row. The spike stitch can be applied creatively and can be worked in any stitch pattern that uses single crochet stitches. Working multiple spike stitches in a row is also possible to create a more pronounced effect.|
3. Shell stitch
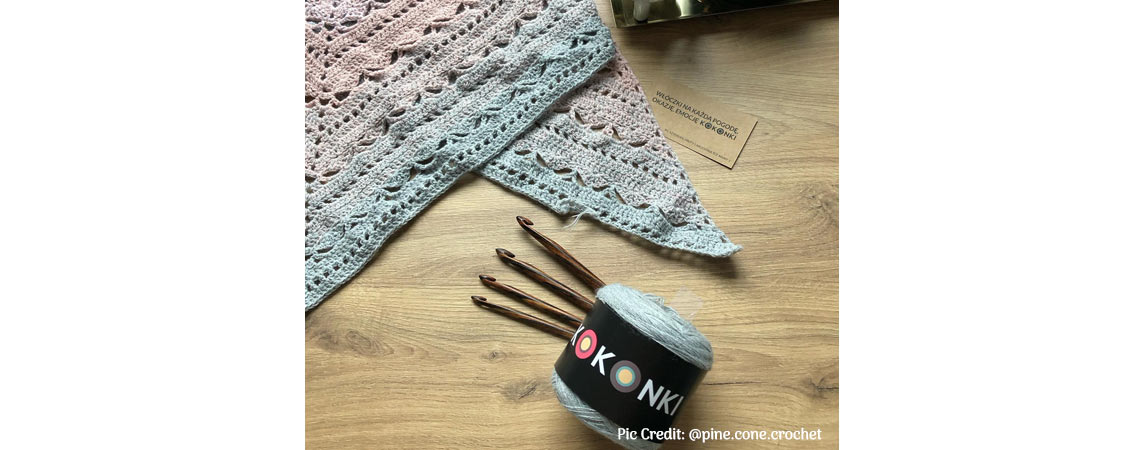
The shell stitch (abbreviated as ‘sh’) is a highly decorative crochet stitch that creates a pattern of shells resembling scallops or waves comparable to the ripple stitch or the wave stitch, as it creates a similar undulating effect and you see it often in blanket or shawl patterns.
- Begin by working a row of double crochet stitches.
- Identify the stitch where you want to place the shell stitch. This can be any stitch in the row.
- Yarn over and insert the hook into the designated stitch.
- Yarn over again and pull up a loop. You should have three loops on your hook.
- Yarn over and pull through two loops on your hook.
- Yarn over again and insert the hook into the same stitch.
- Yarn over and pull up another loop. You should have four loops on your hook.
- Yarn over and pull through two loops on your hook.
- Yarn over once more and insert the hook into the same stitch.
- Yarn over and pull up, leaving five loops.
- Yarn over and pull through two loops on your hook.
- Yarn over and pull through all the remaining loops on your hook.
- To complete the shell stitch, skip the next stitch and work another shell stitch in the following stitch.
You can easily vary the size and shape of the shell by adjusting the number of double crochet stitches worked into each stitch and thus create a more vertical or horizontal effect.
4. Cluster stitch
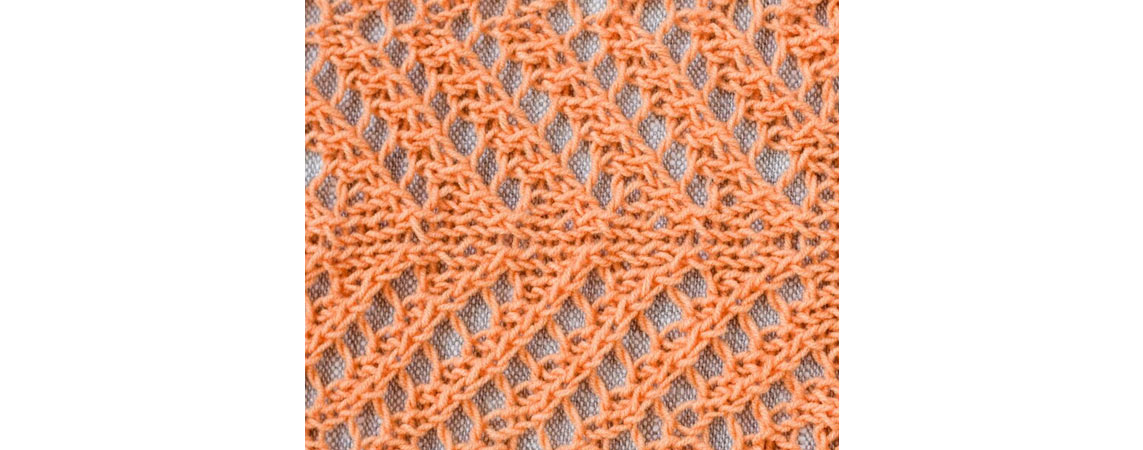
A cluster stitch creates a group of stitches worked together into one stitch, forming a textured and visually interesting pattern. In patterns, you will typically find it abbreviated with CL or cs. Although the cluster stitch and the puff stitch are both similarly textured stitches, there are some key differences between the two; the puff stitch typically has more loops on the hook at one time than the cluster stitch. The puff stitch creates a more round and puffy texture, while the cluster stitch has a more elongated result and is often used as a filler stitch for lace patterns.
- Begin by working a row of double crochet stitches.
- Identify the stitch where you want to place the cluster stitch. This can be any stitch in the row.
- Yarn over, insert the hook into the designated stitch, and yarn over again.
- Pull up a loop. You should have three loops on your hook.
- Yarn over again and pull through two loops on your hook. You should have two loops remaining on your hook.
- Yarn over, insert the hook into the same stitch, and yarn over again.
- Pull up another loop. You should have four loops on your hook.
- Yarn over and pull through two loops on your hook. You should have three loops remaining on your hook.
- Yarn over and insert the hook into the same stitch again.
- Yarn over and pull up another loop. You should have five loops on your hook.
- Yarn over and pull through two loops on your hook. You should have four loops remaining on your hook.
- Yarn over and pull through all four loops on your hook. Your cluster stitch is now complete.
- For an even fabric, skip the next stitch and work a double crochet in the following stitch.
Cluster stitches are ideal to be combined with other stitch patterns and can be worked in any stitch height.
Now that you're armed with these skills, the possibilities are endless. Have you already got some new dream projects in mind? We can't wait to see what you create!


