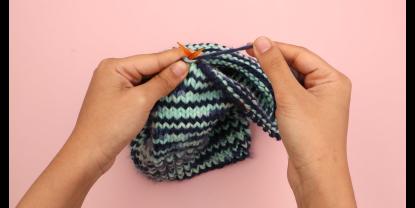
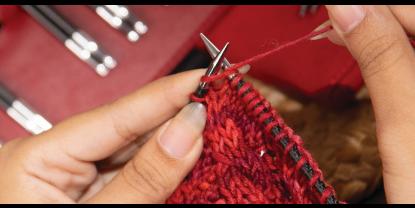
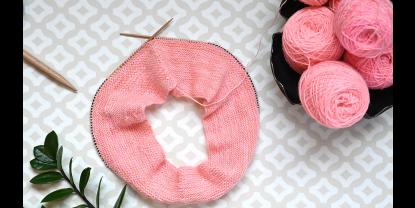
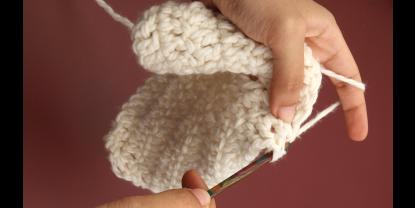
The Wrap and Turn Technique is one of the common knitting methods to work through short rows. In our previous blog, we discussed how to knit short rows. In this blog, we’ll focus on the wrap-and-turn technique. Like other knitting methods of working short rows, this can also be done with your regular knitting needles that you would be using for the project or pattern. Say for example, if you working on a triangular shawl with either single pointed needles or a circular, then your short rows can be knit on the same. For knitting in round, projects such as socks, you work the warp and turn for the heel with the same double pointed needles.
The technique of German short rows is well-known, however, it can be quite intimidating to beginners and even some experienced knitters. You will likely come across a project that calls for learning to knit short rows at some point in your knitting journey, whether you want to make triangle-shaped items or are curious to try different designs. The Wrap + Turn (wrp-t) is the preferred method of many knitters due to its effectiveness in creating a hole-free fabric and its versatility when used with a range of stitch patterns. While other methods of short rows work as perfectly, there is a special preference for wrap and turn for its neat turn and simple instructions.
Wrap and Turn Technique Explained.
The wrap-and-turn knitting technique involves winding yarn around stitches, then turning the work to move to the next row. This method is useful for many projects, including knitting sock heels, shaping accessories such as triangle shawls and ear flaps, creating bust darts and more.
If you’re new to knitting, start off with a small swatch using a standard gauge. Cast on 20 stitches on single-ended or circular needles (or double-pointed needles, if desired). Then, knit four rows of stocking (Stockinette) stitches, with alternate rows of knits and purls, to begin the swatch. As the garter stitch does not require wrapping on all knit rows, the stockinette stitch is recommended for practice. Working short rows with the wrap and turn technique on any stitch pattern is easily done, as all stitch patterns are based on the knit and purl stitches and combinations. Also, most knitting patterns have a right and wrong side and the instruction to knit wrap and turn is different.
Before you get to knit the short rows, you cast on the stitches on your knitting needle tip in any method you prefer. You can work in English style or continental method or any other knitting style for the short rows. You normally knit till you get to the short row.
Wrap on the Knit Side.
The steps for wrapping stitches on the knit side are as follows:
Step 1: On the right side (the side facing you), knit until two stitches remain on the left needle.
Step 2: Keeping the working yarn at the back of the project, insert the right needle purlwise into the next-to-last stitch of the row.
Step 3: Pull the yarn around to the front of the work.
Step 4: Slip the stitch back onto the left needle.
Step 5: Wrap and turn on the knit side, then turn the work to the wrong side (away from you). Place a stitch marker to mark the wrapped stitch, and make sure to keep an even tension (neither too tight nor too loose) for picking up the wrap later.
Wrap on the Purl Side.
To wrap a purl stitch, proceed as follows:
Step 1: Purl until two stitches remain on the left needle.
Step 2: Keeping the yarn in front, insert the needle purlwise into the stitch. Slip the stitch over to the right needle.
Step 3: Pull the yarn to the back of the work and slip the stitch from the right needle to the left needle.
Step 4: Turn the work and mark the wrapped stitch with a stitch marker. As before, make sure to keep even tension.
Repeat the wrap and turn steps across the row, knitting or purling until one stitch before the last wrapped stitch. As you go, soft angles will begin to form, eventually leading to the desired shape of the project.
Picking up Wrapped Stitches.
After you have wrapped the stitches, you must then pick them up.
The steps are simple.
On the knit side, insert the right needle from front to back into the wrap, then into the stitch on the left needle, as if to knit. Knit the wrap and stitch together, and repeat this step across the row to pick up all the wrapped stitches.
On the purl side, with the yarn in front, insert the needle from bottom to top into the wrap, then into the stitch on the left needle, as if to purl. Purl the wrap together with the stitch on the left needle, then repeat this across the row.
You now know to use wrap and turn technique to create some beautiful projects, from triangular shawls to socks with shapely heels. To find out more about knitting and crochet, be sure to follow our blog.
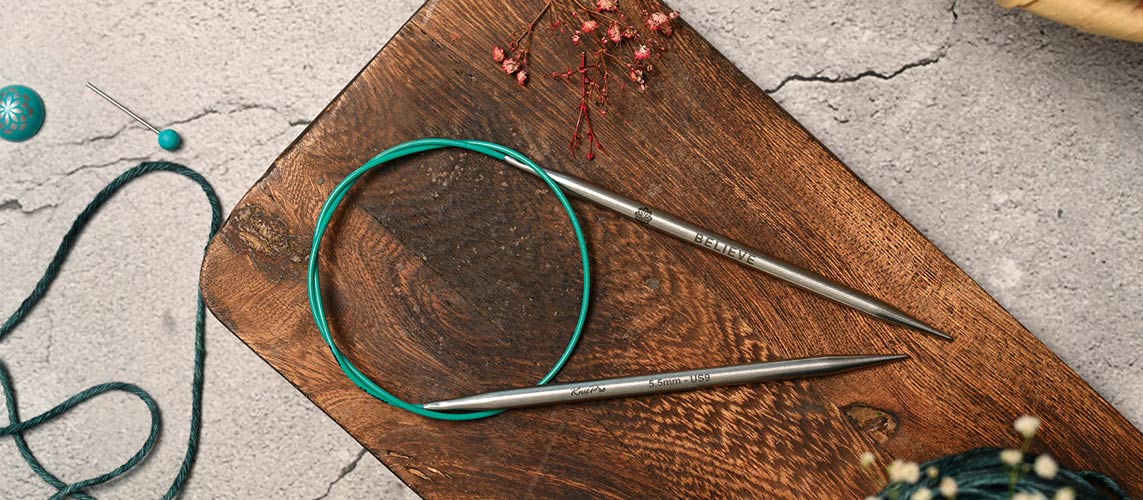
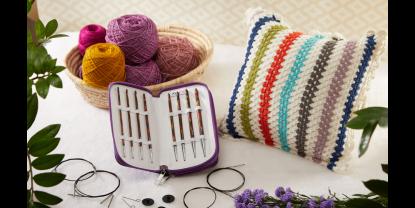
With the Mindful Collection, you can easily transform your knits into impressive masterpieces. The stainless steel knitting needles have the perfectly tapered tips that many knitters enjoy for smooth knitting. Each needle body carries an inspiring word that helps knitters focus on the meditative aspects of the craft. Besides, the high-quality collection includes bags and accessories that are also designed in the theme of mindfulness. So, whether it’s new stitch patterns or knitting techniques, explore the collection for the mindful practice of knitting. Smooth needles, pointy tips and a wide range of knitting needles make it perfect for all kinds of knitting projects.


