As you become more experienced in knitting, crochet or any fiber art, you are bound to get curious about other types of knitting techniques. Depending on your level of skill and your interest in expanding your repertoire, you might be tempted to with colorwork. Then it's time to learn how to knit intarsia.
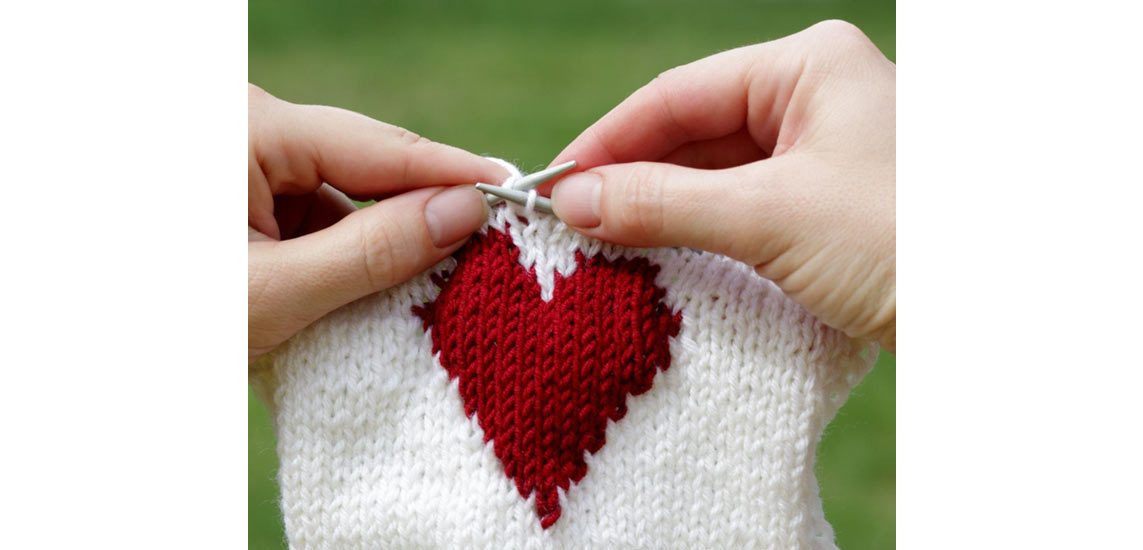
Intarsia is a knitted colorwork technique that involves knitting with blocks of color. They can be in any shape or design you like. You can literally create pictures if you are so inclined. However, no stranding is down between the colors. Unlike fair isle knitting, where multiple colors are carried along the back of the work, intarsia uses separate bobbins or balls of yarn for each color section, resulting in a clean and flat fabric on both sides. This method is especially suitable for large, solid-color blocks or complex designs.
Here's everything you need to know about intarsia knitting:
Materials Needed:
Yarn: Different colors of yarn in the weight and fiber content you desire for your project.
Knitting Needles: Appropriate size needles for your chosen yarn weight. You can work with any pair of single-pointed needles for back-and-forth knitting. That goes with circular knitting needles if you have the right cable length to support all the stitches. For knitting in the round, work with either a set of double-pointed needles or versatile circular needles.
Bobbins: Optional but helpful for keeping the different yarn colors organized.
Scissors: To cut the yarn when changing colors.
Pattern: An intarsia knitting pattern or chart that guides you through the color changes and design.
Step-by-Step Tutorial:
1. Choose Your Design:
Select an intarsia knitting pattern or create your own design. Keep in mind that intarsia is best suited for designs with distinct color blocks or shapes.
2. Prepare Your Yarn:
Wind your different colors of yarn into separate bobbins or small balls. Make sure each bobbin has enough yarn for the color sections in your design.
3. Cast On:
Start by casting on the required number of stitches for your pattern using the main color (MC) yarn. You can use any cast on technique which you are comfortable with.
4. Knitting the First Row (Right Side):
Begin the first row following the pattern chart or instructions.
When you reach the point where a new color is introduced, drop the main color yarn (MC) and pick up the new color yarn (CC1) from underneath the main color.
Knit across the row with CC1 until you reach the end of the color block or shape. When switching colors, twist the old and new yarns around each other to join them, avoiding holes in the fabric.
5. Knitting the Second Row (Wrong Side):
On the wrong side, when you come to the color block or shape that requires the second color (CC2), drop the current color (CC1) and pick up CC2 from underneath.
Purl across the row with CC2 until you reach the end of the color block.
6. Repeat Rows:
Continue to follow the pattern, knitting and purling with the appropriate colors as indicated, always twisting the yarns when changing colors.
7. Weaving in Ends:
After completing your intarsia knitting, you'll have several yarn ends to weave in. Use a tapestry needle to weave the ends into the fabric on the wrong side, securing them neatly.
8. Finishing:
Block your finished piece to even out the stitches and enhance the overall appearance of the fabric.
Have patience with yourself as you practice this technique. It is not very difficult but it does require close attention when you change colors within a row. It’s necessary to twist the 2 colors in order to avoid creating a hole between the colors. The tutorial will show you how this technique is mastered. We strongly recommend that you start small with a practice square. Here is a picture of the reverse side of the above practice piece Intarsia is best done “flat” or back and forth with single-pointed needles. While it is possible to do it in the round, start with the flat method. Once you master that, you will find a tutorial for knitting intarsia with circular needles right here.
One of the best reasons to learn this technique is that it allows you to personalize a design for yourself or someone you love. Let’s say you have a child who enjoys a particular cartoon character or a friend who follows a specific sports team. By replicating that character or logo you are able to knit a one-of-a-kind item that features that design or logo.
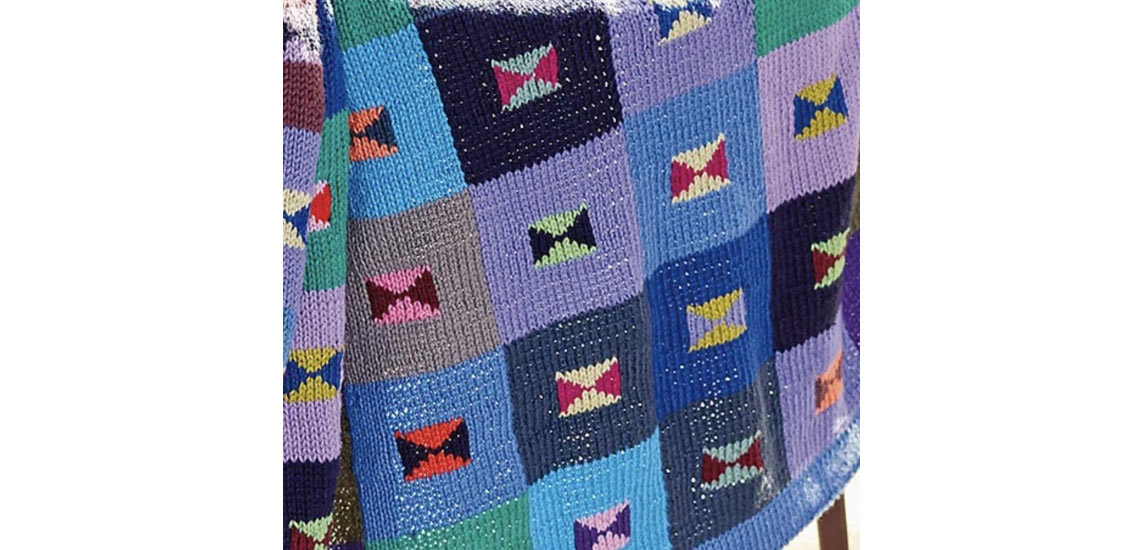
One of the most well-known designers of intarsia knitwear is an artist named Kaffe Fassett. Kaffee is a true colorist and he’s well worth knowing about and following on social media. In addition to knitwear, he also designs fabrics and quilts.
His knitted blanket pattern is available free on Ravelry. This pattern is definitely for the advanced knitter - someone who’s used to doing Intarsia. The original pattern requires a great many colors, but it could be simplified by using a smaller number of colors. This project is accomplished on circular needles, but it is knit back and forth due to its width so it’s worked flat. It could also be done as separate blocks or stripes (either horizontal or vertical) and then sewn together, utilizing the mattress stitch.
You can find this free Intarsia blanket pattern here on Ravelry. While this pattern is definitely for the advanced knitter, the design itself is not overly complicated.
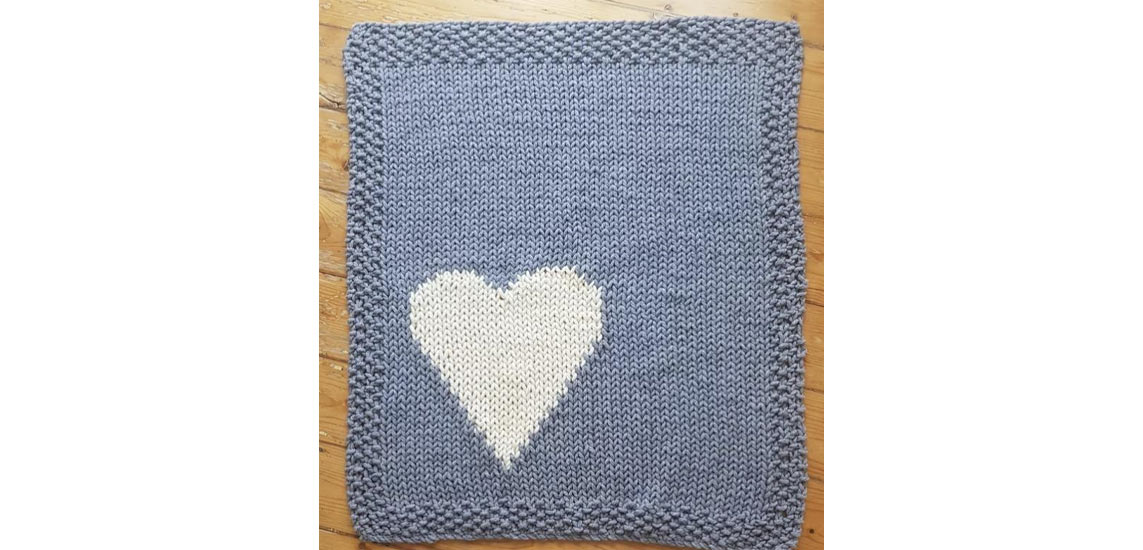
For something a lot less “advanced, you might try your hand at this sweet baby blanket
The pattern can be found right here This pattern is quite manageable for someone new to the technique since it’s only a 2-color project and it is a chunky knit, which means it works up quickly. It would make a very special gift and a wonderful way to say “Welcome” to someone new to the world.
One last thought: For those of you who love to crochet (and there are millions who do), intarsia is also be done with crochet projects. Simply google the subject: “How to crochet intarsia” and a lot of free tutorials will pop up.
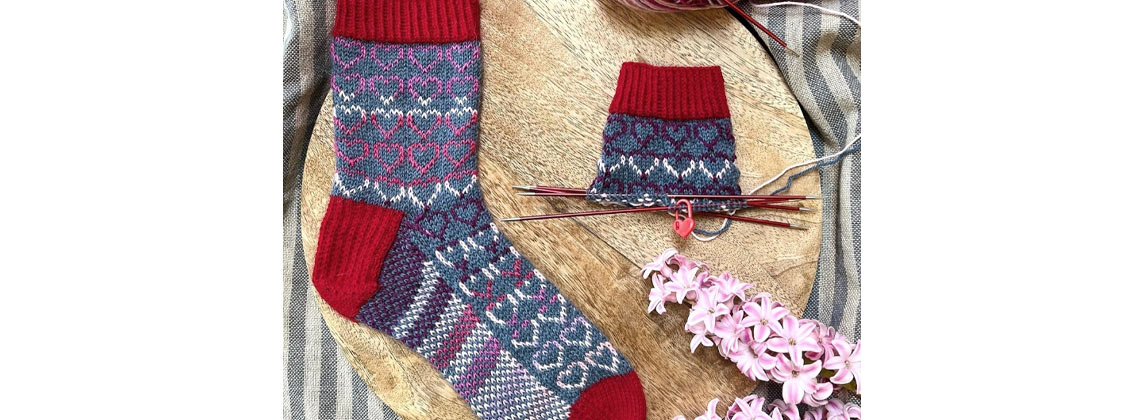
Intarsia vs. Fair Isle:
Intarsia is often compared with Fair Ilse. Our guide on the basics of fair isle knitting will guide you through the colorwork knitting method.
In intarsia, each color section is knitted separately, and the yarn is not carried across the back of the work. This means there are no floats, which can be found in fair isle knitting.
Intarsia is better suited for large blocks of color and shapes, while fair isle is ideal for smaller, repeating patterns.
Fair isle is generally worked in the round, while intarsia is often worked flat (back and forth) to make managing yarn easier.
Intarsia knitting allows you to create beautiful and intricate designs in your knitted projects. Have fun experimenting with colors and patterns, and enjoy the creative process!
Happy knitting!


