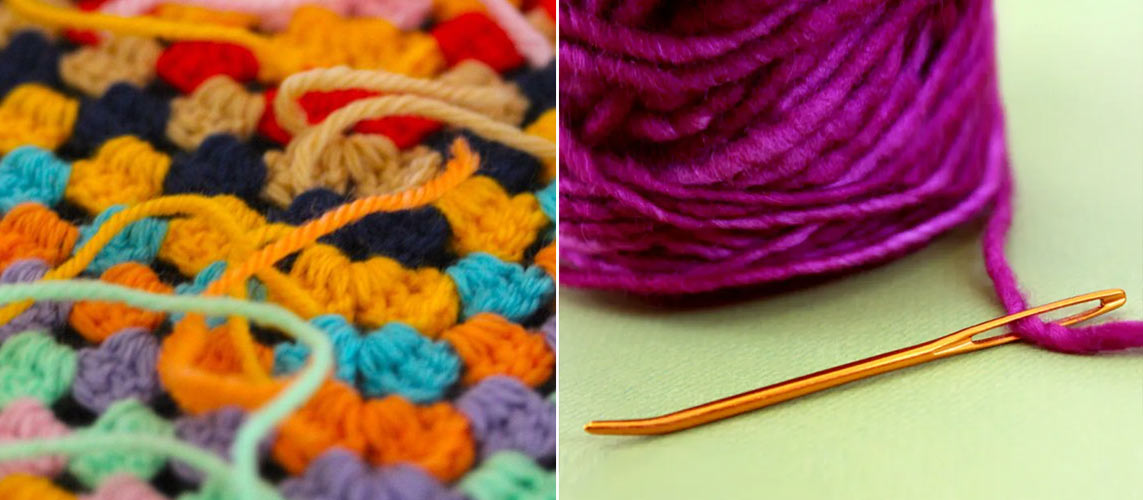
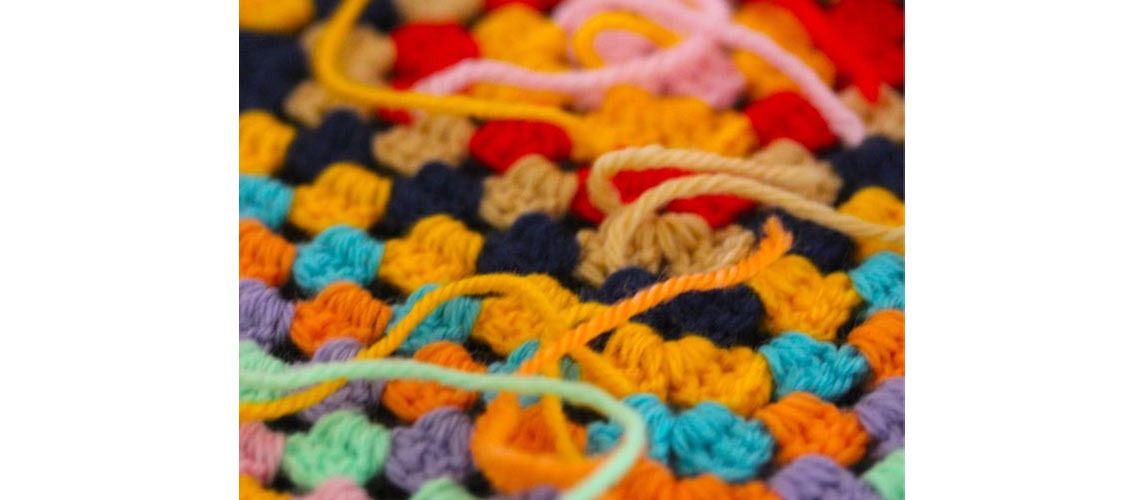
A lot of knitters think that weaving in ends on completed projects is a big drag. While it’s a fact that even the smallest project will have, at least, two ends to weave in, it doesn’t have to be a chore. Make no mistake, it is important. First, it keeps your stitches from unravelling, and, secondly, it makes your work look seamless and expert.
We each have our favourites to weave in the ends. Following are some popular methods and suggestions:
1. Weave in ends with a crochet hook
The crochet hook is a good tool to use. Begin by using a hook that is compatible with the size of needle you used when knitting the finished project. Working from the wrong side, simply insert it through the stitches, close to the ends that you would like to weave in. Hopefully, the end is at least 1” long so it’s easy to pick up with a hook. Then grab it and weave it back through adjacent stitches. Do this with the other end and weave in the opposite direction. This works more easily on looser stitches than on tight ones.
This technique requires a careful selection of the crochet hook because a thicker hook can distort the already knit stitches, while a thinner hook can split the end that you’re trying to weave in.
2. Weave in ends with a tapestry needle
This type of straight needle is also called a wool needle, yarn needle, or darning needle. Similar to a sewing needle, it has a large eye and can thread various weights of yarn. Insert the yarn end through the eye and, using the needle-like a sewing needle, weave in 1 end through the back of adjacent stitches and do the same with the other end in the opposite direction. If the ends are near the end of a row, you can run them along the edge of the knit garment or bury them within a seam.
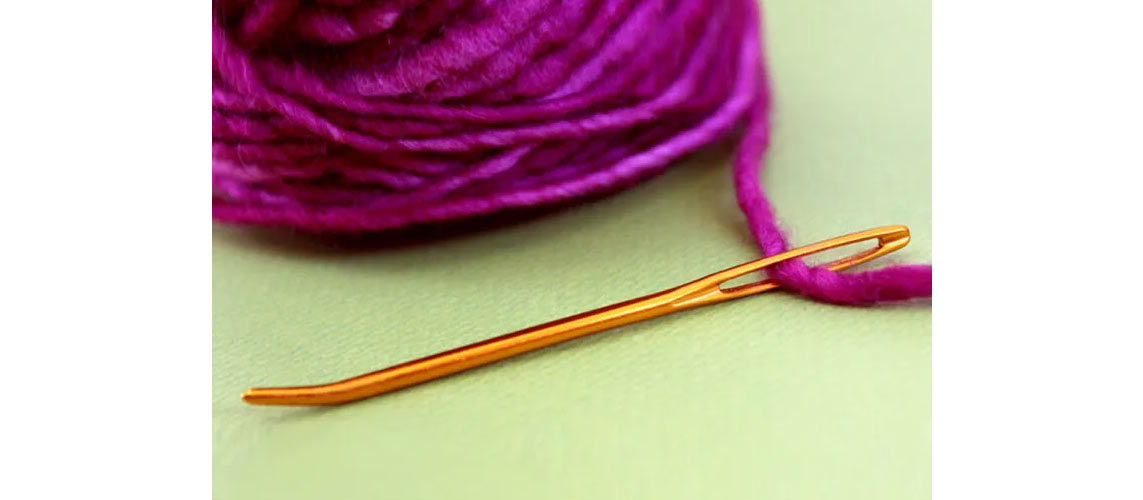
Just like knitting needles, wool needles come in different sizes. Choose a needle that has a large enough eye to hold your yarn, but one that is slim enough to go through your stitches easily. It is recommended that you choose a size smaller than the knitting needle you have used for your project.
3. Weave in the ends with a repair hook
The repair hook is a knitting accessory that serves the purpose of weaving in ends quite effortlessly. While it can be used for repairing knitting mistakes, when used appropriately it can clean up the loose ends of a completed project neatly.
The repair hook is an ideal design with a hook on one end and a pointed tip on the other. One end allows picking stitches while the other helps to knit the stitch.
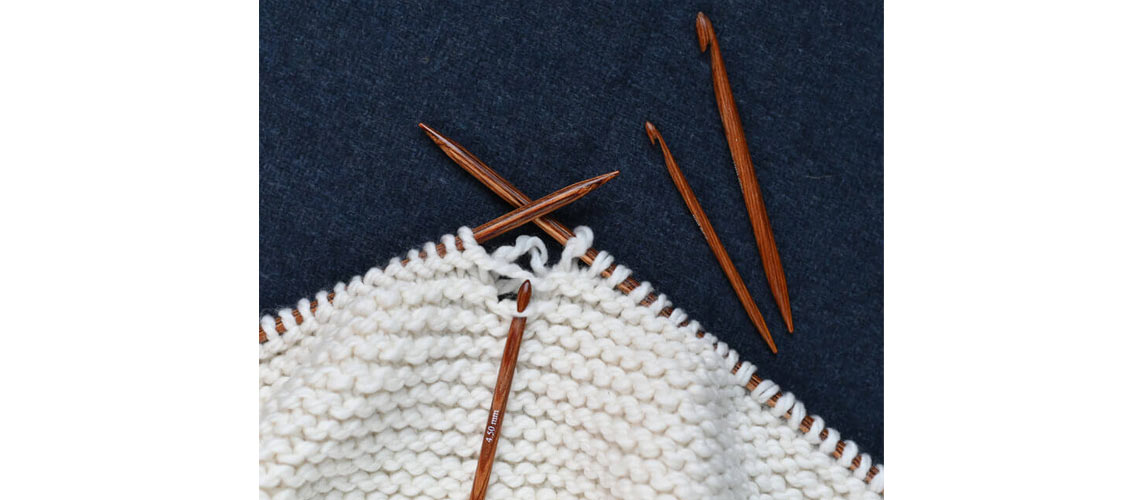
While these tools are essential, the steps followed for weaving in depend on the knitting style as well as the pattern. Garter stitches will require a different method than Stockinette Stitch, while lace knitting will require its own technique. Complicated knitting projects will have lots of ends to weave in, so it is important to plan the weave-in process while knitting or when starting the project. The weave in methods also changes according to the yarn used. Wool, lace threads and hybrid acrylics behave differently with different knitting needles and techniques.
Most of the time your knitting pattern instructs how to weave in the ends. Like all forms of knitting, it requires practice. In time, you will become adept.
General Tips for Weaving in Ends
- Work the yarn through the stitches on the wrong side of your project. Working through purl loops is the most popular method, as the loops hide the extra yarn well.
- If your yarn ends are on the edge of the work, stitching along the edge works well. It also is convenient to hide each end, separately, in the seam of a garment.
- Use duplicate stitching if the pattern or yarn allows it. This technique is often used to decorate the outside of a finished knitted project. The yarn end is woven onto the work in the same pattern that was used to knit the project, literally duplicating the knit or purl stitches in the finished fabric. There are many tutorials, online, that show how to do this.
- Check your progress on the right side of the project. Make sure that the ends are not peeking through.
- Be patient with weaving in ends and keep at it. Every stitch makes your project stronger and longer-lasting.
Hopefully, you will find the way that suits you and your work. The most important thing to remember is: Keep at it!
KnitPro knitting accessories, experts, and advice are on hand to help you successfully complete your knitting projects. You can follow our blogs for more information on knitting needles, techniques and tips.


