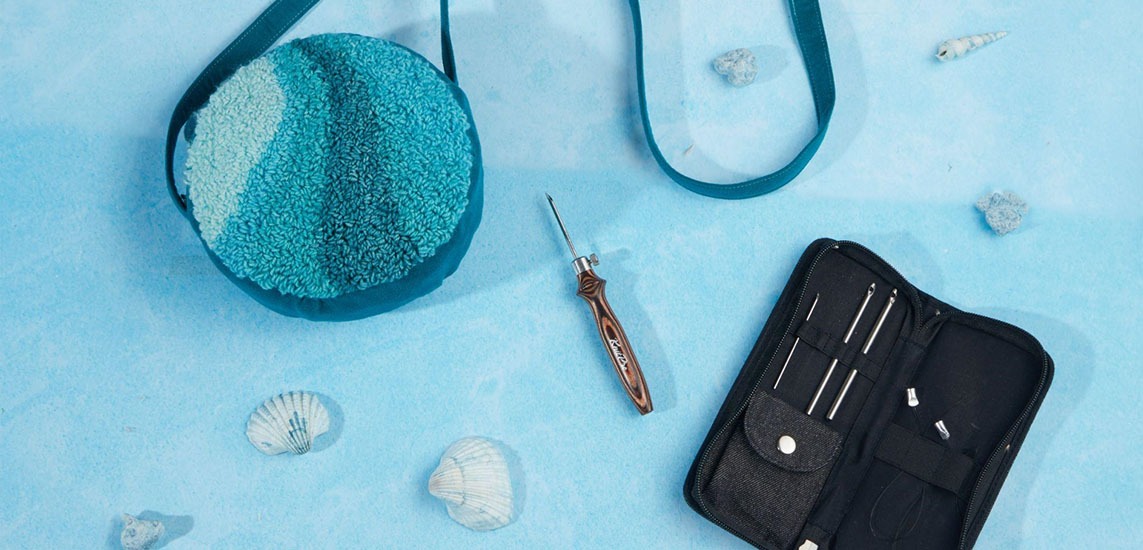
Do you know what potential your punch needles hold? You can create so many wonderful things with them, such as punch needle accessories. Today, Knitpro will help you create a stunning sling bag made with our best punch needle set. In this step-by-step tutorial, we will guide you through the beautiful and satisfying process.
Materials Needed
Gather Your Supplies
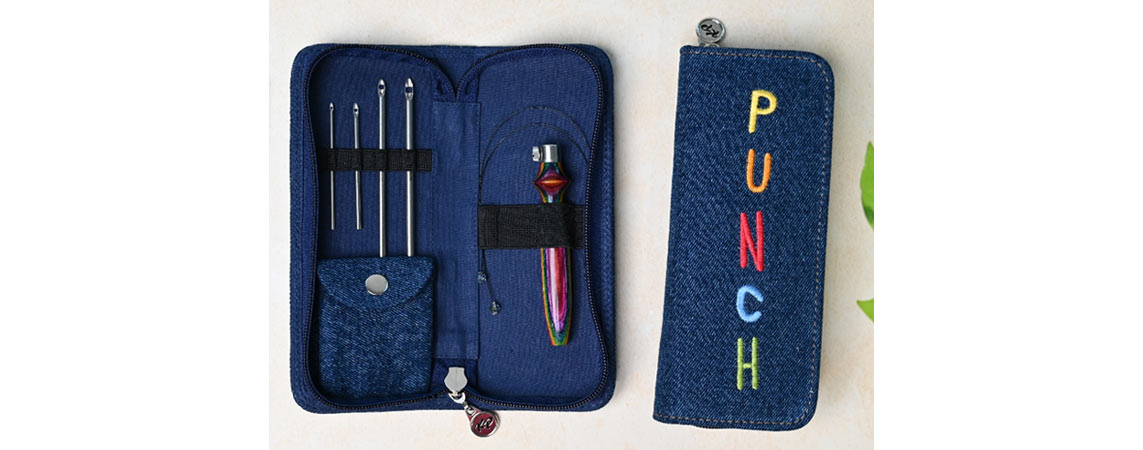
Before starting this exciting project, let's ensure you have all the necessary materials on hand.
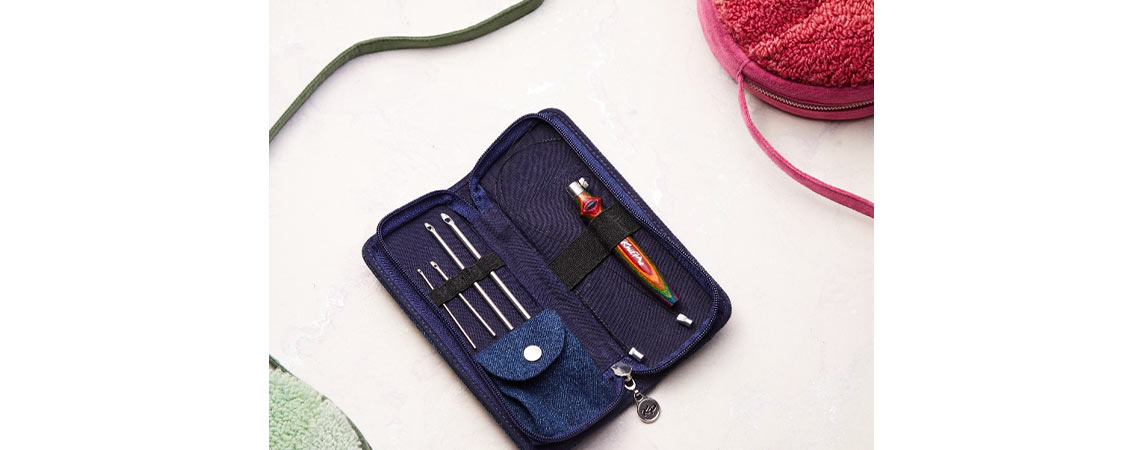
- You'll need a punch needle tool (Choose any one of the Vibrant or Earthy punch needle kits)
- Monk cloth
- Colorful yarns, we have used the vibrant colors of Symfonie Yarns' Viva Range (Mint SS1010, Emerald Sea SS1012, and Peacock Blue SS1014).
- Embroidery hoop
- A tracing paper
- A marker or pen
- You'll also need scissors to cut the fabric
- A tapestry needle for sewing or attaching the design
- Fabric glue
- A Sling bag
These tools will help you navigate through each step of the tutorial and ensure that your project turns out beautifully.
Step 1: Design Selection
The first step in this creative journey is selecting the perfect design for your bag. Here's how you can get started:
- Consider creating your own unique design, or feel free to choose our pattern.
- Make sure the design complements the size and shape of your bag for a harmonious look.
Step 2: Preparing the Monk Cloth
It's essential to prepare the monk cloth, the sturdy base for your punch needle art. Follow these steps to ensure you have a solid foundation for your creative endeavor:
- Cutting the Monk Cloth: Begin by cutting the monk cloth to the desired size, ensuring it is slightly larger than the design you have chosen. This extra fabric will give you room to work and attach the design to the bag later on.
- Choosing the Right Fabric: Selecting high-quality monk cloth is key to achieving a professional-looking result. Opt for a durable fabric that can withstand the punch needle embroidery process without fraying or stretching.
- Securing the Edges: To prevent the edges of the monk cloth from unraveling during the punching and cutting process, consider hemming or sealing them with fabric glue or a sewing kit. This step will give your project a polished finish and ensure longevity.
- Taunt in embroidery hoop: Stretch the fabric across the embroidery hoop tightly and evenly to provide a sturdy surface for punching the yarn. Make sure the fabric is taut and wrinkle-free by tightening the hoop.
Step 3: Transferring the Design
Now that your design is selected, it's time to transfer it onto the monk cloth. This step is crucial in bringing your vision to life and ensuring that the design fits perfectly on the fabric. You can use a lightbox to trace the design or simply draw it directly onto the cloth.
Remember to leave some extra fabric around the edges to allow for easy attachment to the bag later on.
Step 4: Punch Needle Embroidery
Depending on your chosen color scheme, thread your punch needle tool with the colorful yarn. Start by outlining your design. As you punch the needle through the monk cloth, watch as loops form on the front side, creating a textured and visually captivating design. Take your time to ensure each loop is securely in place, following the lines of your chosen design for a professional finish.
Adding Depth and Texture
Experiment with the tension of the yarn as you punch through the monk cloth to achieve different textures and depths in your design. By varying the tightness of the loops, you can create a three-dimensional effect that adds interest and dimension to your punch needle embroidery. Fill in all the gaps and change the yarn colors as per the design requirements.
Step 5: Cutting Out the Design
After completing the intricate punch needle embroidery on the monk cloth, it's time to cut out the design in this next step carefully. Grab your trusty pair of scissors and start trimming along the outline of the design. Take it slow and steady to ensure precision and accuracy in cutting, preserving the details you've worked so hard to create.
Step 6: Attaching the Design to the Bag
Now comes the exciting part - attaching your beautifully punched design to the front side of your sling bag!'
Whether you opt for the convenience of fabric glue or the traditional charm of sewing, the choice is yours. If you choose fabric glue, gently apply a thin layer to the back of your design and carefully press it onto the bag, ensuring it is positioned just right. Grab a tapestry needle and matching thread for those who prefer sewing to securely stitch the design onto the bag, adding a touch of handmade elegance to your creation.
Check for any loose ends or imperfections, making any necessary adjustments to ensure a polished look. Feel free to let your creativity shine by adding extra embellishments or personal touches to make your punch needle sling bag unique and unique.
Step 7: Completion and Care
Congratulations, you have successfully completed your punch needle sling bag.
Remember to handle your creation with care to ensure its longevity. Avoid rough handling or washing the bag in a washing machine, as this can damage the delicate punch needle embroidery. Instead, gently spot-clean any stains with a damp cloth and let them air dry.
You have created a stunning accessory by following this step-by-step tutorial and honed your crafting skills. Knitpro hopes you enjoyed this creative journey and feel inspired to continue exploring the world of punch needle embroidery.


