Watching knitters rapidly craft row after row of purl stitches can be intimidating for knitting newcomers at first glance. However, knitting purl stitches is easy and straightforward, especially if you're already familiar with knitting knit stitches. It also doesn't matter whether you use traditional straight needles or circular needles.
A purl stitch is simply the reverse of a knit stitch. When you look at a knit stitch from its back side, you see a purl stitch with its little. typical curved bar. So, while crafting knit stitches on the front side, you create purl stitches on your work's back side.
But don't worry, a purl stitch can also be easily crafted on the front side of your work, too. In this article, we'll guide you step by step through creating consistent and harmonious purl stitches on different types of knitting needles.
Step-by-Step Guide to the Purl Stitch: What You'll Need:
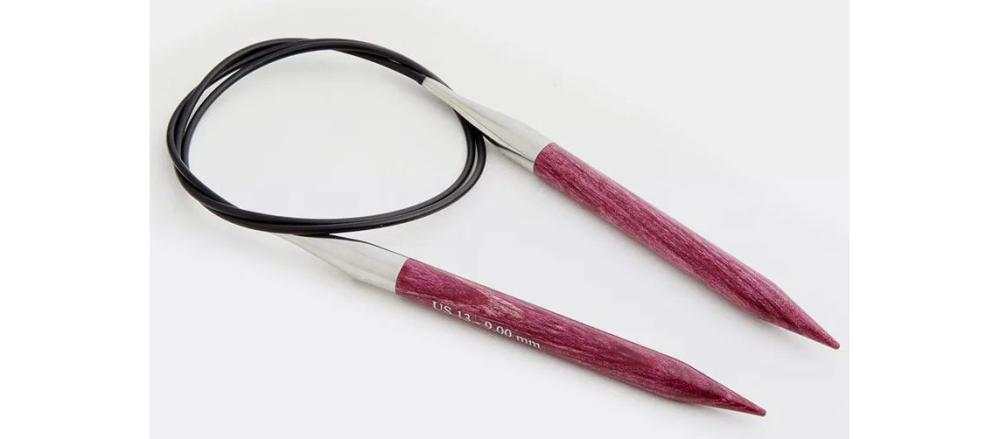
- Knitting Needles - Ideally, a pair of single-pointed or circular knitting needles. With the latter, you can also knit flat pieces. For beginners, straight needles made of wood or bamboo might be the better choice, as their surface is not as slippery as metal needles made of aluminum or stainless steel. Choose a medium needle size to start, about 4 to 6 mm, as it allows easy maneuvering.
- Yarn of your choice. It should, however, match the size of your knitting needles.
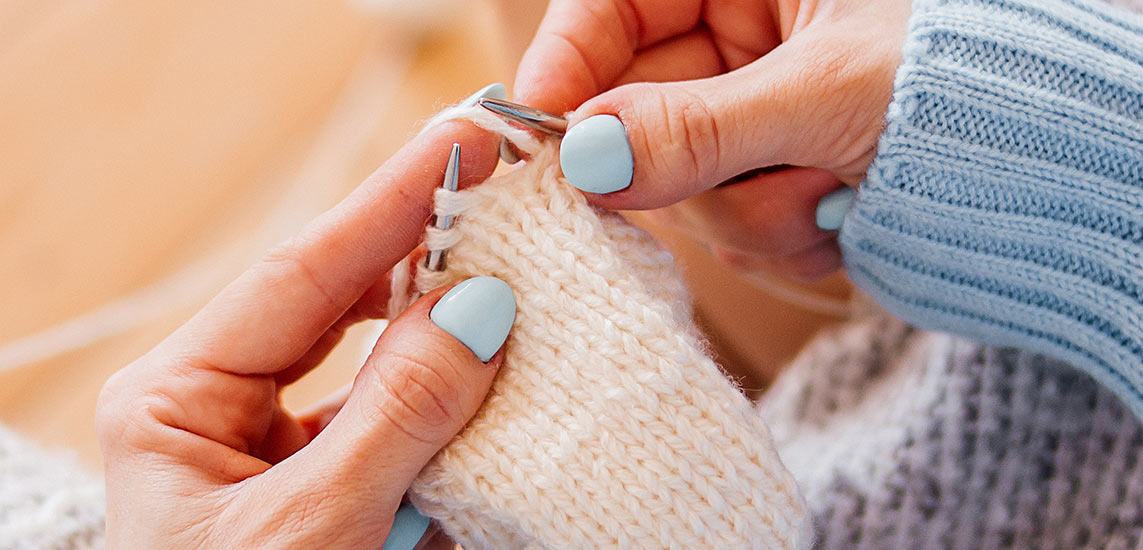
Hold the knitting needle with the already picked-up stitches (stitch needle) in your left hand. Hold the knitting needle without stitches (working needle) in your right hand. An in-depth tutorial for a popular method of casting on stitches can be found in this article.
Step 1: With your working needle in your right hand, insert it from right to left into the front part of the first stitch on the left needle. The knitting needles will cross during this process, and the right working needle lies beneath/behind the stitch needle.
Step 2: Bring the working yarn in front of the needles and, from below, wrap it around your working needle, catching the yarn. With this movement, you wrap a little yarn loop around the needle tip, which you now need to maneuver through the stitch.
Step 3: Pull the working needle (with the grabbed yarn) through the first stitch on the left needle. Move the needle and yarn from front to back through the cast-on stitch on your left needle.
Step 4: Let the original stitch slide off the left needle tip so the newly worked stitch remains on the right needle.
Repeat these steps for each subsequent stitch you wish to purl.
What Type of Knitter Are You?
There are two ways to learn knitting - the so-called continental method, predominates in German-speaking countries and continental Europe, and the English method, It is favoured in the UK, Ireland, and the USA. English and Continental knitters mainly differ in which hand they hold the yarn: English knitters manage the working yarn with their right hand and make a separate "throwing" motion, while Continental knitters hold the yarn in their left hand and draw it through the stitches with minimal finger movement.
The purl stitch rocks every knitting style, be it Continental or English! Many knitters say that Continental knitting simplifies purling since the yarn is already on the left side, requiring fewer movements. This makes switching between knit and purl stitches, especially with cool rib patterns, smooth and fast.
With the English method, you have to wrap the yarn around the needle from the right with an extra motion, which can take a bit longer for purl stitches. However, both methods get you to your goal and are just a matter of practice. It’s all about what's most relaxing for you personally. Some knitting fans also like to switch between Continental and English knitting, depending on what the project needs at the moment.
A few tips:
- Consistent stitches: Ensure to hold the yarn with consistent tension to achieve a uniform stitch appearance.
- Knitting direction: Generally, when purling, you work from right to left. Keeping the worked stitches on your working needle oriented consistently is vital so they don't appear twisted and irregular in your fabric.
So Versatile is the Purl Stitch
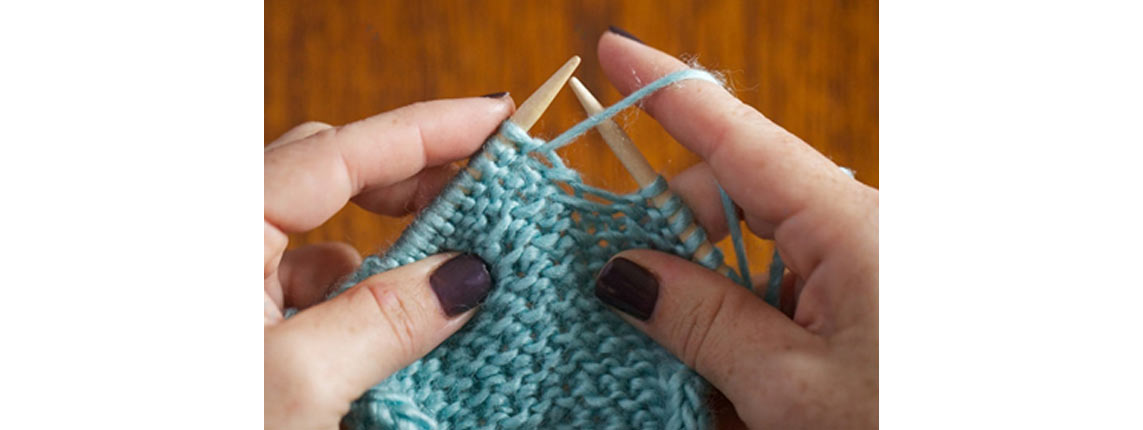
Knit and purl stitches are two sides of the same coin, but when you use them alternately in rhythmic changes, new knitting horizons full of dynamic patterns open up to you. When you work knit and purl stitches on your knitting needles at different intervals, you achieve, for example:
- Stockinette Stitch (Reverse): All stitches of the right side (front) row are purled, all stitches of the wrong side (back) row are knit. This pattern is the reverse of the standard stockinette stitch.
- Ribbing: Alternating knit and purl stitches within a row create a rib pattern. You can learn more about this in this blog tutorial.
- Textured Patterns: By utilizing counting patterns, wherein you knit purl stitches in strategic places on a stockinette stitch fabric, you can create geometric or even simple picture patterns, giving your work a striking and three-dimensional appearance.
With the purl stitch in your knitting repertoire, you are well-equipped for many knitting patterns. Simply experiment with various combinations of knit and purl stitches to create unique knitted pieces. KnitPro offers professional knitting needles developed for all knitting needs, as well as a huge selection of knitting accessories for working at home and on the go! Happy knitting!


