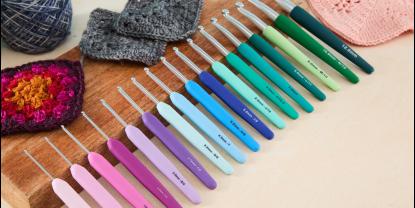
Punch needle is a fun, simple and a very tending craft! The beautiful art of creating textures has evolved from the centuries-old art of rug hooking. Now, it is a way to express creativity with textures, a distinctive blend of colors and depth. On the occasion of the international punch needle rug hooking day, we’ve come with a guide to mastering punch needle techniques. Like all crafts, it is a journey that begins with learning the fundamentals and stops to hone your skills and embrace an array of tips and tricks.
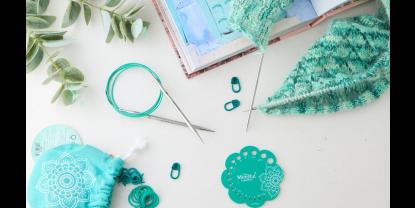
Are you ready to get started? Grab your punch needle kit or buy one to start on a project. Why a kit? Well, it's because they are like your faithful ally, containing all the tools you need to create this craft, which is helpful and convenient instead of looking for them separately.
Tip 1 - Choosing the Right Needle and Yarn
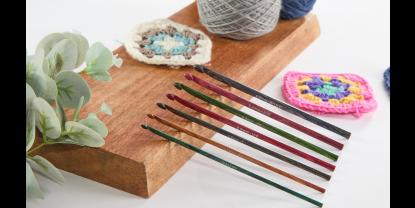
To get started, you need only a punch needle and yarn. However, the suitable choice depends on the project. A collection of needle sizes and yarn weights allows you to explore the craft and its incredible possibilities.
- Needle Size: A larger needle creates a more pronounced, textured effect, while a smaller size is perfect for those delicate, intricate details. Try experimenting with various needle sizes to determine which one best suits your creative vision.
- Yarn Weight: Your chosen needle size should be compatible with the weight of your thread. For finer, more delicate work, use lighter yarns; for chunkier, more textured designs, use thicker yarns.
You can create punch needle art that is entirely original by choosing your needle and thread carefully. If you are new, check out our guide on how to thread the punch needle.
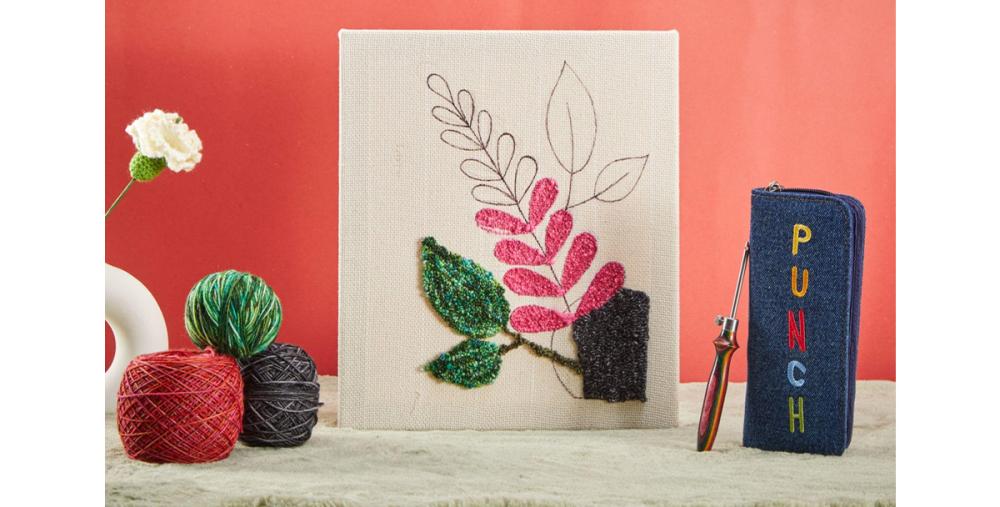
Tip 2 - Learn and Experiment with Punch Needle Techniques
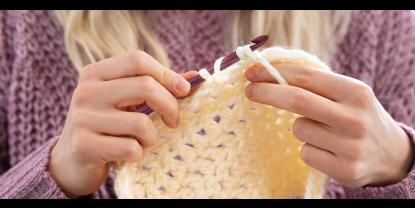
Punch needle art is more than just stumbling through fabric randomly with a needle. The basic punch is a fundamental technique that involves pushing the punch needle tool through fabric from the front side, then pulling it back out without completely removing it. This creates a loop on the back side of the fabric. Now, there’s more to it.
- Filling Techniques: To create the textured designs, you will punch the needle through the fabric. You can explore the outline method to make shapes, then fill them in. The row method works in straight rows back and forth and is also beginner-friendly. Random fill means changing directions for textural variety.
- Loop Height: You can create a variety of textures and effects by adjusting the loop height on your punch needle tool. A longer loop height produces a more plush and dimensional appearance, while a shorter one produces a tightly packed, flat finish.
- Directional Punching: Working in consistent directions (typically toward yourself) and maintaining even spacing between punches creates uniform texture. The closer together your punches, the denser and more stable your finished piece. Try punching in different directions. You can adjust the needle's angle to get a variety of effects. While punching in circles creates a spiral design, punching diagonally can result in a herringbone pattern.
- Texture Variations and Layering: You can give your work more depth and dimension by constructing layers of punched loops. Creating different textures by varying loop heights, cutting loops for a cut-pile effect, or combining techniques. Layers of loops are added layer by layer to produce complex patterns or shading, starting with a base layer.
- Color Transitions: Techniques for changing colors by ending one strand completely before beginning the next, or for creating blended areas.
Tip 3: Troubleshooting Errors
Like any craft, punch needle has its share of mistakes, so understanding and fix them.
- Prepare your yarn - Plan your project and get your yarn ready. Turn skeins into balls and think about color theory.
- Fabric Puckering: Make sure your fabric is stretched tightly in the frame or hoop if it is puckering or warping. An uneven finish can result from slack or wrinkles.
- Inconsistent Loop Height: It can take time to get a consistent loop height. The key is practice. Use a punch needle that can also be adjusted to have more control over the height.
Tip 4: Focus on Finishing and Care
The finishing touches are essential once you create your masterpiece with a punch needle.
Cut off any loose thread ends and use a small amount of fabric glue to bind them in place. This guarantees the integrity of your design. For care and maintenance, keep your punch needle art free of excessive moisture and direct sunlight. It can be kept in perfect condition with routine dusting.
Mastering punch needle embroidery is not rocket science. You need persistence and dedication towards it. To begin with, start with easy punch needle projects. In this blog, we have mentioned tips and tricks, and following them will help you. Furthermore, how your projects turn out is greatly influenced by the quality of your tools. Thus, it's imperative to invest in good quality products. KnitPro is dedicated to crafters worldwide, providing them with exceptional knitting needles, crochet hooks, along other craft supplies. Check out our extensive range for all your yarn projects.
Want to learn more? We’ve got you covered with a video.
YouTube Tutorial - https://youtu.be/6_K5IAXIig0?si=FKllEVNyVM7Y0hCa


