
In knitting, there are various ways to create textures with just the basic knit and purl stitches. One such interesting option is to purl 1 below. If you are a knitting enthusiast on the lookout for unique stitches that adds to appeal to their projects, then this stitch is right for you. With your knitting needles and yarn working this unique stitch presents enhanced textures. The simple version of the basic purl stitch besides beauty, adds to the functionality of projects lending elasticity in particular areas. In our previous blog, we had discussed about how to knit 1 below stitch, in this blog we’ll learn about its purl counterpart. Once you master the stitch technique, you can work on the impressive Fishermen’s Rib Stitch Pattern, mock Brioche, colorwork and intricate lace designs.
What is the Purl One Below (P1B) Stitch?
The Purl One Below stitch known as P1B stitch is an innovative knitting technique. For this stitch, insert your knitting needle into the stitch one row below the active stitch in a row and make a purl stitch. Unlike traditional stitches, which are worked into the current row, this simple modification pulls the yarn through a stitch from a previous row, creating a textured effect. This stitch works beautifully with any knitting needles (size or type) and any yarn weight making it adaptable to various knitting styles and projects. You can work in a row or even two, three or four below the active stitch to make the purl 1 below stitch. However, make sure that you are proficient with the purl stitch.
A few examples where purl one below is effective:
Mock Brioche or Fisherman’s Rib Stitch patterns have enhanced effects with P1B. A two-color Fisherman’s Rib Stitch where you can work knit and purl stitches in the row below with different yarn colors for an enhanced color effect.
Even in a background of stockinette (alternating rows of knit and purl stitches) or garter (but with rows and round of purl stitches) the P1B stitch creates a subtle ribbed or honeycomb-like texture.
It works well in patterns that require a unique structure, such as basketweave or seed stitch variations.
This modified purl stitch results in a flexible fabric, ideal for garments and accessories.
What You’ll Need
Before you start, make sure you have the following materials ready:
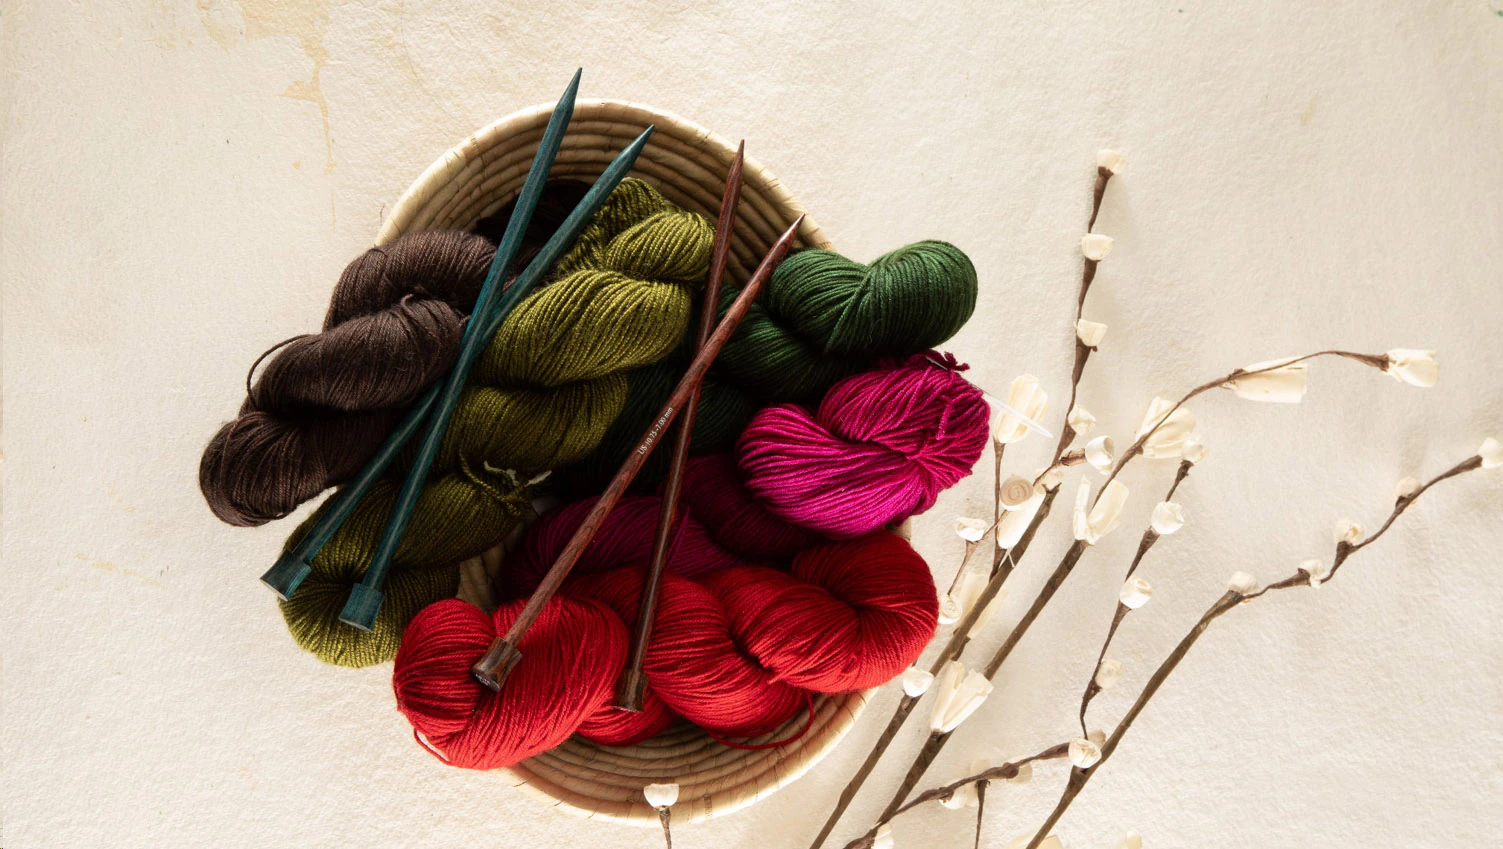
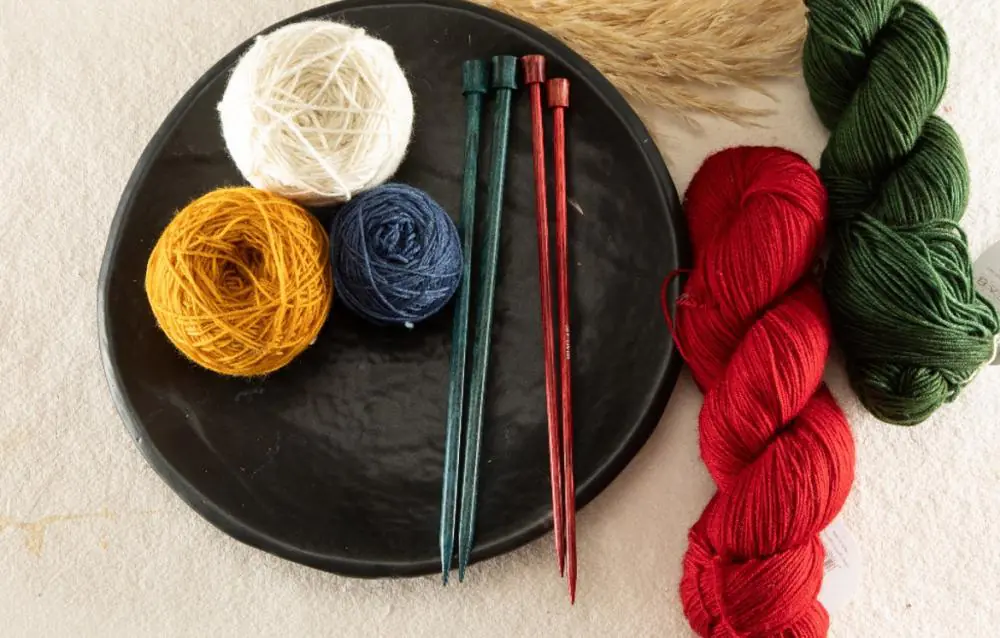
Yarn: Choose any yarn weight that suits your project, from lightweight to chunky wool. Any yarn fiber works, however for your first project a DK weight and a merino wool yarn are the best options.
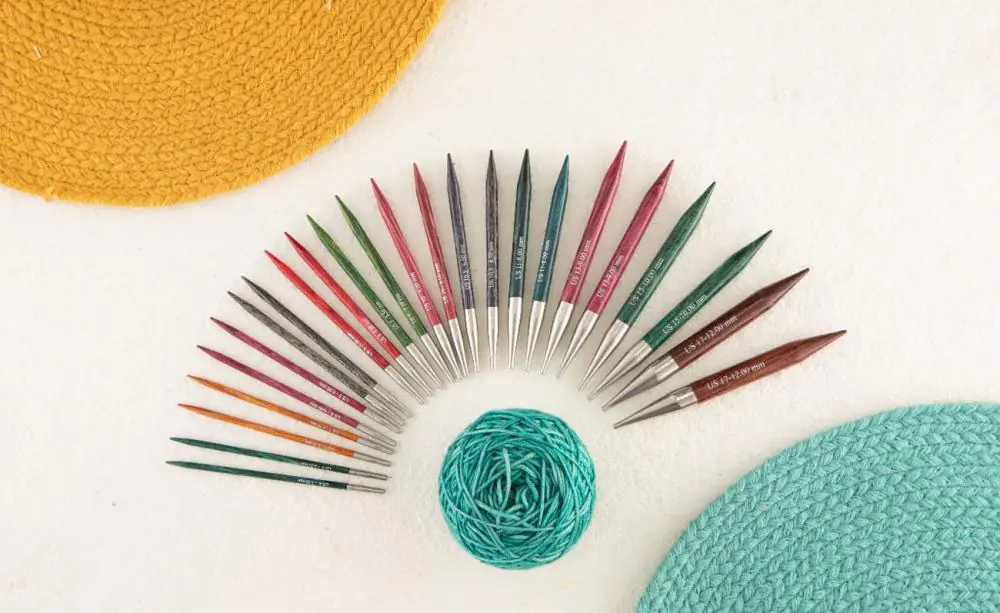
Knitting Needles: Use appropriate needles for your yarn weight. Interchangeable knitting needles or fixed circular needles work well for larger projects. You can work with a pair of single-pointed needles for flat-knit projects. Double-pointed needles are best for small-circumference projects such as socks. However, attempt the stitch technique in basic back-and-forth knit projects before heading to knit-in-the round projects.
Knitting Accessories: Stitch markers are useful to mark the stitch where you need to work P1B. A wool needle is handy for weaving in yarn ends while scissors snip off the yarn tails. Blocking tools are a good choice for settling the stitch patterns in the project and let them have the spotlight.
Basic Knitting Skills: A fundamental understanding of knit and purl stitches will be helpful.
Step-by-Step Guide to Knitting the Purl 1 Below (P1B) Stitch
Step 1: Cast On and Set Up
Cast on stitches using your preferred cast-on method. Work a few rows in a simple stitch pattern.
Step 2: Working the P1B Stitch
Hold your knitting needle with the stitches in your left hand and the empty needle in your right hand.
Identify the first stitch on the left needle and find the corresponding stitch directly below it (one row below).
Instead of inserting the needle into the current stitch, insert it into the stitch below the next stitch on the left needle.
Purl Through the Stitch Below. Wrap the yarn around the right-hand needle as if to purl and pull the loop through the stitch.
Let the original stitch drop off the left needle.
Continue working the P1B stitch until you reach the end of the row.
Step 3: Checking Your Work
Ensure that each P1B stitch aligns correctly, maintaining even tension throughout. Practice a few rows to see the stitch pattern develop.
Techniques Using the Purl One Below Stitch
Working the P1B stitch into your knitting projects has beautiful results. So, what can you do?
1. Combining Stitches for Unique Textures. Pair the P1B stitch with classic knitting techniques to create intricate designs that stand out. Try with cable stitch patterns for enhanced twists that make cables stand out. Even for basketweave patterns, Entrelac and basic Seed Stitches, you can create unique patterns.
2. Work knitting Colorwork Patterns. Pair the stitch technique in stranded knitting or slip-stitch colorwork with P1B to add pops of color and depth to your fabric.
3. Try merging the P1B stitch with short rows or shadow knitting to create visually striking, three-dimensional patterns.
4. Introduce the P1B stitch into lace knitting for an elegant, textured effect that enhances openwork designs.
Handy Tips for Neat Purl One Below (P1B) Stitches
- If your stitches look twisted, ensure you are inserting your needle into the stitch correctly.
- Try and maintain a consistent tension while pulling the yarn through the stitch below.
- Be cautious when slipping stitches off the needle to prevent dropped stitches. It’s better to learn how to fix dropped stitches.
The Purl One Below (P1B) stitch is a fantastic addition to any knitter’s repertoire. Whether you're crafting textured scarves, cozy sweaters, or intricate lacework, this stitch provides endless creative possibilities. Ready to try it out? Grab your knitting needles and start experimenting with the P1B stitch. Explore the KnitPro collection for knitting needles and accessories for your crafting projects.
For a step by step video tutorial, check out this -
Video Courtesy - Staci Perry | YouTube Channel - @verypinkknits


