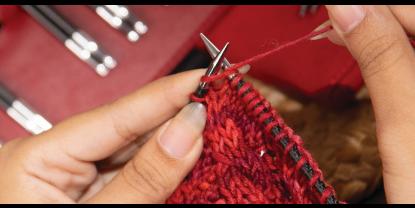
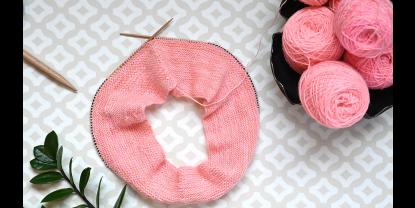
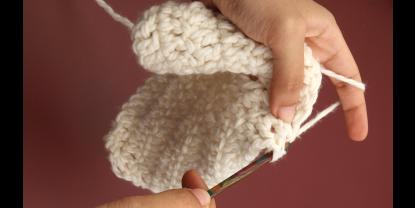
There are so many ways to cast on stitches for knitting. Any experienced knitter will know at least 3 ways to, but one of the most popular methods is the knitted cast on. It’s also one of the easiest. The knitted cast-on is especially good for beginners since it requires you to form knit stitches as you add them to the knitting needles. This makes the learning process really stick in the knitter’s memory because it is repeated so often.
The cast on method depends on the project or pattern you are knitting. A pattern designer mostly instructs the method to cast on stitches. But, if they do not, simply go ahead with any of your preferred method. Most knitters are taught the knitted cast on method by their mentor when learning to knit. It is very important to cast on stitches very carefully as the right start of the project will ensure a neat project and a smooth knitting experience.
Steps to Knitted Cast on Technique
The Cast on stitch is just like a regular knit stitch except that you put the knitted stitch back on the left-hand needle – you do not take it off. If you are a fan of written instructions, then read on as we walk you through the steps of the knitted cast on technique.
Step 1: Slip Knot
Like most cast on instructions, it starts with a slip knot which is opened and slipped on the left knitting needle. The slip knot is how you anchor the yarn on the knitting needle. When you make a slip knot you usually have two strands of yarn- one from the tail end and the other from the working yarn. Keep the tail end of yarn away from you. Try and hold it with your finger while knitting the cast on stitches.
Step 2: Make the Stitches
Knit the first stitch in the method you use to knit (English or Continental), draw up that stitch into an elongated loop and place that loop back on the left-hand needle. In effect, you just made a new stitch.
Continue making stitches as the pattern mentions (if you are following one) and 20 stitches are fine if you are just getting some practice.
After you have cast the stitches, begin knitting. If you are following a pattern you will have a gauge to match. To do that knit like instructed in the pattern. Even if you are just getting practice or designing your own, always start with a gauge swatch.
For the pattern instructions, wash and block the knitted tension square. With a measuring tape mark an inch on the swatch. Calculate the stitch and row gauge by counting with the pointy tip of your knitting needle. Count the number of stitches horizontally in the square for stitch gauge and vertically for the row gauge. If you have the same number of stitches as mentioned, you have the right gauge. If not, then change the knitting needle size, smaller if you have lesser stitches on hand and bigger in case you get more stitches. To know more about how to get gauge, check out our guide,
The reasons the cast on technique is useful are many:
- It’s good for casting on a lot of stitches without running the risk of too short a tail – a common problem with the long-tail cast on.
- It can also provide a little stretch for the first row if care is taken to not cast on too tightly. This is especially useful for hats and neck openings.
- As implied by its name, the knitted cast on creates the first row of stitches. It’s a firm and attractive base for the project. It results in a firm braid-like edge. The knitted cast-on is one of the cast-on methods a new knitter learns first when you are learning how to knit.
- Teachers tend to like it because it “grounds” the knit stitch firmly in a knitter’s memory. It's very easy to do and to remember because you're essentially working the knit stitch over and over.
- Another upside is it can be used at the start of your project and in the middle of a row. If you only want to learn one cast-on method, this is it!
A variation on the knitted cast on is the cable cast-on. The cable cast on also gives a neat, stable edge to your knitting, and is suitable for many projects - apart from where a stretchier edge is needed. For instance, it is not recommended for a rib (k1, p1) stitch, where you need flexibility.
With the Cable cast on method, you change only one thing: After you have 2 stitches on the needle, to make more you insert the needle between the first and second stitch - behind the first and in front of the second stitch on the needle. You continue to do it this way, until you have the required number of stitches cast on. This type of cast-on is frequently recommended when stitches are added in the middle of a row, as is frequently done when knitting in a neckline on a pullover.
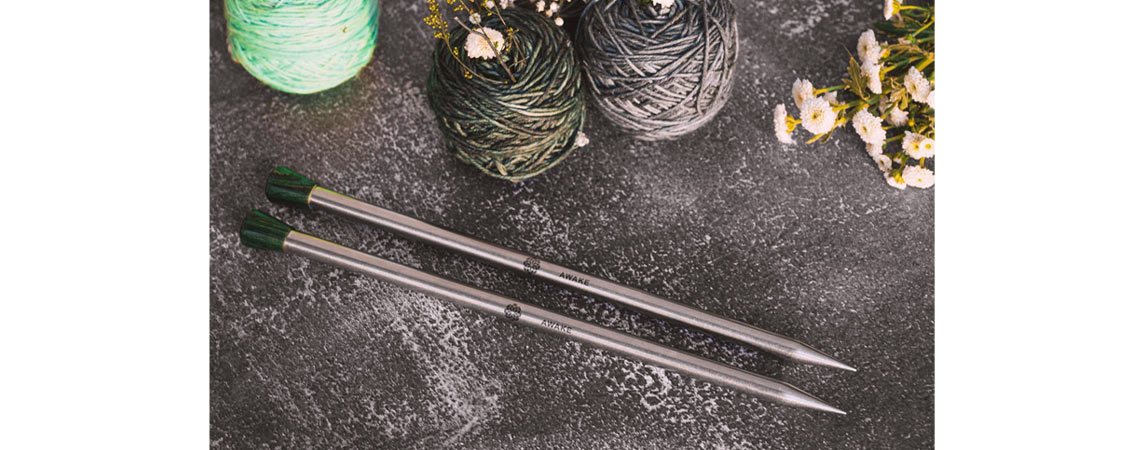
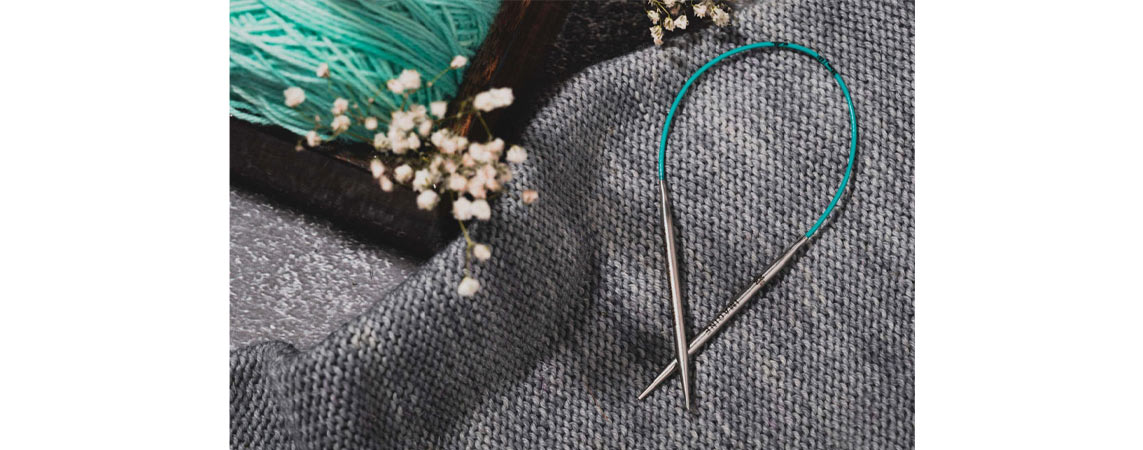
Of course, you can use any needle type for this type of cast on – Single-Pointed, Circular (both fixed and interchangeable), Double Pointed, etc. You might find, however, that using stainless steel knitting needles makes for the smoothest casting on experience. Their polished surface is very smooth and gliding new stitches on the needle is pleasurable. If you are a newer knitter, you might practice first on single-pointed knitting needles.
One of the things that are most distinctive about the knitted cast on is the attractive edge that it gives to the project. Here’s an example of a free pattern for a blanket that shows why the knitted cast-on is considered versatile. It adds to the beauty of the piece.
We hope you have enjoyed the tutorial and use it for your upcoming projects. Our guide on provisional cast on methods with two knitting needles will assist you any sort of temporary cast-on of live stitches, which will be later picked up and knit. Find more tips and knitting hacks with our blog.


