Everybody seems to be into knitting cables right now. Cable knits have become hugely popular all around the globe. They are not only chic and comfortable, they also look more exciting and imaginative than ever.
Though cable knitting may appear impressive and complex for those who have never tried them before, they are actually really easy to achieve, provided you have the right knitting tools. Here is a beginner’s guide to cable knitting, and what you need to make your cable knit a hit.
1. The Cable Needle
In a nutshell, cable knitting is nothing more than crossing your stitches on your knitting needle and working them in a different order. This so-called permutation achieves astonishing effects of plasticity with the stitches appearing as braided ropes or cables. If you are asking yourself now, how on earth it should be possible to cross stitches on a needle in such a complicated-looking manner without losing them, the answer lies in a simple, straightforward accessory: the cable needle.
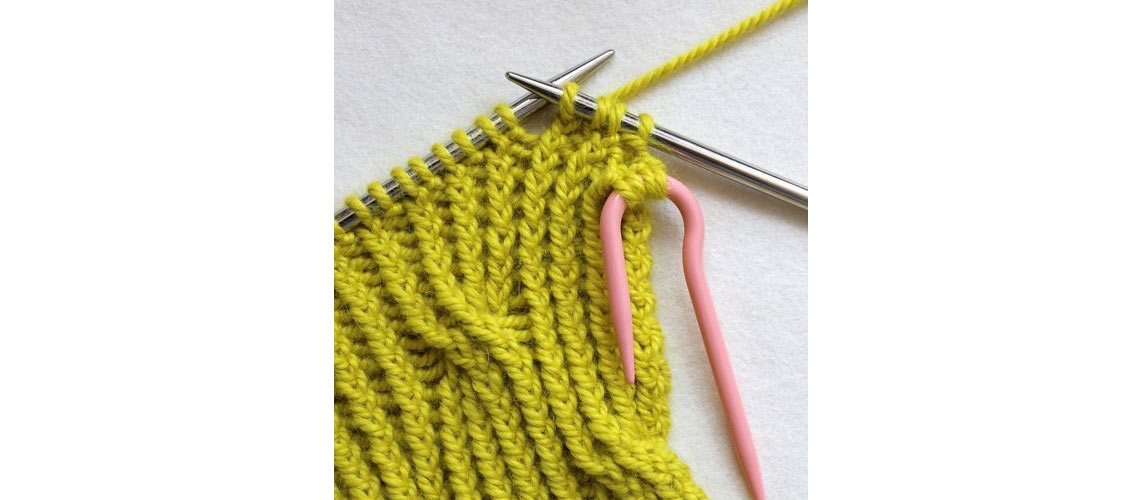
Our KnitPro cable needles are either available as wooden or as aluminium needles. The wooden ones match the Symfonie colour design and come with little groves to ensure that your stitches will not slip over the tip, even when knitting complicated cable twists. Our colourful aluminium needles are bent for the same effect.
2. How to use your KnitPro Cable Needle
No matter which cable pattern you choose, they are all based on the same braiding principle. Once you master the basics, the rest will follow.
Pattern for a basic, six stitch cable:
In order to achieve the desired 3D effect, you have to knit a couple of rows. The more rows you knit, the longer the braid will become. The cable itself is usually produced in a simple knit stitch. However, to make your cable really pop out of the fabric, you can embed it into a number of two or three purl stitches, meaning, your pattern starts and ends with purls. So you start by purling three stitches, then knitting six stitches flat, then purl another three. Repeat six or seven rows to achieve a nice braid, depending on the thickness of your yarn.
How to braid your stitches:
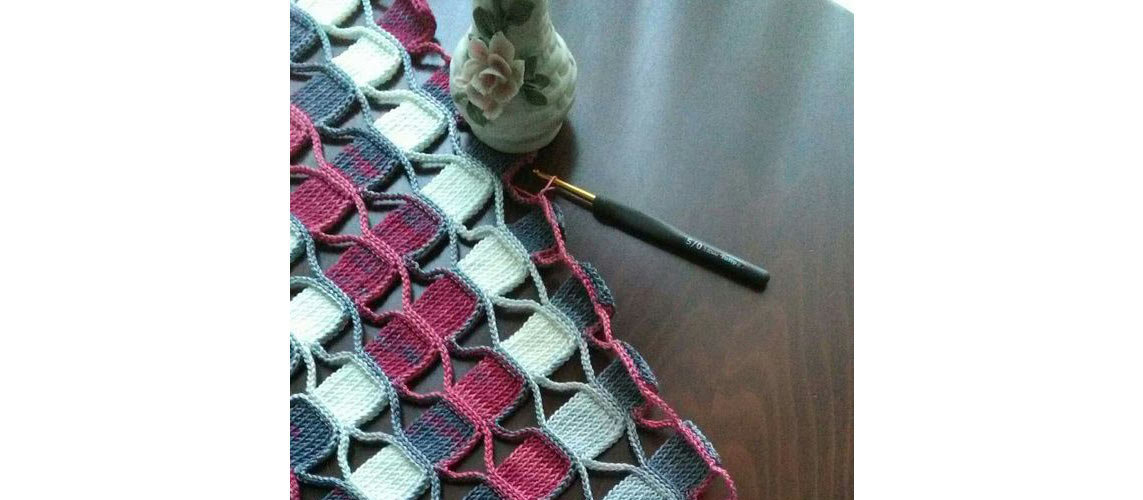
After your edge stitch, purl three, then pick up your cable needle and slip the next three stitches onto it. Place the needle in front of your work and let it hang loose. Now, knit the next three stitches on your regular needle flat, then knit the three stitches off the cable needle. If you find it too hard or fiddly to knit from the very cable needle, you can also slip those three stitches back onto your regular needle and knit them. You have now produced a left twist in your braid. If you wish to have the twist turn the other way, just leave your cable needle behind your work.
If you are knitting flat items, you always knit the stitches of the return row as they appear, i.e. you purl your braided stitches and you knit your purl stitches. When knitting in the round, you face the right side of your work, so you will always knit the actual braids and purl the stitches left and right of each cable.
3. Blocking your work
In order to finish off your cable knit it should always be blocked properly. This is an essential step which will reveal your pattern fully and even out any irregularities. Blocking defines your pattern and relaxes your stitches. However, the elastic cable knits have to be blocked with extra care. Our KnitPro Blocking tools have been designed to help you block your projects effectively and trouble-free.
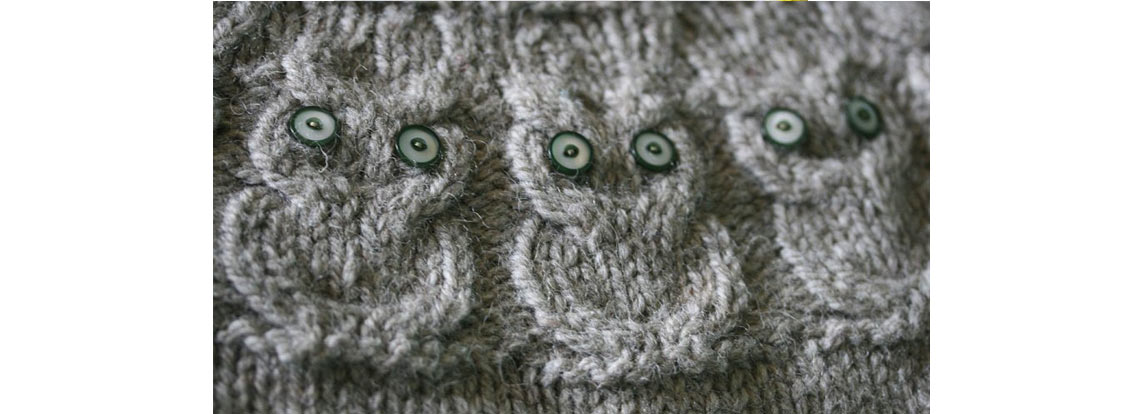
When blocking your cable knits, you want to be gentle. Instead of stretching your fabric out to the maximum, as you would do with lace knitted items, pin your fabric onto your blocking mat just until the edges lay flat and will not lose their spring, but do not overstretch. Some knitters also prefer to block their items with the right side facing the mat.
Depending on the type of yarn you have used, it is really easy to just block out your cable patterns without ironing them. Our KnitPro blockers ensure an even result and make sure your project can be finished off professionally.
4. Ironing your Cable Knits
Too much heat can damage your wool and your knitting, so it is important to never press your hot iron onto your blocked project. In many cases, ironing your cable knits is not even necessary. If you have blocked your item properly, you will find the structure has already just come out fine. If you still wish to even your item further out, our advice is to just steam your knit slightly, holding the iron an inch above the fabric without pressing down. Wait until your project has completely dried, while still maintaining the tension with your blocking tools.
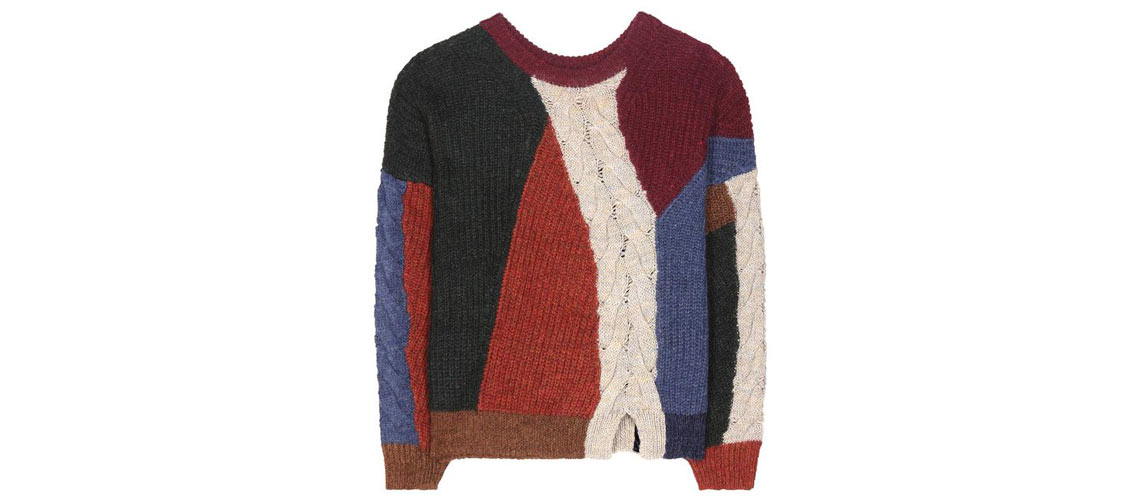
For more information, also have a look at our blog on getting the tension right on your knitted gauges.
So if you are an aspiring cable knitter, cheer up! There are hundreds of cable patterns waiting to be explored, - braided cables, celtic cables or landscape cables are all beautiful and modern ways to go deeper into this technique.
What is your favourite cable pattern?


