Are you ready to take your crafting skills to the next level and add a new technique to your toolbox? Well, you're in the right place!
This tutorial will plunge into a revolutionary method to craft your foundation row in single-ended and Tunisian crochet that will change how you approach future crochet projects. Say goodbye to the stiff and inflexible edges that traditional chains and foundation rows create, and hello to a chainless and more fluid foundation row.
With chainless foundation stitches, you'll be able to add a touch of flexibility and draping to your garments, creating a beautiful flow and movement.
When are chainless foundation stitches practical?
Chainless foundation stitches create a smooth and flexible edge that can blend seamlessly into the rest of your project. They can be beneficial when working on projects like scarves or shawls that require a nice drape. But they also help customize the width of your project by allowing you to create the exact number of stitches you need for your labor rather than having to work with a chain that may be too long or too short.

Above all, they add extra stretch to your project: Chainless foundation stitches have more give than a traditional chain, making them ideal for projects that need to drape nicely, such as hats, headbands, or scarves. And when working on a blanket, a chainless foundation row ensures that the project has the correct width and prevents the edges from curling.
Last not least, a chainless foundation row is convenient when working with a yarn that splits easily.
However, chainless foundation stitches are not recommended for projects with a stiff structure or that need to be tight, such as baskets or amigurumi projects, which are usually worked in tight stitches to give the finished piece a firm structure. A chainless foundation row would provide a different level of firmness than a traditional chain and foundation row, making it difficult to achieve the desired shape for a piece.
How to craft a chainless foundation row
Start by making a slip knot on your crochet hook.
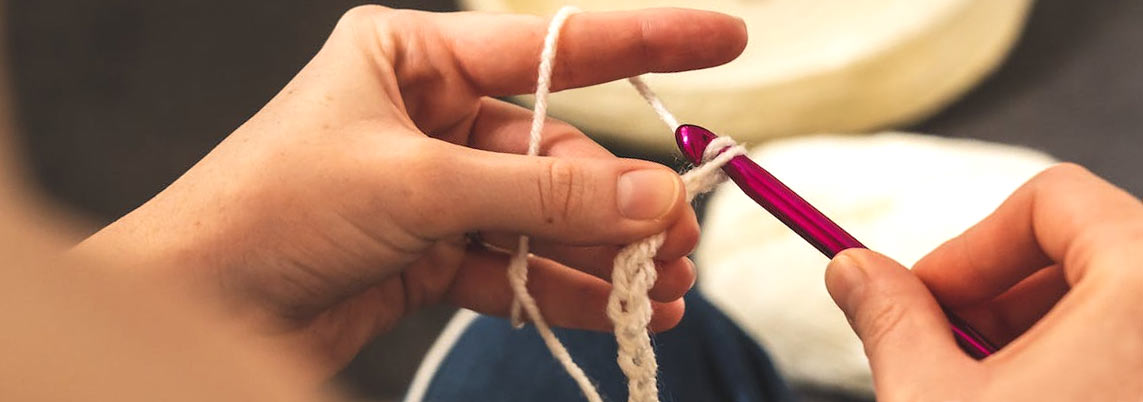
Step 1: Tie a loose slip knot on your hook and chain 2.
Step 2: Insert your hook into the 2nd ch from your hook (insert the needle underneath the top and back loop).
Step 3: Yarn over and pull up the loop. You will have two loops on your hook.
Step 4: Yarn over again and draw the yarn through both loops on the hook. This creates the first chainless foundation stitch.
Step 5: To continue, insert the hook into the "bump" at the back of the last stitch you created.
Step 6: Yarn over and draw the yarn through the bump; you will now have 2 loops on the hook again.
Step 7: Yarn over and pull through both loops on the hook. This creates the second chainless foundation stitch.
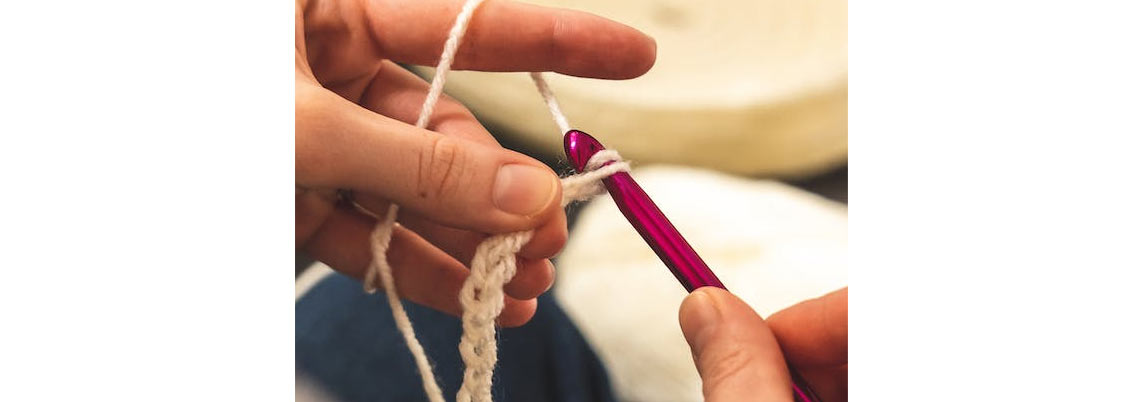
Repeat the above steps until you have the desired number of stitches. Now, your chainless foundation is complete, and you can start working on the first row of your pattern.
You can adjust the number of stitches according to any width you need.
Also, you can use this method for both single and double crochet; the steps are the same for both.
How to craft a chainless foundation row on your Tunisian crochet hook
It is also possible to create a chainless foundation with tunisian crochet hook. As you are working with all your stitches on your needle, the process involves working all the foundation stitches onto the hook instead of making a chain and then working into the stitches of the chain. The principle in itself is similar to using a single-ended crochet hook, but with a Tunisian hook, you'll be working with both a forward and return pass rather than just a single pass.

This way, you ensure a more flexible and draping foundation, similar to the chainless foundation row on a single-ended crochet hook. The result may look different though, as Tunisian crochet creates thicker fabric than single-ended crochet, so there may be even more of a draping or stretch effect. As you are working with both a forward and return pass, you'll also need to pay more attention to the tension of the yarn.
Step 1: Start by holding your Tunisian hook in your right hand and the yarn in your left hand and make a slip knot.
Step 2: Insert the hook into the slip knot, yarn over, and pull through. You now have two stitches on your hook. Repeat this step until you have the desired number of stitches on your hook.
Step 3: To create the foundation row, work the return pass as usual, pulling the yarn through the loops on the hook.
Step 4: To begin the next row, insert the hook into the first vertical bar from the back to the front, yarn over and pull up a loop.
Step 5: Insert the hook into the next vertical bar, yarn over, and pull up a loop. Repeat this step until you have the desired number of stitches on your hook.
Step 6: Continue working the return pass as usual, pulling the yarn through the loops on the hook.
The chainless foundation stitch allows you to work a flexible edge that gives your project a sophisticated, flowing look. It's also a great trick to customize the width of your project. The process may seem challenging initially, but our tutorial will guide you through all the steps, even as a beginner, so that you can create beautiful edges and finishes in no time.
Do you already have a project in mind for which you can try the chainless foundation stitch?


