Stitch markers are simply knitting essentials. All knitters work with stitch markers for almost all small and big projects. These small yet mighty tools are tangible reminders of changes and references in the knitting project. Of all the knitting accessories, it won’t be wrong to say that the stitch markers are the most used. If you haven’t yet discovered the joys or even if you are a fan of stitch markers, this blog post will be a guide to how to use knitting accessories and simplify many aspects of your craft.
What is a stitch marker?
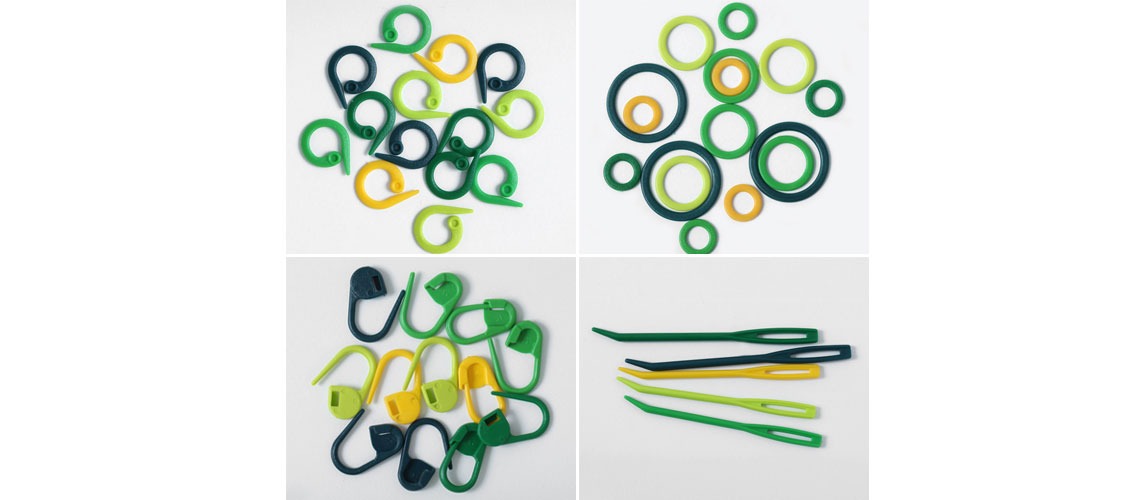
As the name suggests, these knitting accessories mark stitches. You can find these stitch markers in different shapes such as round rings that can be put on the knitting needles, the split circle that can be put on the needle and removed easily, and the locking kind that looks like little safety pins that work best to lock the yarn. They are also available in various designs but each type has its own purpose. Not just for knitting, the stitch markers are very helpful accessories for crocheting too. You can refer to our guide on how to use stitch markers correctly in crochet.
Stitch markers are used to mark significant changes in the knitting pattern. For instance, where to decrease stitches for shaping a hat or increase stitches on a raglan sweater, or when to switch from a stocking stitch pattern (stockinette) to a different stitch pattern. Whether you are knitting with single-pointed needles for flat patterns or making socks or a sweater in the round with double-pointed (DPNs) or circular needles, stitch markers will always be of assistance. You need to either place them on the knitting needle or can use the locking stitch markers to hook them on the knitted fabric. Let’s take a look at the uses of the markers.
How to Use Stitch Markers
1. Marking the Start or End of the round
Knitting in rounds is a beauty. The project has no seams but this makes it difficult to identify the start or end of the round. Place a stitch marker to always remember the start or end of the round. If you are working with double-pointed needles, make sure to place the marker between the second to last and last stitch so that they do not slip off the tip. If you are working with circular needles then you can place the marker on the last stitch but then it depends on the method of joining the stitches.
2. Mark change of Stitch Patterns
Knitting patterns instruct steps row by row or round by round. With a stitch marker in your knitting pattern, you can know exactly where to start and stop stitch patterns. Say, for example, a knitting pattern instructs you to knit 7 purl stitches for 7 rows in the middle of the knit stitches, the marker will remind you when to purl. Another example is that if a pattern instructs garter stitches (rows of all knit stitches) alternate with a portion of stocking (alternate rows of knit and purl stitches), then it can be confusing. So, stitch markers indicate where to stop one type of stitch and where to start another. You simply need to follow the marker and do not have to count yourself.
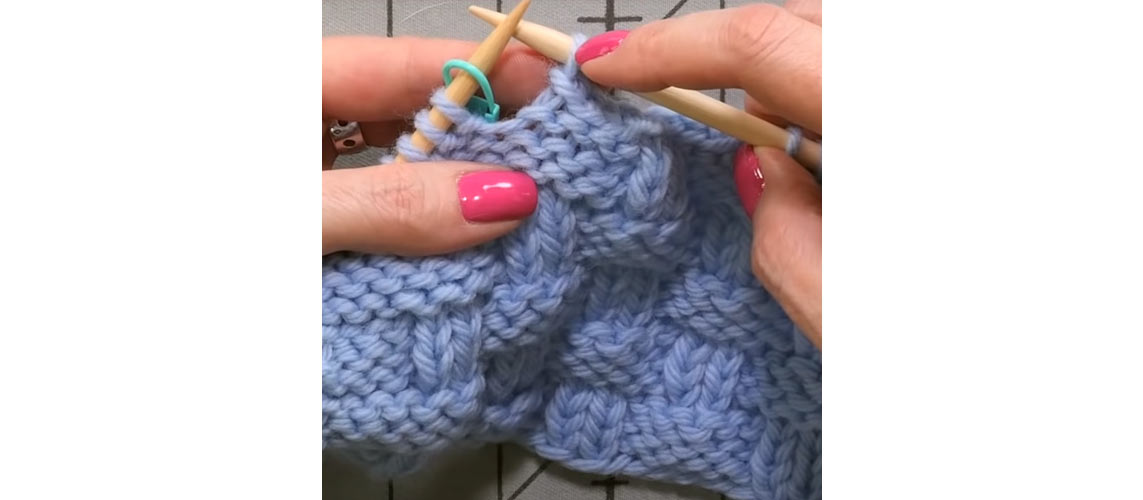
Similarly, if you have to start increasing or decreasing stitches to shape a project the marker will indicate when to do so. You don’t have to count the specific number of stitches each time when your stitch markers can do the job.
3. Marking different parts of a garment
Whether you knit a garment in pieces with single pointed needles or knit them without seams on circular needles or use DPNs, you need to mark different parts sleeves, front, and back with markers. For a sweater or cardigan, the underarms require abundant use of stitch markers to indicate the change of stitches, increase and decrease and also lock stitches in place.
4. Indicating special stitches
In knitting, there are only two stitches - knit and purl. All other stitch patterns are just a combination of these two. For instance, the cable stitch patterns are special stitches that are a combination of knit and purl stitches worked differently. The pattern is spread over rows and round for the textured effect, here the stitch markers mark the repeats and when to start and end.
5. Managing Lace and Colourwork Knitting Patterns
Intricate knitting patterns are beautiful but tricky and require as much assistance. Stitch markers assist with intricate knitting instructions. As we mentioned before, they help mark changes of stitches, etc. but for lace and colourwork patterns they help manage sections of the stitches.
These are just a few examples of using stitch markers to keep your knitting on track.
Abbreviations relating to stitch markers in Knitting Patterns
PM – Place Marker means placing a ring stitch marker on the knitting needle at the specified stitch. Make sure to not tangle the marker in the yar or the knitted fabric. A pattern will mention if a split or locking marker is needed.
SM – Slip Marker means to slip the marker from one knitting needle tip to the other and then proceed with the work. When you have reached the point of repeat, the marker has done its job so you need to place it in the right place to remind you in the upcoming rounds or rows. Even if knitting patterns do not instruct SM, the default action is to slip the marker and continue knitting.
BOR – Beginning of Round instruction is only when you’re knitting in the round. After you complete the round and reach the marker simply slip it into the other knitting needle leaving it in place. The instructions to mark the beginning of the round when knitting with double-pointed needles is different than circular needles, so read the pattern thoroughly
CB – Centre Back or Centre Back Marker is usually used in knitting patterns for garments such as sweaters or cardigans. As usual, if there are no specific instructions slip the marker into the other needle tip.
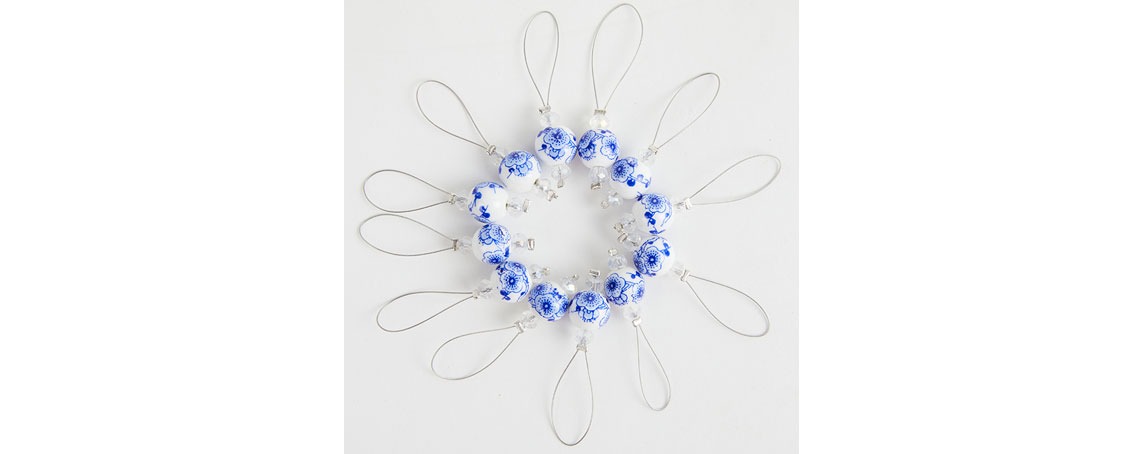
With these knitting abbreviations for stitch markers, you can use them for any knitting project. Each knitter has their own preference regarding the design of the stitch markers. From cute smiley faces to peaceful doves to mindful chakra designs from our Mindful Collection in various soothing colours, you’ve got a lot of options in the KnitPro range.
With this, we end the topic on how to use stitch markers in knitting. Whether you have a small or big project, or you knit or crochet, the stitch markers will definitely assist you with smooth crafting.
Happy knitting!


