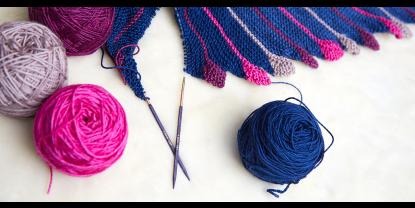
Many knitters find charts intimidating, especially beginners. Charts represent stitches with symbols and show how a pattern will look. But, once you learn the language, you may discover that reading charts are easier than following written instructions. In fact, for a beginner it is best to start with charts, as you are learning to make stitches on the knitting needles, you can follow through easily.
Charts are a wonderful visual aid, like a map. In fact, it is ideal for those who may get lost using written patterns. The majority of knitting patterns for lace, colour work, and cabled patterns in general, include a chart or two. So, reading a chart is a valuable skill for every knitter to possess.
Understanding the basics
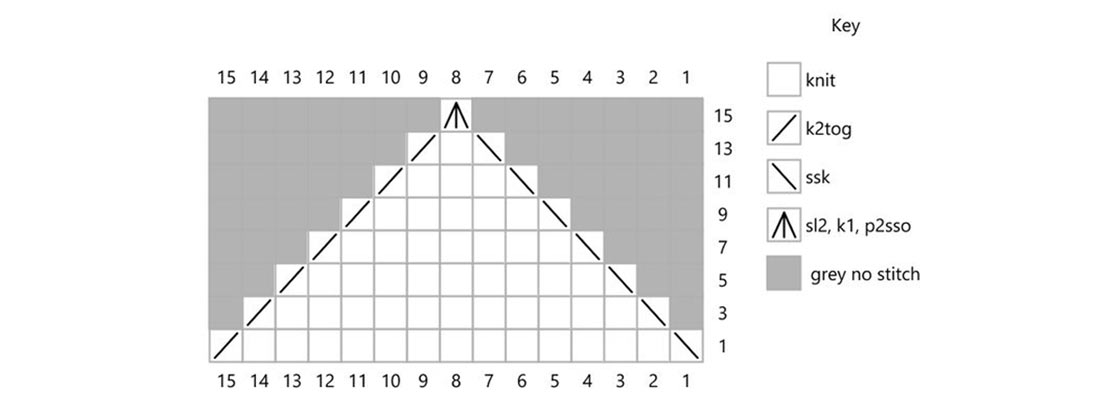
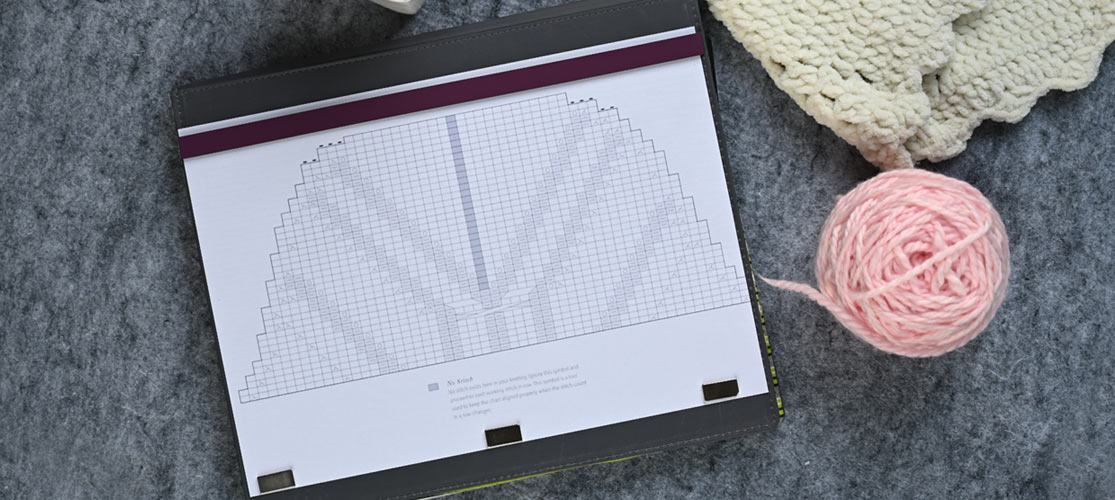
A chart illustrates how a knitting pattern will look. Boxes on a chart represent a stitch, and every chart includes a key or legend. This defines the stitches or colours that correspond with the basic knitting stitches. It is very important to read through the key or legend for the chart before you begin as stitch symbols are not universal. In fact, what symbol or legend representing a knit stitch in one chart can be a purl stitch on a different chart. A pattern designer while making a chart also adds additional notes on legends to understand the basics and decode the chart.
Reading the Chart for Knitting Flat Patterns
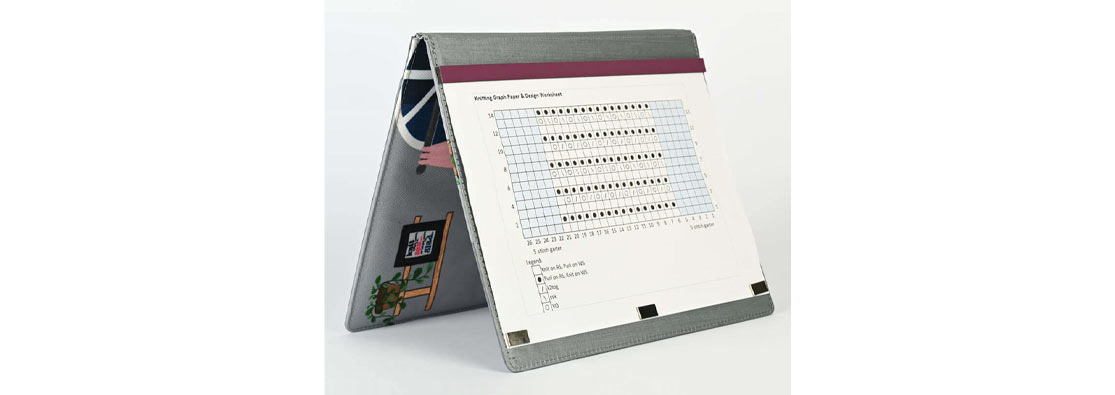
Knitting a project flat means you knit back and forth the rows, turning your WIP each time after finishing a row whether you use straight single pointed needles or the range of circular knitting needles. In this type of chart, the numbered rows alternate between the left and right-hand sides of the chart. This instructs you to begin with row 1, on the “right” side of your work, and you read from right to left. After you finish row 1 and turn your knitting project, you begin reading the chart from the left side, where the number “2” is shown. For row 2 work from the opposite side of the chart as you will be knitting stitches on the “wrong” side of your project.
Read and understand the legend for the stitches. A symbol on the chart may have different meanings depending on the row. For example, a blank box will be knitted on the “right” side (odd rows) and purled on the “wrong” side (even rows). Also, you might come across lace patterns that show all of the stitches on the “wrong” side are usually purled.
Some charts show all rows, others only show the “right” side of a chart as the “wrong” side is the same every time. Many times, a pattern designer omits the wrong-side rows and uses text instructions for those rows. If there is no such mention, you will find the numbers on the sides of the chart won’t be in a consecutive order.
Reading the Chart for Knitting in the Round
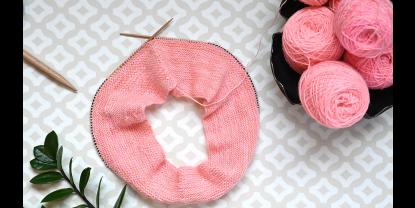
If you are knitting a pattern in the round, you will knit round and round without turning your WIP. The chart will be read from right to left on every round. So, if you are using the double pointed needles the instructions will be followed from the first needle where you cast on the stitches. In the case of circular knitting needles you just have to follow the pattern as you have a pair of needles with fixed or interchangeable cables. For example, the chart might show all the rounds are marked with numbers on the right-hand side and you have to start knitting each round on the right-handed side.
Reading Lace Knitting Charts
Lace charts generally have a few abbreviations and techniques that are less common in other types of knitting charts. Many lace patterns will instruct decreases to eliminate stitches and yarn overs. However, there may be rows where you have fewer stitches than previous or future rows and in the chart these boxes are blacked out. This means you don’t need to do anything special when you see this and just knit the number of stitches designated for that row.
Tips and Tricks to Decode Knitting Charts
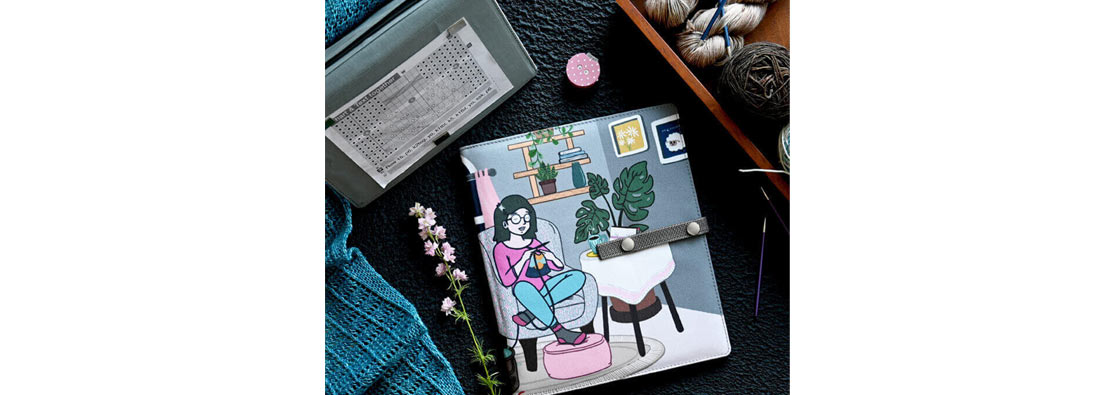
Decoding charts is fun and just a matter of habit. You must start small and not get overwhelmed with the entire map. It is important to remember your place on the chart. Let’s go through some quick tricks shared by experts of the knitting community.
- Try to use a chart keeper. The portable backboard to hold your pattern in place. As you knit, you block off the rows that you finish with magnets.
- Always make check marks along the side of the chart with a pencil or pen or even a highlighter so you can tell at a glance which rows you have completed.
- Get some post-it notes to write instructions on the side of the chart or even cover rows you’ve already completed and move it up as you go.
- Envision the pattern, as you are making you need to juice up your imagination.
If you find charts overwhelming, start small. A dishcloth, scarf or a hat are the perfect first projects for following a chart. It is also recommended to begin with a pattern that only combines basic stitches or only uses two colours. With KnitPro knitting needles and accessories soon enough you’ll prefer reading charts to textual instructions and enjoy knitting!


